


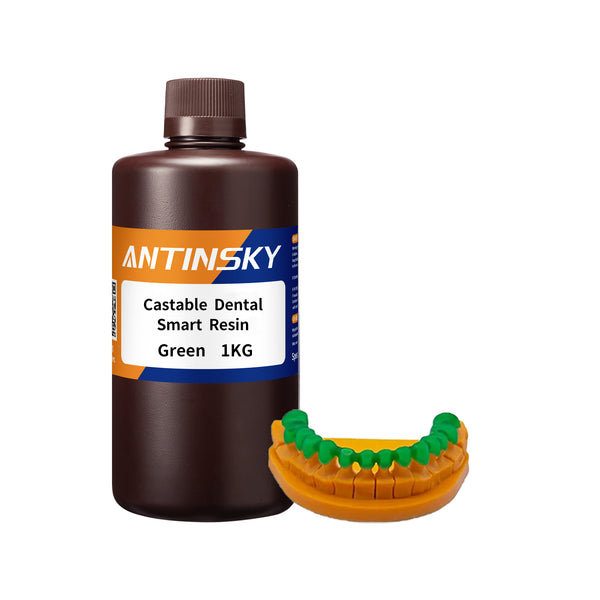
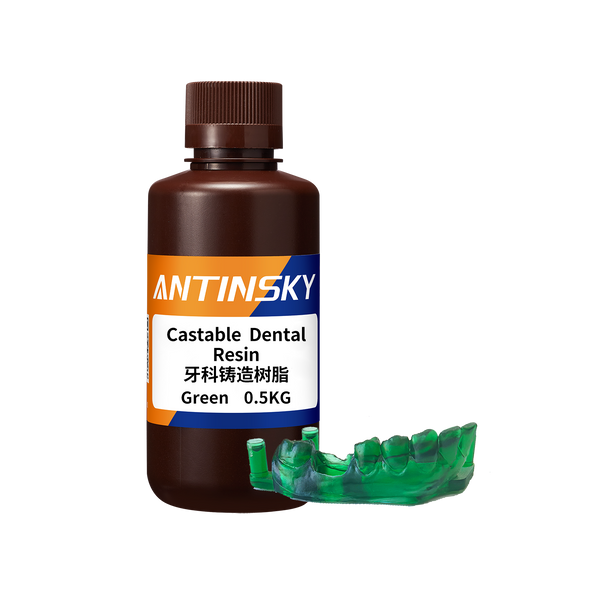


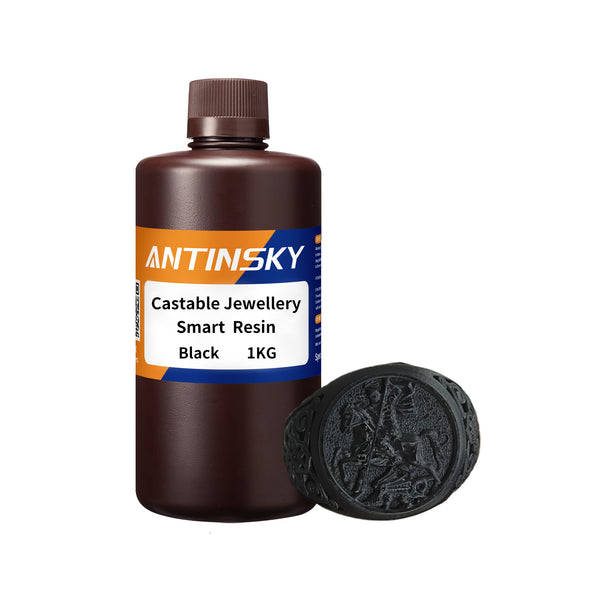
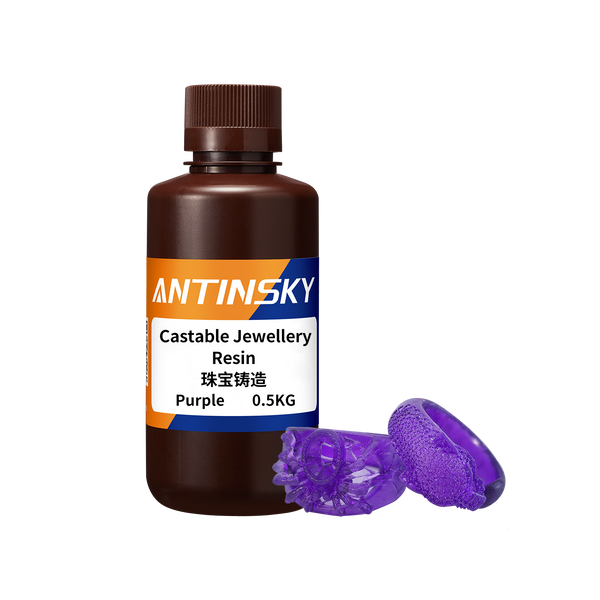
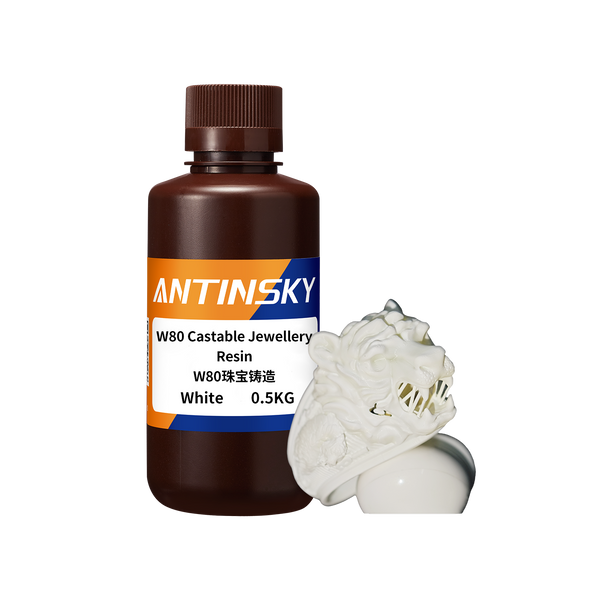






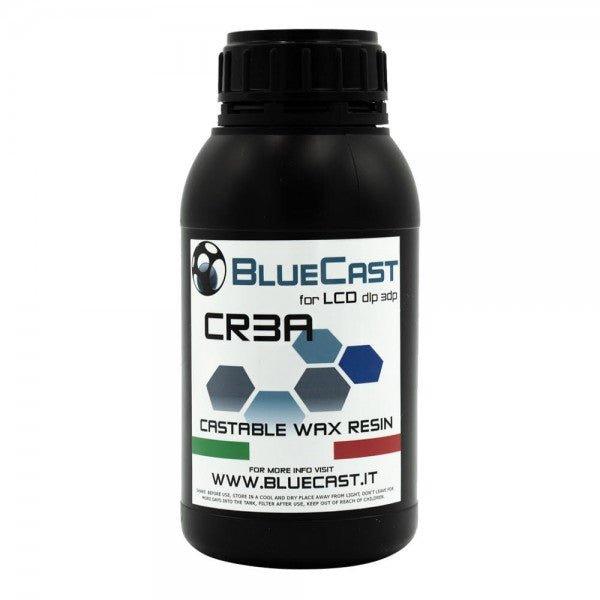













Antinsky is an official BlueCast reseller, and the BlueCast lineup is one of the few resin families built specifically for lost-wax jewelry casting rather than adapted from general-purpose photopolymer. But "castable" is not one product — the range covers wax-filled resins, high-detail resins, filigree grades, and model resins that are not castable at all. This guide explains what each one is for and how to pick.
What Makes a Resin "Castable"
In lost-wax casting, your printed part is not the final object. It is a temporary pattern: it gets invested in plaster, burned out in a kiln, and the resulting cavity is filled with molten metal. That means the resin has two jobs and only two jobs:
- Print accurately enough to capture the design, including prongs, bezels, and fine surface texture.
- Burn out completely without leaving ash, cracking the investment, or expanding enough to damage the mold cavity.
Everything else — color, tensile strength, shelf life of the printed part — is secondary. A castable resin that prints beautifully but leaves carbon residue will ruin every casting. A castable resin that burns clean but softens in the printer will not hold detail through washing.
The two failure modes you will actually encounter:
| Failure | What it looks like | Root cause |
|---|---|---|
| Ash residue | Pitted or rough metal surface, gas porosity, incomplete fill | Incomplete burnout — ramp too fast, hold too short, or resin not fully cured before investing |
| Mold cracking / shell fracture | Cracks in the investment, metal flashes, lost cavity | Thermal expansion mismatch — resin expands before it decomposes if heated too quickly |
| Detail loss | Soft prongs, filled-in filigree, rounded edges | Over-exposure, or resin too soft to survive washing and investing |
The BlueCast Lineup, Decoded
BlueCast names its resins with letters and numbers that mean something, but not something obvious. Here is the practical map.
| Resin | Type | Best for | Trade-off |
|---|---|---|---|
| X-Wax | Wax-filled castable | Classic jewelry patterns, heavy settings, rings and pendants | Softer — handle with care before investing |
| X-Wax Filigree | Wax-filled, high-flow | Fine filigree, lattice, thin wire structures | Very delicate; needs gentle washing |
| X-One V2 | Castable, general purpose | Everyday casting work where accuracy matters more than wax feel | Less "waxy" — slightly stiffer pattern |
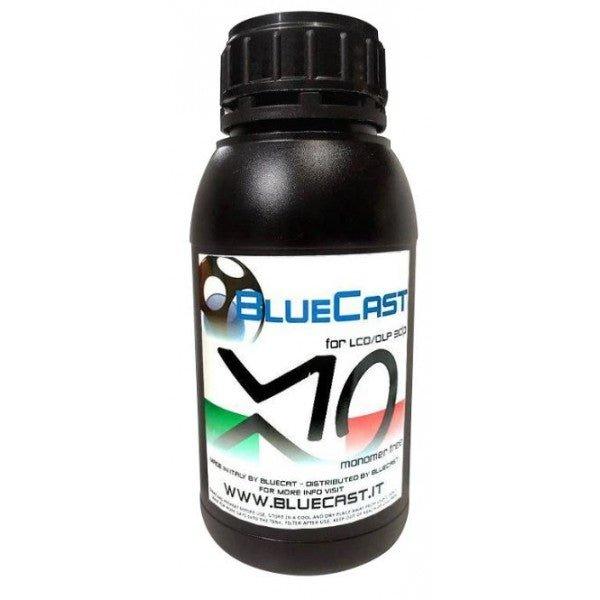
| X10 | Castable, high detail | Intricate CAD models, micro-pavé, tight tolerances | Longer exposure; more sensitive to temperature |
| X5 | Castable, balanced | Mixed production runs, general shop use | A compromise, not a specialist |
| X-Nova | Castable, engineering-leaning | Structural jewelry, thicker sections, mechanical elements | Different burnout behavior — validate your schedule |
| Cr3a | Castable for LCD/DLP | Shops running older or mixed printer fleets | Check printer compatibility before buying |
| Model HR | Non-castable model resin | Presentation models, mold masters, try-on pieces | Do not cast it — it is a display/model resin |
The single most common purchasing mistake is buying Model HR expecting to cast it because it comes from a casting-focused brand. Model resin is for showing a client the design, not for burning out.
X-Wax vs X10: The Decision That Matters Most
If you only care about one comparison, it is this one. They represent two different philosophies.
X-Wax — print it like wax, treat it like wax
Wax-filled resin behaves like injection wax in the hand. It cuts, files, and finishes with wax tools, and it melts out of the mold in a way that feels familiar to anyone who came up through traditional bench work. For heavy rings, signet styles, and anything with thick sections, that familiarity is worth a lot: you can repair a prong with a wax pen instead of reprinting.
The cost is strength. Wax-filled patterns are soft. They deform if you grip them too hard, they soften in a warm car, and they need to be invested promptly rather than left on the bench for a week.
X10 — print it like a precision part
High-detail castable resin holds finer geometry: micro-pavé seats, engraved text, sharp milgrain, thin bezels. It is stiffer, so it survives handling, shipping to a client for approval, and sitting in a drawer. It is the better choice for CAD-driven shops where the design lives in Rhino or Matrix and the printer is the last step before investment.
The cost is process sensitivity. It wants correct exposure, stable temperature, and a validated burnout cycle. It also does not tolerate the "I'll cast it tomorrow" workflow as gracefully if the pattern is thin.
The practical rule
- Hand-finished, heavy, traditional styles → X-Wax.
- CAD-detailed, thin, high-precision styles → X10.
- Filigree and lattice → X-Wax Filigree.
- Not sure, one resin only → X-One V2 or X5.
Printing Castable Resin Properly
Castable resins are less forgiving than standard resin because the failure shows up two steps later, in metal. Follow these rules and you remove most of the variables.
1. Orientation and supports
Orient so that supports land on surfaces that will be hidden or easily finished — inside a ring band, on the back of a pendant, on a flat that gets filed. Support tips in castable resin leave a mark, and that mark becomes a defect in metal.
Avoid orienting large flat faces parallel to the build plate: peel forces distort them and the distortion is permanent. Tilt 15–30° so each layer has a small cross-section.
2. Do not over-support
More supports is not safer in casting. Every support is a resin feature that must burn out completely, and heavy support junctions are where ash pockets form. Use the minimum that holds the part, with slightly larger tips only where the geometry demands it.
3. Wash gently and completely
Uncured resin trapped in a recess will boil during burnout and crack the investment. Two-stage washing — dirty IPA, then clean IPA — with a soft brush on detailed areas. Do not ultrasonic-clean delicate filigree at high power; it will snap.
4. Cure fully before investing
Post-cure is not optional. Under-cured castable resin outgasses during burnout and leaves residue. Cure under 405 nm for the full recommended time, turning the part so shadowed areas get light. Over-curing is far less dangerous than under-curing — slight yellowing does not affect burnout.
5. Dry before investing
Residual IPA or water in the pattern is a casting defect waiting to happen. Let parts dry thoroughly, ideally in a warm dry place, before investing.
Burnout: The Schedule Is Half the Result
Every castable resin has a manufacturer-recommended schedule. Use it as the baseline. That said, the physics is universal, and understanding it lets you diagnose problems instead of guessing.
| Stage | Purpose | What goes wrong if rushed |
|---|---|---|
| Slow ramp to ~150 °C | Drive off residual moisture from investment | Steam explosion — shell cracks, metal flashes |
| Hold at 150–200 °C | Soften and melt the pattern out | Liquid resin trapped in cavity, carbon residue |
| Ramp to ~370 °C | Decompose the polymer | Rapid gas generation, pressure cracks |
| Ramp to ~730 °C | Burn off all carbon | Ash left in cavity, rough casting surface |
| Hold at top temperature | Complete oxidation of residue | Grey or black interior = incomplete burnout |
Two habits that prevent most casting defects: ramp slowly (a long cycle is cheaper than a failed casting), and hold at the top until the mold interior is white. If you pull a mold early and see grey, you already know the result.
Resin Choice by Jewelry Type
| Piece | Recommended | Why |
|---|---|---|
| Signet ring, heavy band | X-Wax | Thick sections, hand-finishing, wax-pen repairs |
| Micro-pavé halo | X10 | Seat accuracy and thin prongs |
| Filigree pendant | X-Wax Filigree | Fine lattice survives washing and investing |
| CAD prototype for client approval | Model HR | Not castable — presentation only |
| Thick structural bangle | X-Nova | Handles thicker cross-sections |
| Mixed daily production | X-One V2 or X5 | One resin, predictable results |
Exposure and Machine Notes
Castable resins generally want slightly longer exposure than standard resin because the wax or filler content reduces photosensitivity. Start around the manufacturer's recommendation for your machine class, then run an exposure matrix judged on prong definition and gap separation rather than on surface finish.
Two machine factors matter more than usual here:
- Pixel size. Jewelry is the one application where a 16K-class panel or a small high-density panel genuinely pays for itself. A 35 µm pixel cannot resolve a 0.2 mm prong seat cleanly.
- Light uniformity. If one corner of the plate cures differently, that corner's prongs will be undersized. Test with a flat calibration part across the full plate, not just the center.
Keep the resin warm — 24–28 °C. Castable resins are viscous, and cold resin causes incomplete layer separation that looks exactly like under-exposure.
Vat hygiene matters more with castable resin than any other material. Wax-filled resins separate if they sit unused for weeks — the filler settles and the top of the vat becomes resin-poor. Stir gently with a soft scraper before every session, and never top up a vat that has been sitting without mixing. If the resin looks stratified or has visible sediment, filter it back into the bottle, shake it thoroughly, and start again.
Investment and Metal: The Other Half of the Result
Castable resin gets the blame for defects that come from investment or metal. Two variables are worth controlling.
Investing. Vacuum-invest under the recommended water-to-powder ratio, and do not change the ratio to "make it flow better" — the set investment's strength is what holds the cavity when resin expands during burnout. Let the investment set fully before the mold goes into the kiln; rushing this step is the most common cause of shell cracks.
Metal temperature. Overheating the metal oxidizes it and produces a dull, pitted surface that looks exactly like ash residue. Underheating produces incomplete fills on thin sections. Use the alloy supplier's recommended range and a pyrometer you trust.
One more habit: keep a casting log. Resin batch, exposure, burnout schedule, investment ratio, metal temperature, result. Jewelry casting has enough variables that memory is not a reliable diagnostic tool — a written log turns a mystery into a pattern within four or five casts.
Defect Triage
| Symptom | First thing to check | Second thing |
|---|---|---|
| Rough or pitted metal surface | Is the mold interior white after burnout? | Post-cure time before investing |
| Cracks in investment | Burnout ramp too fast at the start | Investment water ratio / set time |
| Incomplete fill on thin sections | Metal temperature too low | Vent / sprue size and position |
| Dimensional error on prongs | Exposure too high (over-cure) | Pixel size / light uniformity across plate |
| Deformed flat surfaces | Orientation parallel to plate | Peel force / lift speed |
Frequently Asked Questions
Can I cast any resin?
No. Standard, tough, and water-washable resins leave significant ash and can crack investment. Only use resin explicitly labeled castable, and follow its burnout schedule.
Is wax-filled resin better than standard castable resin?
It is better for hand-finishing and for thick sections, because it behaves like wax. It is not better for fine detail or for parts that must survive handling and shipping. Choose based on the piece, not on "which is newer."
Why is my casting surface rough?
Almost always incomplete burnout or under-cured resin. Check that the mold interior is white after burnout, extend the top-temperature hold, and confirm your post-cure is complete before investing.
Do I need a jewelry-specific printer?
You need a printer with fine pixels and good light uniformity. A dental or jewelry-oriented machine is convenient but not mandatory — a high-resolution general-purpose LCD printer with a small plate works well.
How long can I store a printed castable pattern?
Wax-filled patterns should be invested within a day or two, especially in warm rooms. Stiffer castable resins last longer but still deform under load. Print close to casting day when you can.
Can I mix BlueCast resin with another brand in the vat?
Do not. Different castable formulations have different burnout behavior, and a blend has no validated schedule. Empty and clean the vat when switching.
What is the most common beginner mistake?
Over-supporting, then casting without a full post-cure. Both create residue and both look like "bad resin." They are process errors, not material errors.
Where to Start
If you are setting up a jewelry workflow for the first time, start with BlueCast X-Wax for hand-finished pieces and add X10 when you move into high-detail CAD work. If your designs are delicate, go straight to X-Wax Filigree. Add Model HR only if you also need non-castable presentation models for client approval.
And if you are comparing castable resin against the general-purpose option, our complete lost-wax casting workflow guide covers the full process from orientation to final polish — this article is the material-selection half of that story.