


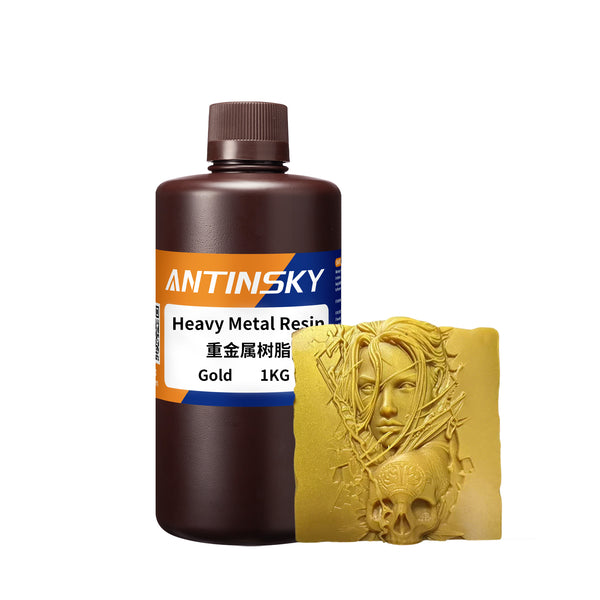



















Clear resin is one of the most satisfying materials in 3D printing — and one of the most frustrating. The same printer that produces a perfect opaque miniature will happily hand you a cloudy, yellowish blob when you load a transparent resin, and the reason is almost never the printer.
Transparency is a surface and internal structure property. Light has to pass through the part without being scattered. Anything that scatters light makes the part look cloudy: rough surfaces, dust, trapped bubbles, incomplete cure, and over-curing. This guide covers the full workflow for genuinely clear prints, from resin selection and exposure settings through sanding, polishing, and the water-curing trick that makes the biggest single difference.
Why Clear Prints Come Out Cloudy
When light hits a boundary between two materials with different refractive indices, part of it bounces instead of passing through. In a printed part there are four common boundaries:
| Cause of cloudiness | What is happening | Fix |
|---|---|---|
| Micro-rough surface | Layer lines and support marks scatter light at the surface | Sand progressively, then polish |
| Trapped bubbles | Air pockets inside walls reflect light | Gentle agitation, correct orientation, avoid over-aggressive retract |
| Over-cure | Excess UV degrades the polymer and yellows it | Cure submerged, in short intervals |
| Residual liquid resin | Uncured film hazes the surface and blocks light | Two-stage wash, thorough cleaning |
Notice that half of these are chemistry problems and half are mechanical ones. A crystal-clear result needs both handled.
Step 1: Choose a Real Clear Resin
Not every transparent-looking resin is designed for optical clarity. Some are "transparent" in the sense of translucent — nice for colored glass effects, not for a lens.
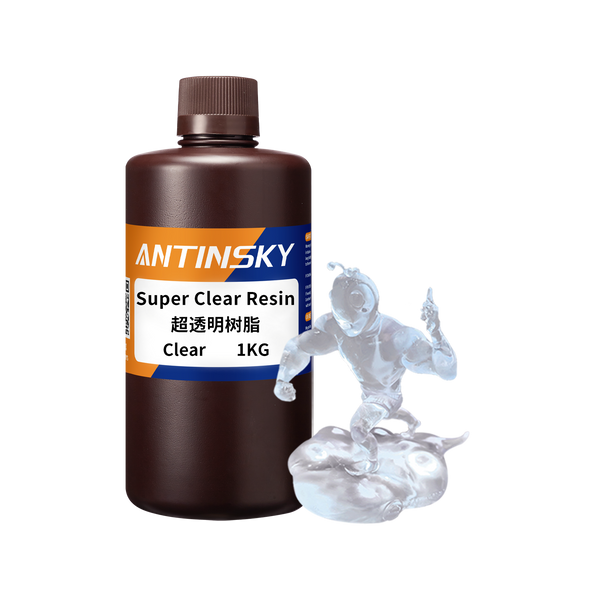
- For maximum clarity: use a dedicated optical-grade clear, such as ANTINSKY Super Clear Resin, which is formulated to minimize yellowing and haze.
- For colored translucency (stained-glass look, light guides with a tint): a standard resin in a transparent color works well and is more forgiving. See Standard Resin and its transparent variants.
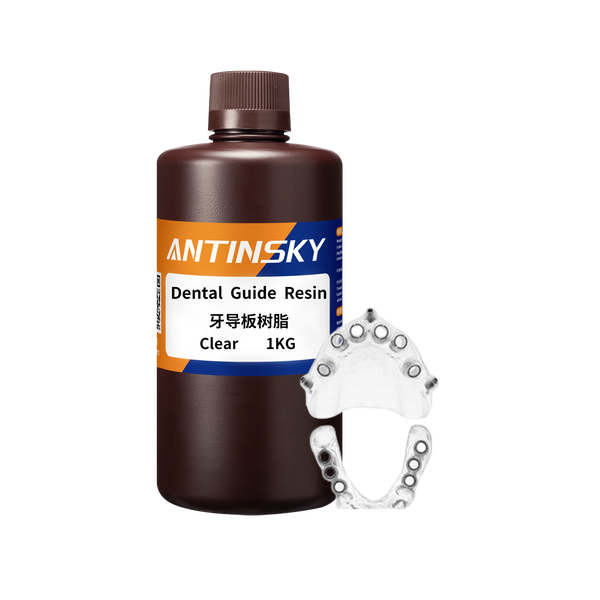
- For medical or dental transparent parts: use a resin intended for that application, for example Dental Guide Resin — clarity and biocompatibility requirements differ from display parts.
One practical tip before you start: shake the bottle thoroughly but let it settle afterwards. Freshly agitated resin holds micro-bubbles. Give it 30–60 minutes in the vat, or warm it slightly, and most bubbles rise out before the first layer is cured.
Step 2: Exposure Settings for Clear Resin
Clear resin has a wider light path than opaque resin — light passes through the part and can partially cure areas behind it. The practical consequence is that the usable exposure window is narrower, and errors are more visible.
| Setting | Recommendation for clear resin | Why |
|---|---|---|
| Layer height | 0.03–0.05 mm | Finer layers mean less visible banding after polishing |
| Normal exposure | Start at the low end of your resin's range, or ~10–20% below your opaque setting | Over-exposure is the main cause of haze and yellowing |
| Bottom exposure | Keep normal or increase 10–20% | Clear parts are still heavy; adhesion matters |
| Lift speed | Slower than usual | Reduces bubble entrapment and surface distortion |
| Anti-aliasing | Enable if your slicer supports it | Smoother edges, less light scatter at contours |
Because clear resin shows every flaw, run an exposure test specifically with the clear resin rather than reusing your opaque calibration. The correct setting is where fine detail resolves but the surface does not look waxy. If a part looks "milky" straight off the plate, reduce exposure before blaming the resin.
Step 3: Orientation and Supports
- Keep support contact points away from viewing faces. A support mark on the optical surface of a lens requires aggressive sanding to remove.
- Angle flat transparent faces so they do not sit parallel to the build plate — parallel surfaces trap resin and show layer banding worst.
- Use fewer, lighter supports for small clear parts; every contact point is a defect site.
- Avoid hollowing for optical parts unless you can wash and cure the interior completely. Trapped resin inside a clear part is visible forever.
Step 4: Washing — Cleaner Than for Opaque Resin
Any residue left on a clear part becomes a permanent haze, and unlike opaque prints you cannot hide it with paint or primer. Be stricter than usual.
- Use two baths: a dirty first bath to remove the bulk, then a clean second bath for final rinse.
- Wash for the full recommended time and agitate gently — hard agitation risks scratching soft surfaces.
- Dry completely with filtered, lint-free air or compressed air before curing. Dust on a clear part becomes permanent.
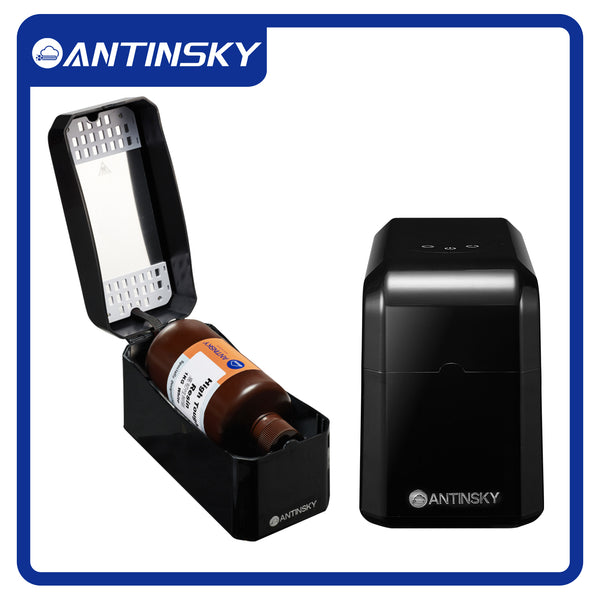
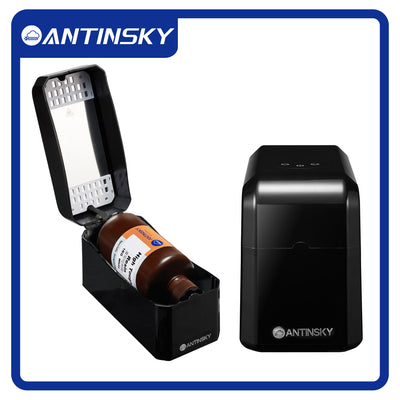
A concentrated cleaning solution such as Resin Deterge helps here: it lifts uncured resin efficiently, which means less aggressive scrubbing on soft surfaces.
Step 5: The Water-Curing Trick
This is the most important post-processing technique for clear resin, and it costs nothing but a glass of water.
Oxygen inhibits polymerization. When a clear part cures in air, the outer surface reacts unevenly, and the result is a slightly tacky, hazy skin. Submerging the part in water during UV curing blocks oxygen and produces a noticeably harder, glossier, more transparent surface.
- Place the washed, dried part in a transparent container of clean water.
- Cure in your UV station, checking in short intervals — typically 1–2 minutes at a time for small parts.
- Flip or rotate to expose all faces.
- Stop as soon as the surface is no longer tacky. Cure time total is often shorter than for opaque parts — over-curing is what yellows clear resin.
Equipment matters more than usual here because uniform light distribution is critical. A rotating chamber such as the Antmega Cure lets you cure submerged parts evenly without hot spots that cause local yellowing.
Step 6: Sanding and Polishing to Optical Clarity
Even a perfectly printed clear part will look hazy because of layer lines. The route to true clarity is mechanical: sand progressively, then polish.
| Stage | Grit / tool | Goal |
|---|---|---|
| 1. Flatten | 400 → 600 grit wet sanding | Remove layer lines and support nubs |
| 2. Refine | 800 → 1200 grit wet | Remove scratches from the previous grit |
| 3. Polish | 1500 → 3000 grit wet | Surface becomes glossy, not foggy |
| 4. Finish | Plastic polish compound, felt wheel or by hand | Optical clarity on flat faces |
| 5. Optional | Clear gloss varnish or UV resin topcoat | Fills remaining micro-scratches instantly |
Two rules make the difference between a successful polish and endless work:
- Wet sand always. Dry sanding generates heat that melts and clouds the surface, and dust is a health hazard.
- Never skip a grit. Going from 600 straight to 3000 leaves deep scratches that no amount of polishing removes.
For curved or intricate surfaces, a fast practical alternative is a thin coat of clear resin or gloss varnish as a topcoat — it levels the micro-relief and restores transparency instantly, though it adds a very small dimensional change.
Step 7: Preventing Yellowing Over Time
Clear resin yellows from UV exposure and from over-curing. Mitigations that actually work:
- Cure the minimum time needed, submerged in water.
- Apply a UV-blocking clear coat to finished parts that will live in daylight.
- Store display pieces out of direct sunlight.
- Do not exceed the resin's recommended post-cure temperature.
Troubleshooting Clear Resin
| Problem | Cause | Fix |
|---|---|---|
| Cloudy right off the plate | Over-exposure or incomplete wash | Lower exposure; refresh second wash bath |
| Hazy but smooth | Layer lines scattering light | Sand and polish, or apply gloss topcoat |
| Yellow tint | Over-cured in air | Cure submerged, shorter intervals; UV-blocking topcoat |
| Visible bubbles inside walls | Agitated resin or fast retract | Let resin settle 30+ min; slow lift/retract |
| Tacky surface after cure | Oxygen inhibition | Water-cure method |
| Cracks radiating from holes | Trapped uncured resin | Do not hollow optical parts; if hollowing, add drain holes and cure the interior |
FAQ
Can clear resin ever be truly transparent, like glass?
Printed clear parts can reach a high level of transparency — enough for light guides, lenses, and decorative pieces — but they are never optically identical to glass. Sanding and polishing gets you most of the way; a gloss topcoat gets you closer with far less effort.
How long should I cure clear resin?
Usually less than opaque resin — often 2–4 minutes total for small parts, done in 1–2 minute intervals while submerged in water. Stop when the surface stops being tacky. Longer curing only adds yellowing.
Why did my clear print turn white after washing?
Typically a solvent reaction with a partially cured surface, or over-exposure before washing. Make sure the part is not left in solvent too long, and re-check exposure settings on the next print.
Do I need a different resin for a transparent colored part?
No. Transparent-tinted standard resins give excellent stained-glass and light-pipe effects, and they are much easier to work with than optical clear. Reserve dedicated clear resin for parts where actual see-through clarity is the goal.
Can I polish with a Dremel?
Yes, but at low speed with a felt wheel and polishing compound. High speed generates heat that melts the surface and creates a permanent cloudy patch. Wet hand sanding is safer until the final polish stage.
Will clear prints stay clear?
With a UV-blocking topcoat and storage out of direct sunlight, yes, for a long time. Untreated parts in a sunny window will gradually yellow — that is UV degradation, not a printing defect.
Get Crystal-Clear Results
Clear resin is unforgiving but predictable: control exposure, wash thoroughly, cure submerged, then polish progressively. Follow those four steps and even a first attempt will look dramatically better than the cloudy test print most people produce.
Start with ANTINSKY Super Clear Resin for optical parts, pair it with a rotating UV curing station and a cleaning solution, and browse the full resin collection for every other application — standard, tough, castable, dental, and high-temperature formulations.