
![[Sonic Mini 8K] How to run the LCD Test - Antinsky3d](http://antinsky.com/cdn/shop/articles/sonic-mini-8k-how-to-run-the-lcd-test-870135.gif?v=1668093118&width=1024)
Before printing or when encountering an issue, you may need to check the status of your Sonic Mini 8K's LCD screen. This is to ensure that both the UV lights and the 7.1” Mono-LCD screen are functioning properly. We will guide you through the steps of performing an LCD test and how you can read the test:
*Caution! DO NOT look directly into the light. Improper exposure to UV light may cause painful eye and/or skin injuries.
Step 1: LCD TEST

The LCD test is to check if the lighting and the masking function are working correctly.
- On the touch panel, click TOOLS, then click LCD TEST.
- A white rectangular frame will appear on touch panel.
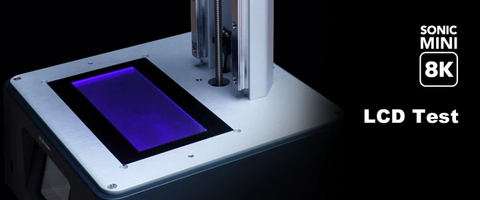
- A blue rectangular frame will appear on the LCD.
- Run this test to see if the image displayed on LCD matches the image on touch panel.
Step 2: VAT CLEANING

You could also run an additional Vat Cleaning test, which lights up the whole LCD. This ensures that the UV lights are distributed evenly and that there are no dead pixels on the LCD.
- Click TOOLS, then click VAT CLEANING.
- Vat Cleaning exposure time is preset to 15 seconds.
- A white rectangular will appear on touch panel.
- The entire LCD lights up in blue on the LCD.
- Run this test to check if the UV lights are distributed evenly.
Step 3: Z-axis Calibration
After making sure everything is functioning correctly on your LCD 3D printer, you’re all set to proceed to the next step: Z-axis Calibration.
Performing a Dry Print
Sometimes issues such as flickering or glitches may still be difficult to be identified after performing the above tests. This is why Dry Prints are helpful. A dry print is when you run a test print without placing the resin vat and the building plate. It is to check whether the LCD is flickering or not.
- Remove the resin vat and the building plate.
- Perform any test print of your choice.
- Inspect to see if the image shown on the LCD is the same as on the touch panel.