

With a printing area of 15" and a 43μm XY resolution, the Sonic Mega 8K trumps all other 3D printers on the market, producing 3D models that are almost twice as detailed as other large-scale 3D printers.
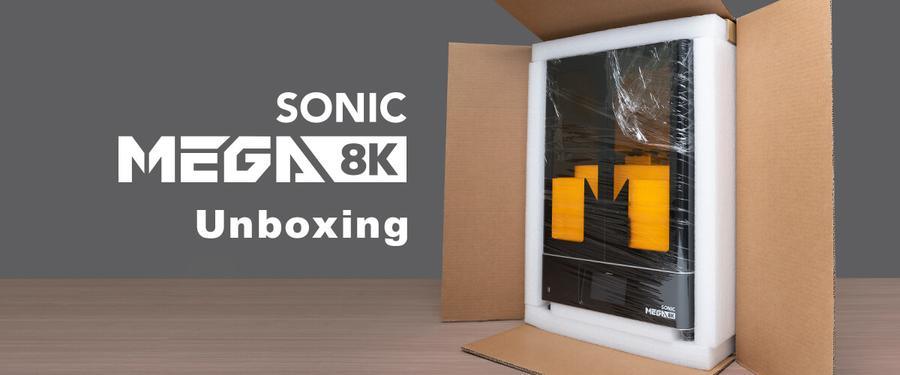
In this article, we will guide you through the steps of unboxing your Sonic Mega 8K. In the next article, we'll introduce you to all the components and tools included in the package.
- Unpacking: Straight Out of the Box
- What’s in the Toolbox?
Unpacking: Straight Out of the Box

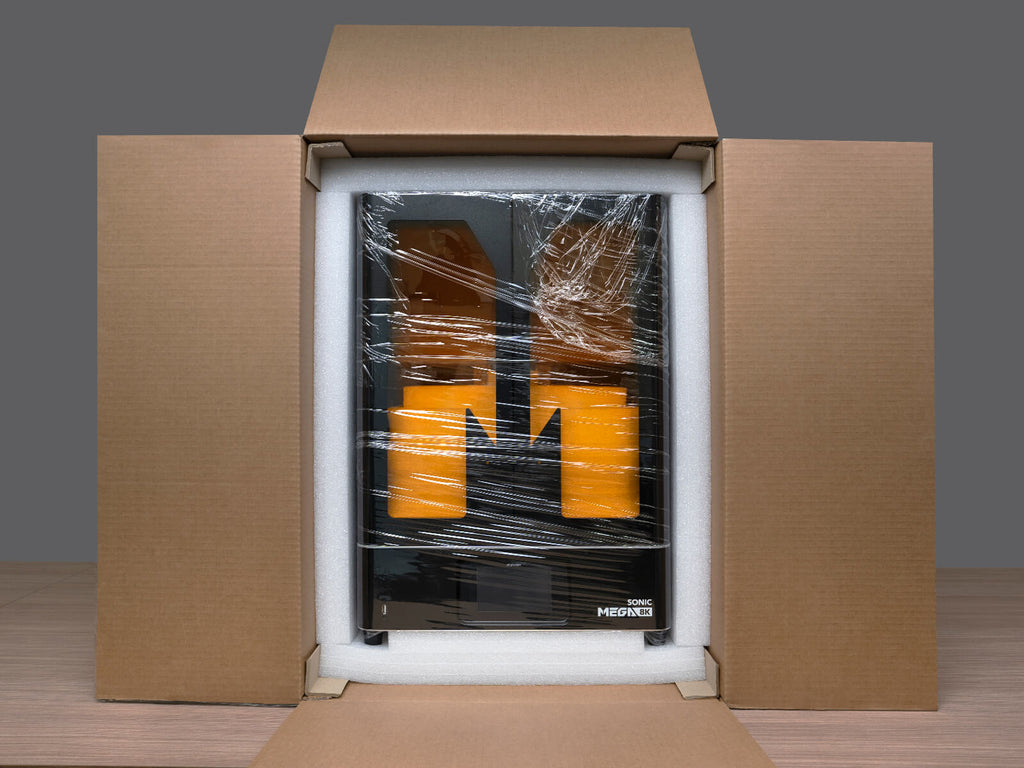
This box contains 1 Sonic Mega 8K, wrapped in plastic foil, with 8 pieces of cushions used to protect the LCD 3D printer. This includes an upper cushion, a lower cushion, 4 pieces protecting the exteriors, and 2 additional pieces of cushion protecting the interior. The Sonic Mega 8K toolbox is placed inside the LCD 3D printer.
Step 1: Place the package on a flat and stable surface.

Step 2: Remove the strapping bands, then remove the front and back outer lid. Remove the cushioning and push out the resin 3D printer from behind.

Step 3: Take the LCD 3D printer out of the box. Place the 3D printer on a flat and stable surface.
Note: This resin 3D printer weighs 35 kg, which is approximately 77 lbs. Make sure to ask a friend in case you need any assistance.
Step 4: Start from the top and remove the plastic wrap.


Step 5: Open up the chamber. Then carefully remove the inner cushion as well as the building plate by slicing it open with a razor blade.
Note: The paper box inside the resin 3D printer is empty and is meant for stabilizing purposes only.
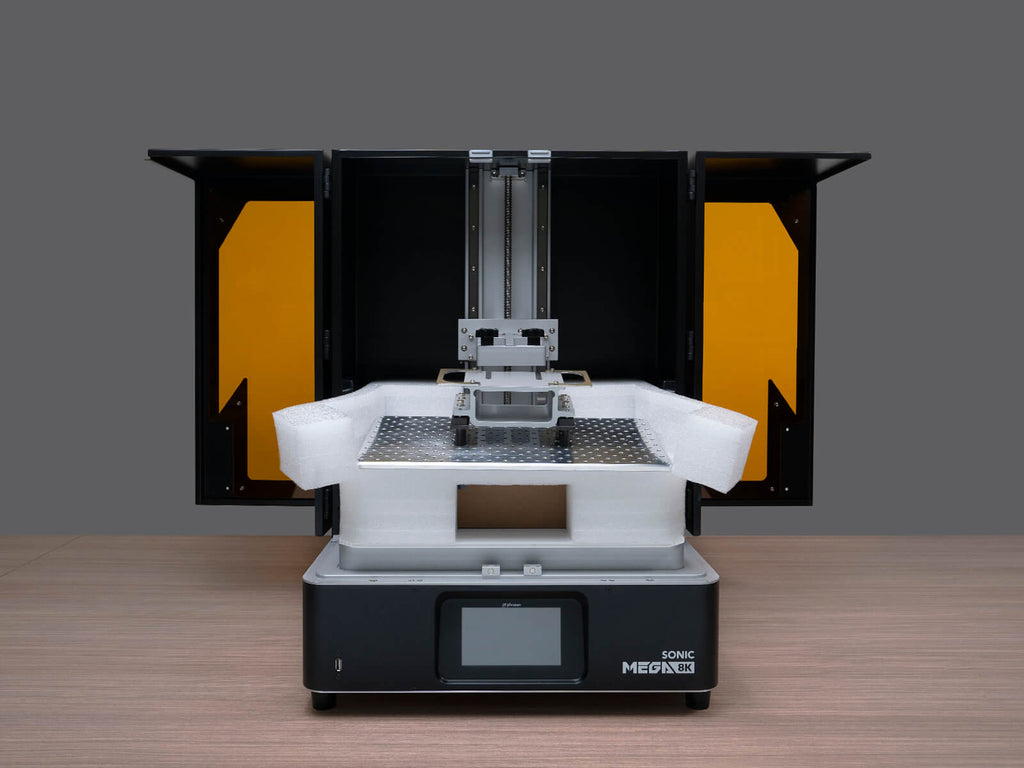

Step 6: Remove the building plate and the toolbox from the inside of the LCD 3D printer.
What’s in the Toolbox?

The toolbox contains essential tools for setting up the Sonic Mega 8K as well as tools to maintain your device after you’ve finished printing.
*Important: Double-check to see whether everything is included in your toolbox. Make sure to understand how each tool is used before proceeding onto the next step.
Welcome Card
The welcome card leads you to our Quick Starter Guide and Product Warranty Policy.
User Manual
The user manual contains essential information for users to set up their Sonic Mega 8K. This includes the introduction of device functions and capabilities, keynotes before printing, and a step-by-step tutorial for setting up the LCD 3D printer.
Chamber Door Handle
Sonic Mega 8K comes with two door handles. For safety reasons, we’ve placed the handles inside the toolbox instead of pre-installing them. Please use the Allen wrench we’ve included in the toolbox to fasten it onto the chamber door.
Allen Wrench
The Allen wrench included in the toolbox is intended for fastening the 3D printer handles.
Gloves
Please avoid direct contact with resin. This includes any part of your body or clothing. We suggest wearing PPE (Personal Protective Equipment) such as masks, goggles, and gloves while printing and using resin.
Scraper Set
The metal scraper is used for removing models from the building plate after printing. The plastic scraper is intended for cleaning the resin vat after printing or removing cured resin that is stuck on the PFA (nFEP) film or LCD.
*Important: DO NOT use the metal scraper or a razor blade to remove cured resin stuck on the PFA (nFEP) film.
Adaptor
To start your device, you will need to connect the adaptor to your Sonic Mega 8K. The touch panel will light up after around 3 seconds.
Plastic Funnel
The plastic funnel is used for filtering out the excess resin after printing. Simply place the plastic funnel on top of the resin bottle cap, then pour the resin back into the bottle.
USB
Sonic Mega 8K supports both USB and Ethernet connection file transfer. A Getting Started Pack is included in the USB. This contains a test print file, slicer software, and the user manual. The USB is used to store all your 3D printing files. Plug it into your Sonic Mega 8K and you’re good to go.
Article quoted from Phrozen