Cleaning the Z-rod
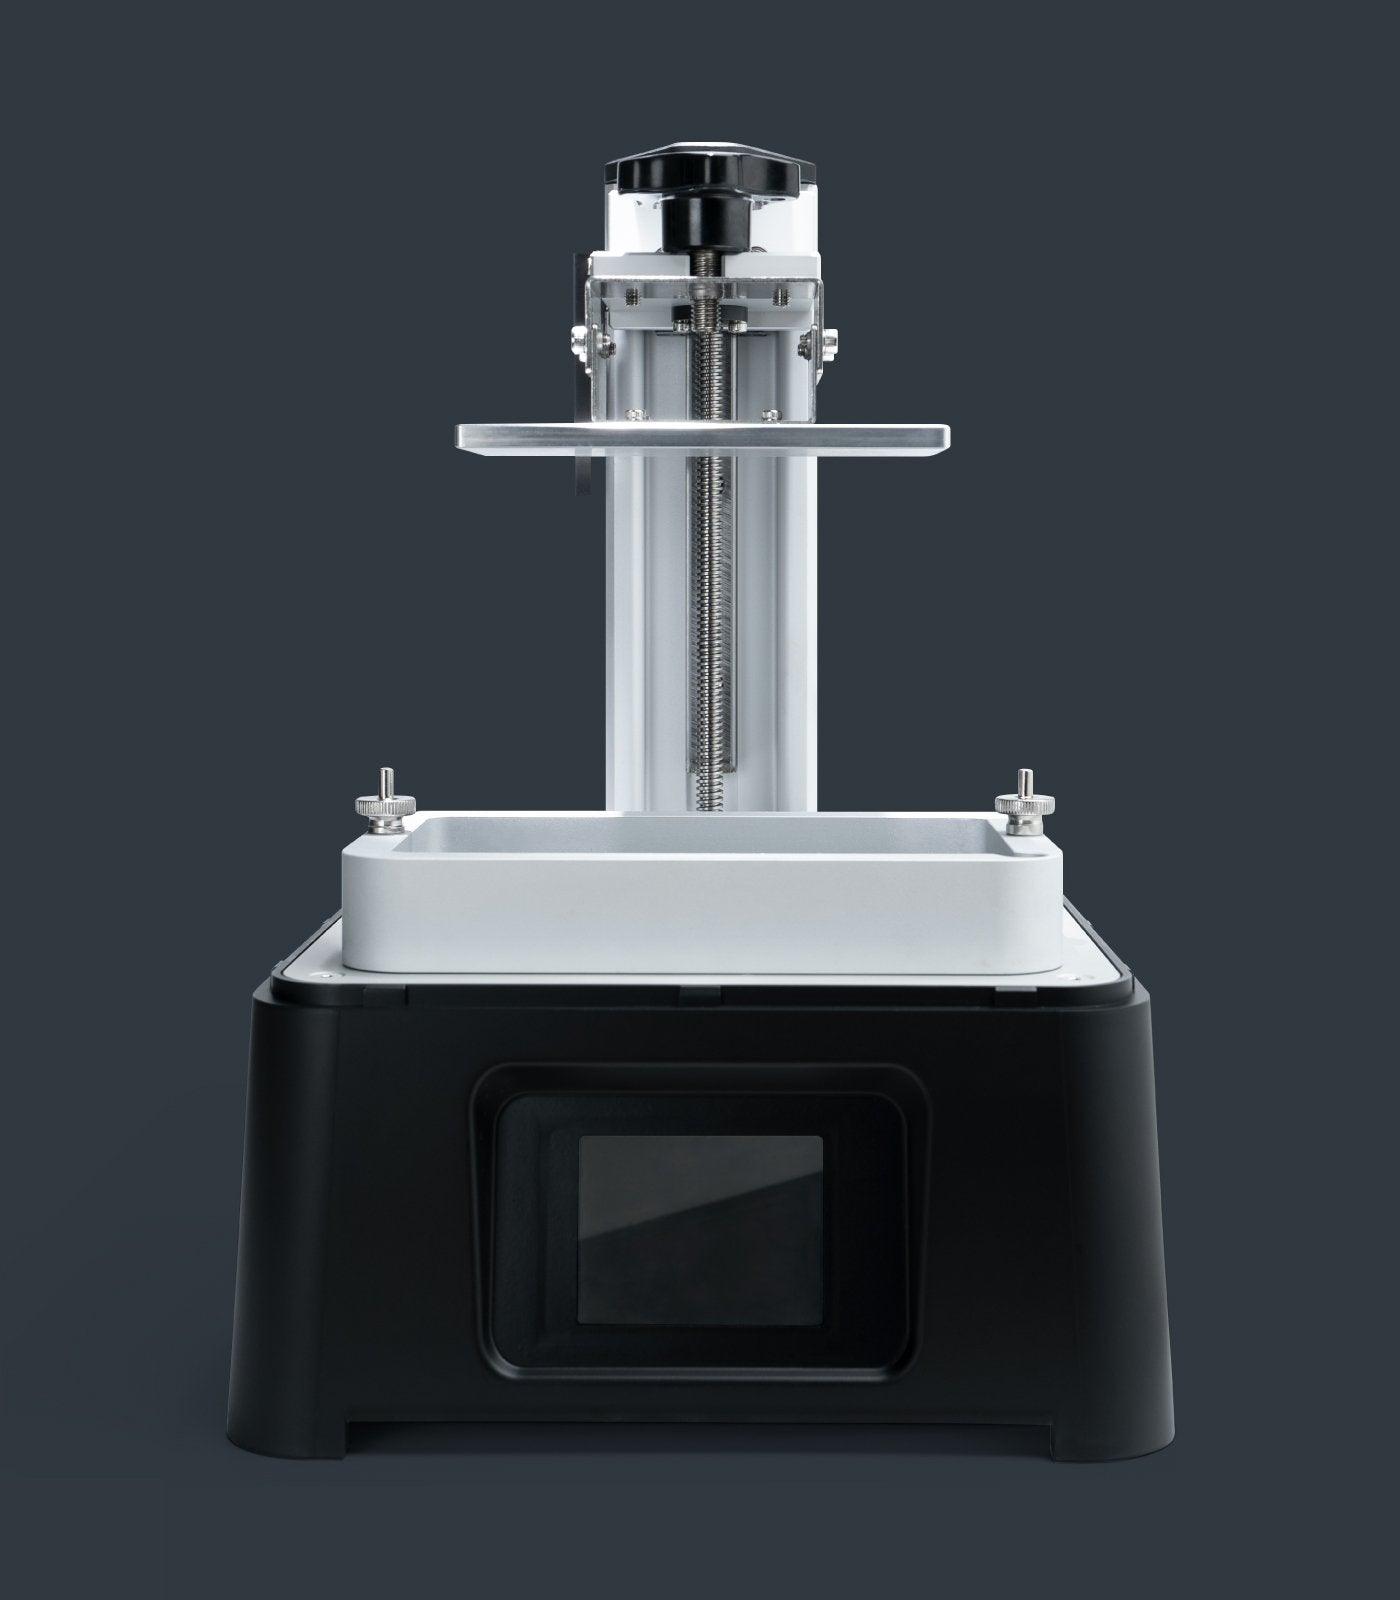
After using the printer for a while, the Z-rod and the bearing sleeve might clog with dust, which may cause the Z-axis to function incorrectly. This could result in layer lines appearing across your prints. In this article, we will demonstrate with Sonic Mini 4K and share the steps on cleaning the z-axis, including the bearing sleeve and the z-rod.
Dry Cleaning the Z-rod
Step 1: Remove the plastic cover, the resin vat, and the building plate.
Step 2: Make sure the building plate on the Z-axis has lifted completely. If it has not, click TOOLS, and then click MANUAL. Click on 10mm several times to lift it.
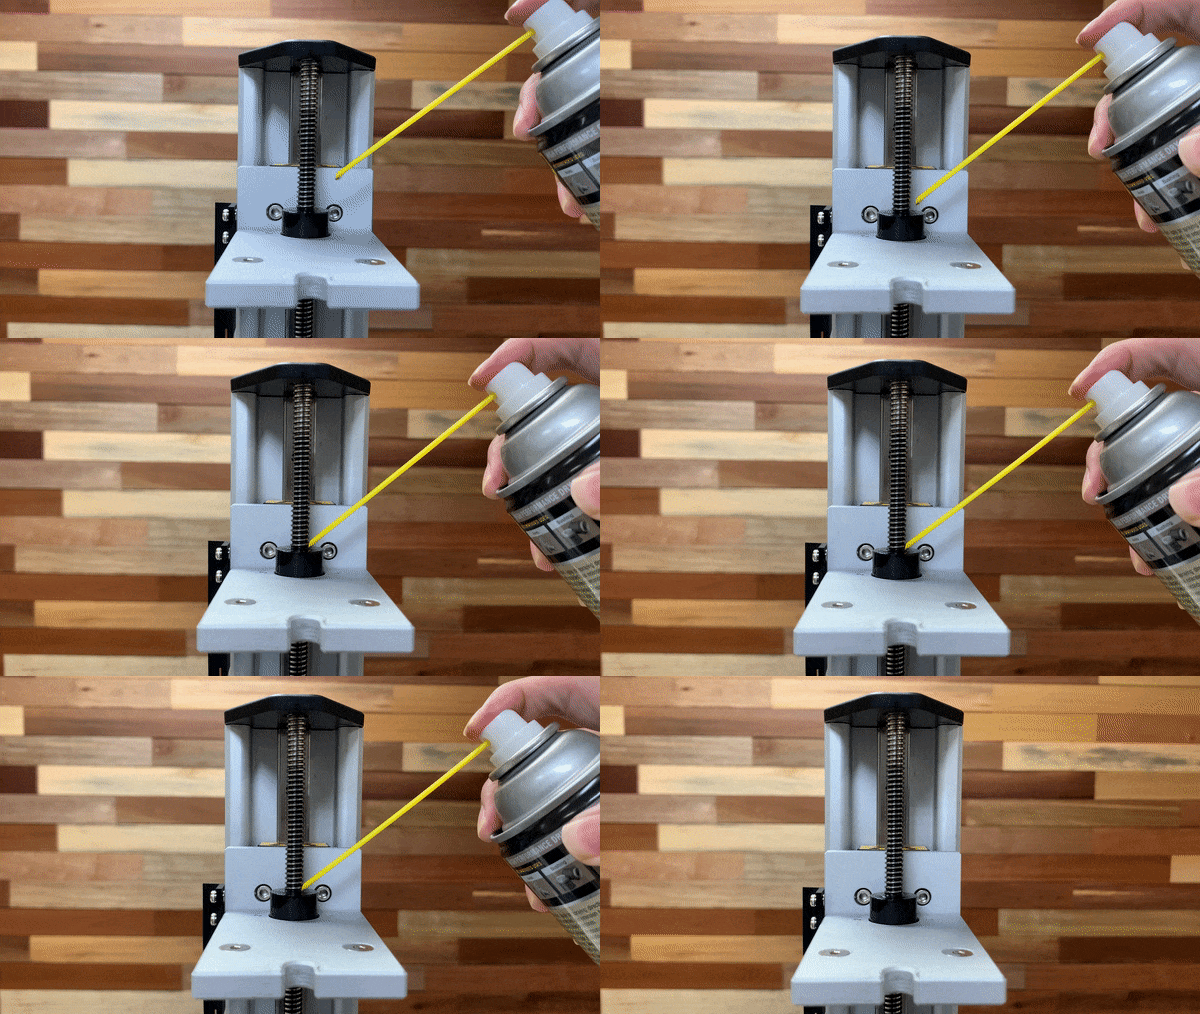
Step 3: Use kitchen paper towels to dry clean the Z-rod. Spray some sanitizing alcohol if necessary.

Lubricating the Z-rod
Step 4: Run the Z-axis calibration test by clicking TOOLS, click Z CALIB, and then click NEXT.

Step 5: Lubricate the bearing sleeve while the T-plate moves down every 20mm to 30 mm.


