























Most resin printer buyers compare the wrong numbers. They compare the advertised resolution ("16K!") and the price, then discover after the first week that their prints are over-exposed, sticking to the film, or dimensionally wrong by 0.2 mm. Resolution is only one variable, and on a modern mono LCD it is rarely the limiting one. What actually decides whether a resin printer is good is the combination of pixel size versus build area, light uniformity, mechanical rigidity of the Z axis, the release film, and — above everything else — whether you can find and hold a correct exposure.
This guide walks through the specification decisions that matter in 2026, then gives you a calibration procedure you can run in about ninety minutes and reuse for every new resin you buy. It is written for people buying their first or second resin printer, and for workshops that need repeatable dimensional accuracy rather than just pretty miniatures.
1. What Actually Determines Resin Print Quality
Six things, in order of impact on your results:
- Exposure accuracy and stability — the single biggest factor. Wrong exposure ruins detail, dimension, and layer adhesion regardless of how good the LCD is.
- Pixel size relative to the part — a 22 µm pixel on a small build plate beats a 35 µm pixel on a huge one for detail work, but loses if you need to print large parts in one piece.
- Light collimation and uniformity — blurry or uneven light destroys fine features at the edges of the plate even when the center is perfect.
- Z-axis rigidity and lift mechanics — a wobbly gantry shows up as layer shifts and "cupped" flat surfaces.
- Release film and vat — the film controls peel force, which controls support loads and failure rate.
- Resin formulation — shrinkage, pigment load, and reactivity vary enormously between brands; a printer that is dialed in for one resin is not dialed in for another.
Everything else — Wi-Fi, cameras, app control, built-in carbon filters — is convenience. Nice to have, never the reason a print succeeds.
2. Resolution: Read Pixel Size, Not Marketing Numbers
"16K" describes how many pixels the LCD has, but what your part feels is the pixel size in microns, which is the build width divided by the horizontal pixel count. Two printers can both be "12K" and differ by 60% in pixel size because one has a 218 mm wide panel and the other a 290 mm panel.
| Panel class | Typical pixel size | XY resolution on part | Best for |
|---|---|---|---|
| 6.6" 4K mono | ~35 µm | 0.035 mm | Miniatures, hobby, low budget |
| 9" 8K mono | ~29 µm | 0.029 mm | General purpose, terrain, prototypes |
| 10" 12K mono | ~19–22 µm | 0.019–0.022 mm | Jewelry masters, dental models, fine detail |
| 13" 16K mono | ~16–18 µm | 0.016–0.018 mm | Large fine-detail parts, production dental |
| Large format 13"+ | 25–35 µm | 0.025–0.035 mm | Big single-piece prints, cosplay, props |
The trade-off is real: finer pixels usually mean a smaller build plate for a given panel generation. If your work is jewelry or dental, buy the smallest pixels you can afford and accept a smaller vat. If your work is cosplay helmets or large jigs, buy area and accept 30 µm.
If you want the fine-pixel end of that table without going to a 13 inch chassis, the ANTINSKY Ergate-01 PRO 16K is a useful reference point for what a current 16K mono panel delivers in practice.
Layer height matters less than people think in 2026. Most resins print cleanly at 0.03–0.05 mm, and pushing to 0.01 mm mostly multiplies print time while adding surface noise unless the resin is formulated for it. A well-exposed 0.04 mm print looks better than an over-exposed 0.02 mm print. Light bleed between layers sets a practical floor around 0.02 mm.
3. The Light Engine Is Where Cheap Printers Hide Their Cost
Two printers with identical LCDs can produce very different edges because of the light source and the collimation path behind the panel. Look for a collimated COB array with a stated uniformity figure, and be suspicious of any spec sheet that lists "matrix LED" without a uniformity number. A good unit holds 90%+ uniformity across the plate; a poor one drops to 70% at the corners, which is why your calibration print looks perfect in the middle and mushy at the edge.
Practical test after purchase: print the same small exposure test at the center, at each corner, and at each edge midpoint. If the corner results need more than about 0.3 s extra exposure to match the center, the light path is uneven and you should compensate in your slicer rather than chase it with global exposure.
4. Mechanical Details That Decide Reliability
Z axis and lift
Dual linear rails with a ball screw remain the reference for accuracy. A single rail with a well-supported carriage is fine up to about 10 inch class. What you want to avoid is visible flex when you gently push the build plate side to side with the machine off. Any movement there becomes layer shift under peel force.
Release film
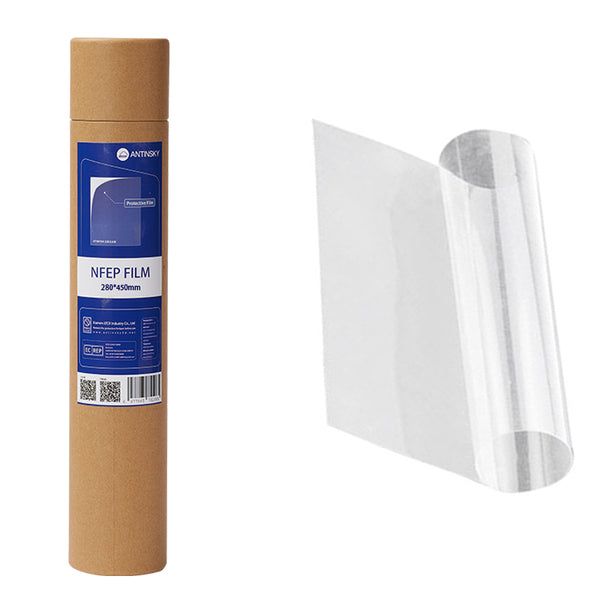
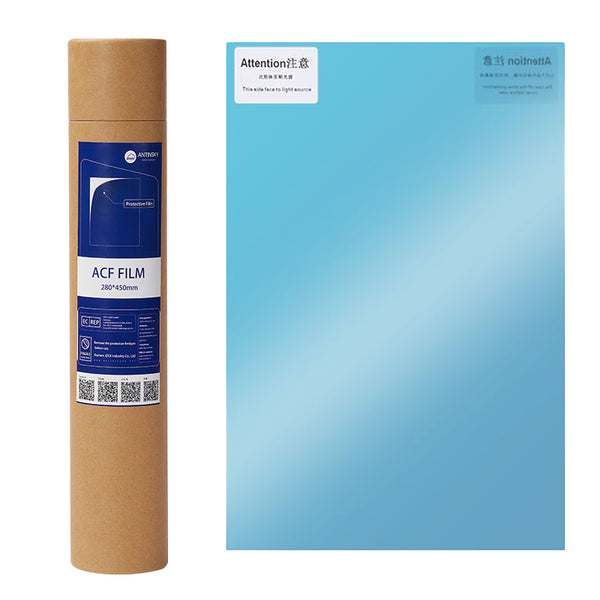
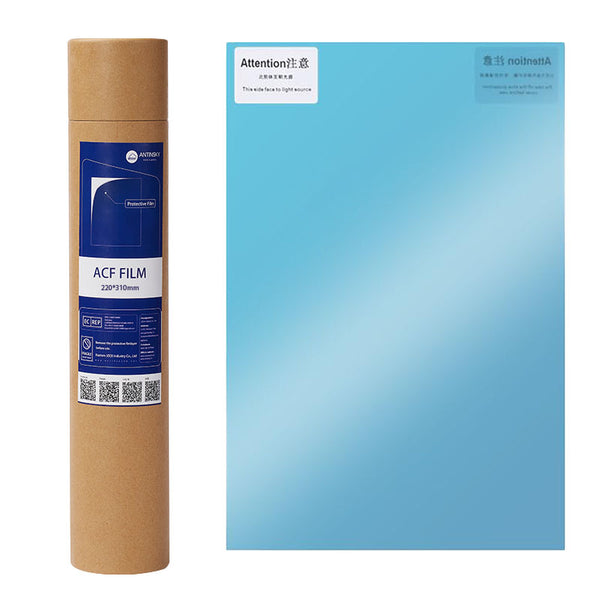
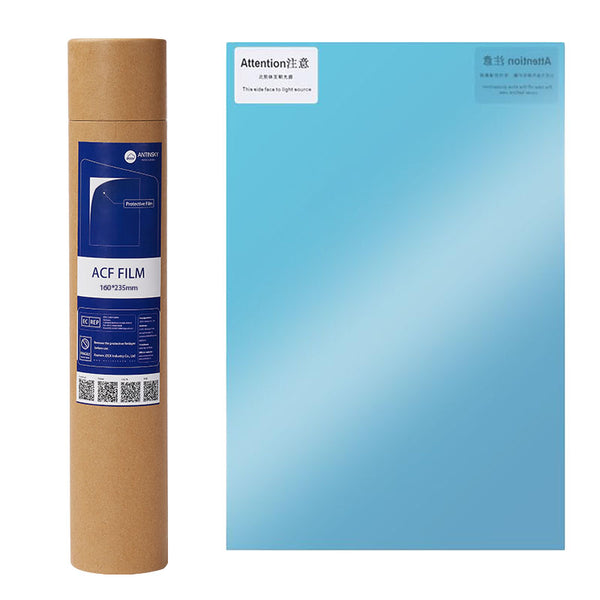
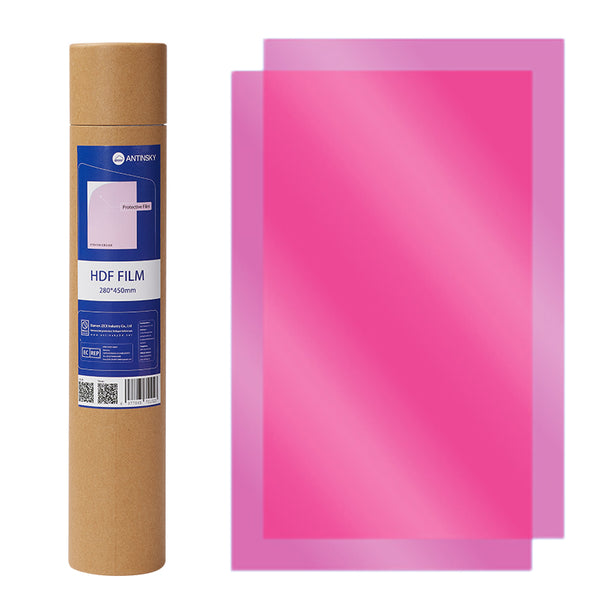
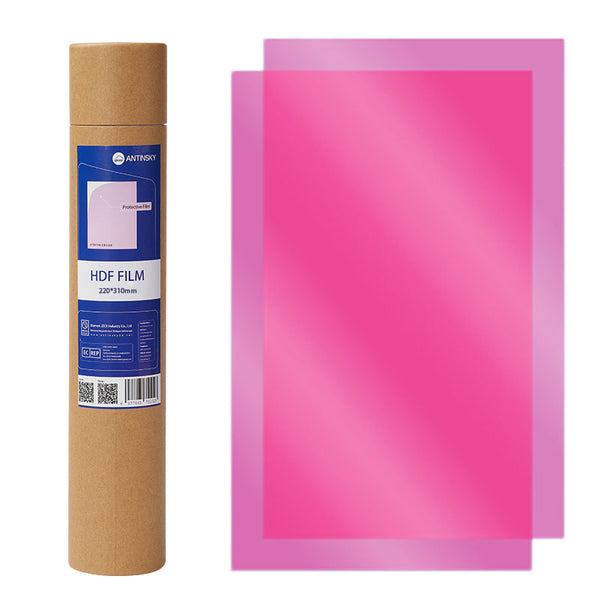
The film is a consumable and it dominates peel force. Standard FEP is cheap and works; nFEP/PFA releases more cleanly and lasts longer; ACF is the lowest-peel option and is popular for large cross-sections and fast lift speeds. Budget for film replacement as a running cost, and buy the size that matches your vat rather than trimming larger sheets — for example a 220×310 mm nFEP sheet for mid-size vats.
| Film | Peel force | Life | When to choose it |
|---|---|---|---|
| FEP | Baseline | Short–medium | Budget, small parts, gentle lift speeds |
| nFEP / PFA | Lower | Medium–long | Default choice for most users |
| ACF | Lowest | Medium | Large cross-sections, fast lift, big flat plates |
| HDF | Low | Medium | High-detail work needing consistent release |
Vat, plate, and drainage
A removable vat with a pour spout and clear level marks saves real time. A laser-textured build plate holds first layers far better than a sanded aluminum plate, and it holds better as it ages. If you plan to run multiple resins, buy spare vats — swapping resin in one vat is the most common source of contamination and failed prints.
5. Exposure Calibration: The Ninety-Minute Procedure
Do this once per printer and once per new resin. You need: a calibration model with fine features (an exposure matrix or a resolution town test), your slicer, and about an hour of print time.
Step 1 — Establish a baseline
Start from the resin manufacturer's recommended normal exposure and set bottom layers to 5–6 at 25–30 s. Do not calibrate normal exposure with the model sitting directly on the plate; support it at a 15–20° tilt so peel forces resemble real prints.
Step 2 — Run an exposure matrix
Print a stepped test that exposes different regions at 1.5, 1.8, 2.1, 2.4, 2.7, and 3.0 s. Judge on three criteria only:
- Fine negative features (holes, slots, thin gaps) — are they open, or bridged shut?
- Fine positive features (pins, ribs, text) — are they present and crisp, or rounded and swollen?
- Dimensional check — measure a known 10 mm feature with calipers. Over-exposure grows it; under-exposure shrinks and softens it.
Step 3 — Choose slightly on the "just closed" side
Pick the exposure where the smallest holes are just barely open. That is the practical optimum: enough cure for layer bonding, not so much that detail bleeds. If the model is structural rather than visual, add 10–15% to that value for margin.
Step 4 — Tune bottom layers separately
Bottom exposure exists to bond to the plate, not to make a pretty surface. Set it high enough that the raft survives peel forces and low enough that it does not create a "elephant foot" flare. If your parts have a visible flare at the base, reduce bottom exposure before you change anything else, and add a chamfer to the raft in the slicer.
Step 5 — Set rest and lift for the machine, not for the resin
| Setting | Small printer (6–9") | Large printer (10–13") | Notes |
|---|---|---|---|
| Lift distance | 5–6 mm | 7–9 mm | Must exceed part peel deformation |
| Lift speed | 60–90 mm/min | 40–70 mm/min | Slower = fewer failures, more time |
| Retract speed | 150–240 mm/min | 120–200 mm/min | Fast retract is safe |
| Rest before print | 0.5–1 s | 1–2 s | Lets resin settle after retract |
| Rest after retract | 0.5 s | 1 s | Critical on large plates |
Step 6 — Control temperature
Resin viscosity and reactivity both change with temperature. A vat at 18 °C prints noticeably differently from the same resin at 26 °C: colder resin flows slower, needs longer rest times, and often needs more exposure. If your workshop swings more than about 5 °C across the year, either heat the vat or re-run a short calibration each season. This is the most common reason a "suddenly failing" printer is actually a cold printer.
6. Matching Resin to Application
The printer is half the system; the resin is the other half. Buy the resin class your application needs before you buy accessories.
| Application | Resin class | Key property | Watch out for |
|---|---|---|---|
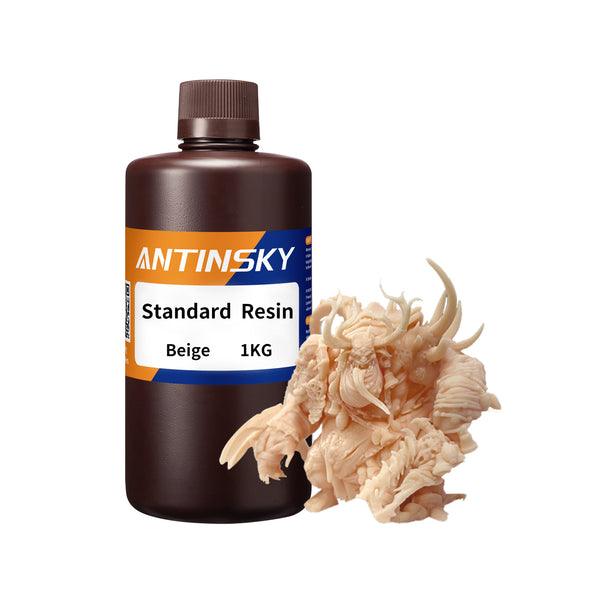
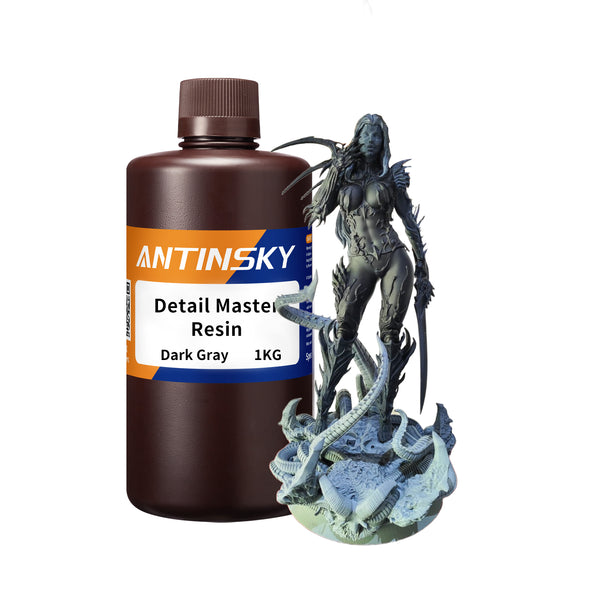
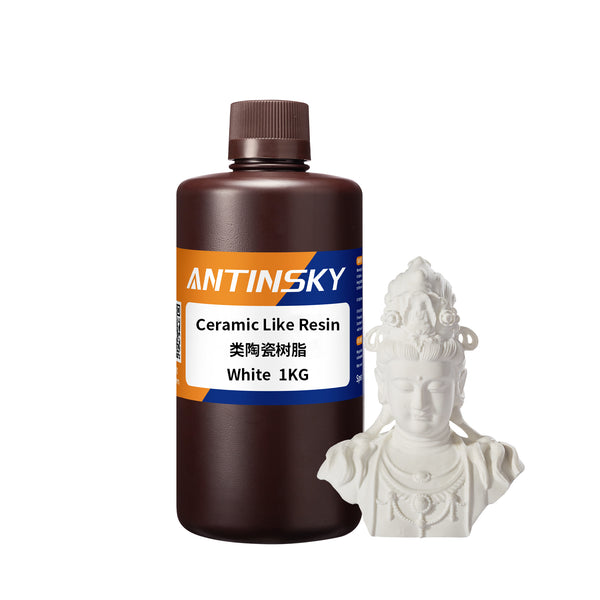
| Miniatures, display models | Standard / detail resin | Fine detail, low shrinkage | Brittle; not for functional parts |
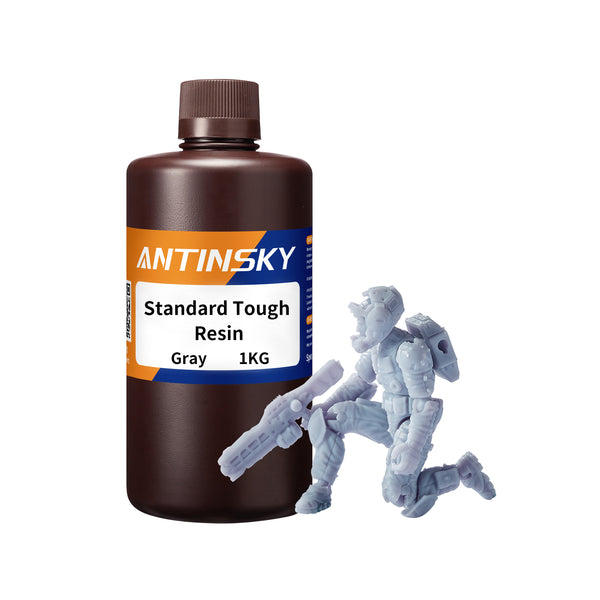
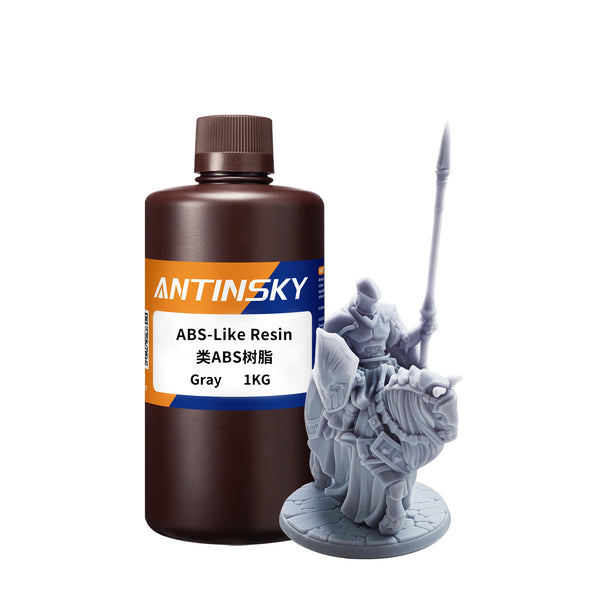
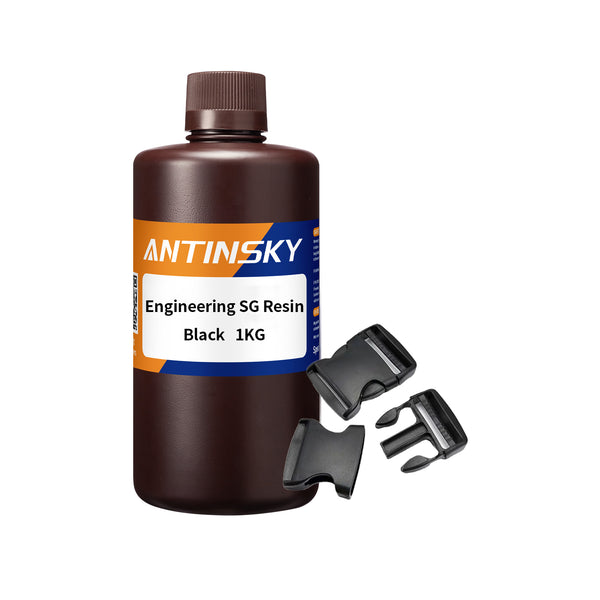
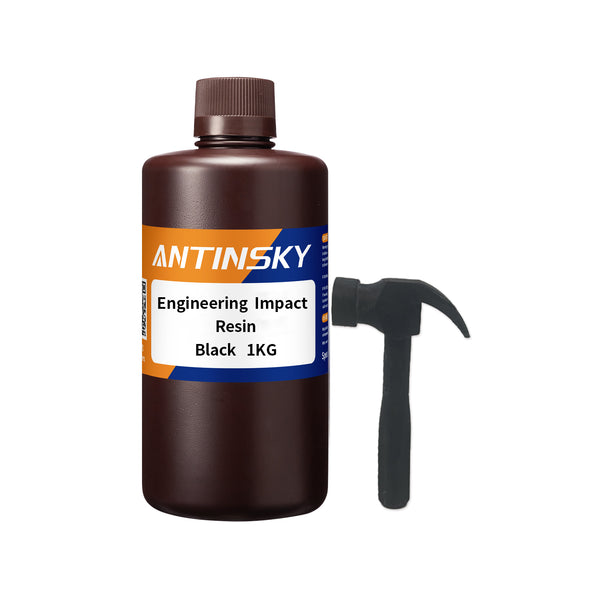
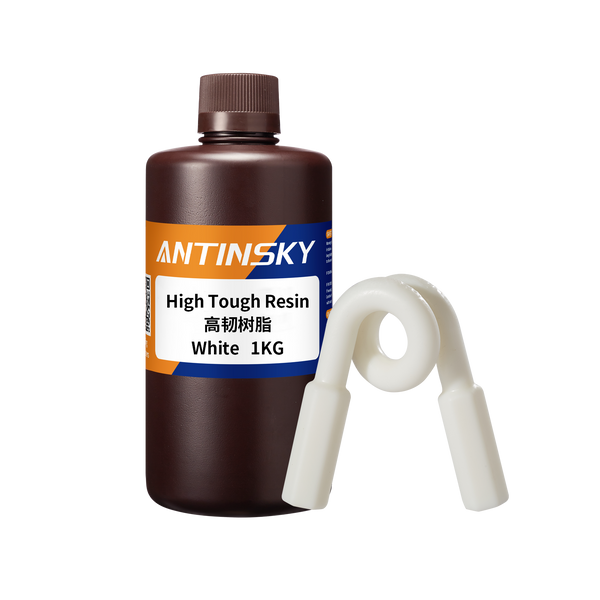
| Functional brackets, housings | ABS-like / tough | Impact resistance | Needs more exposure; warps if thin |
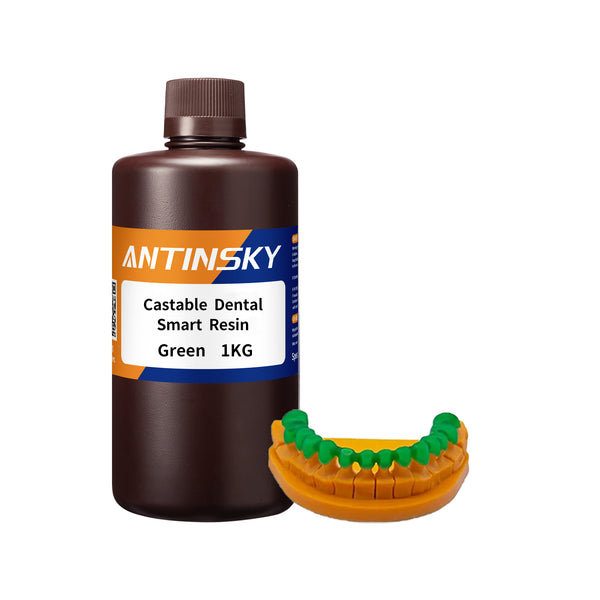
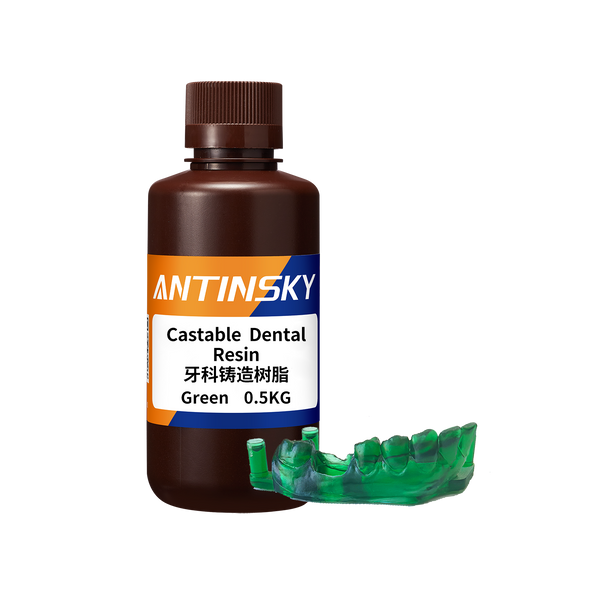
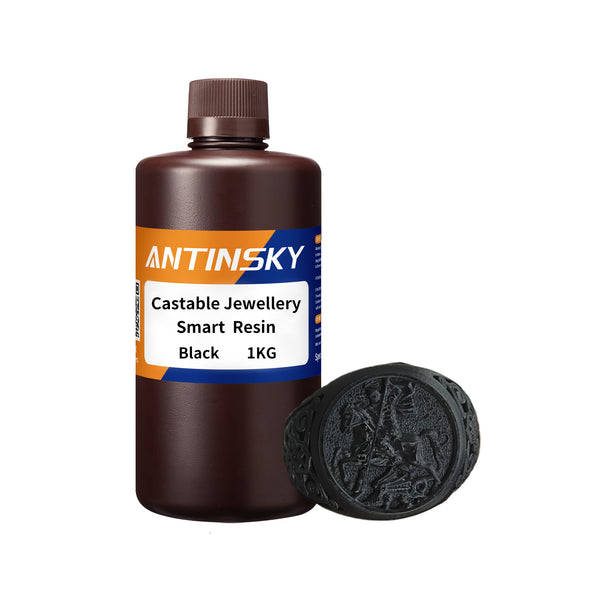
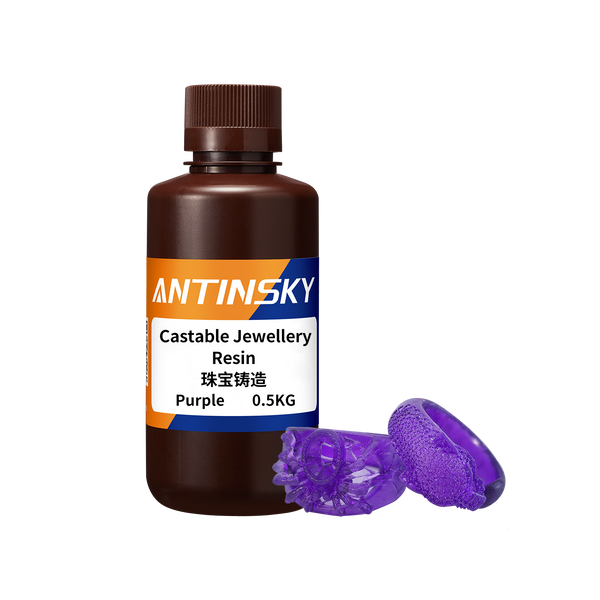
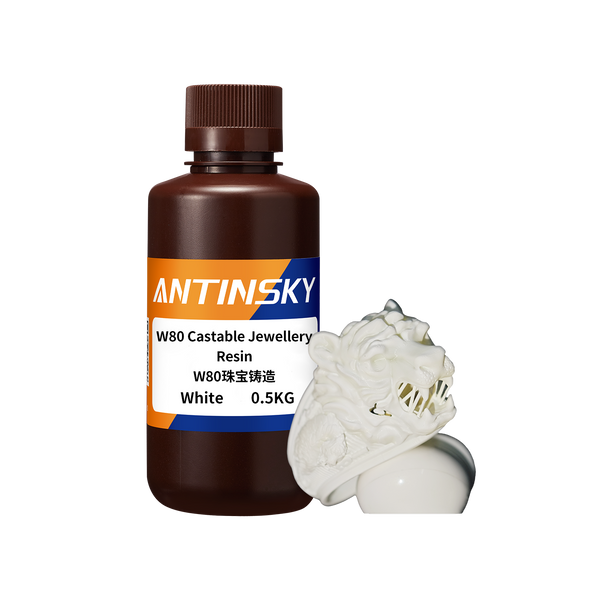
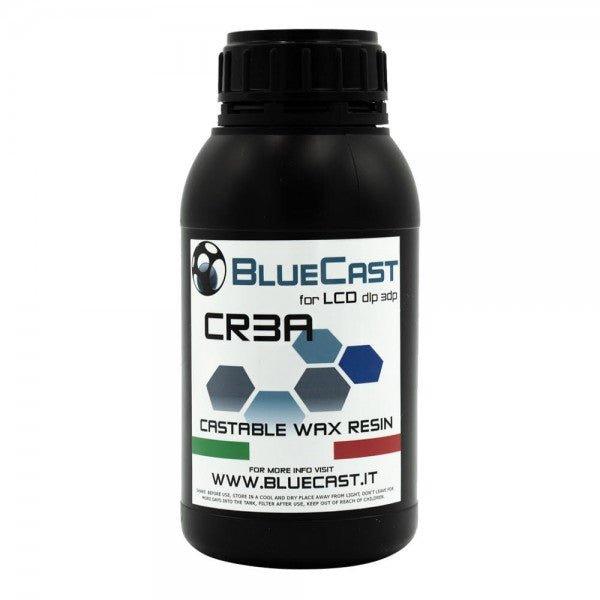
| Jewelry lost-wax casting | Castable wax-filled | Clean burn-out, zero ash | Expensive; strict exposure window |
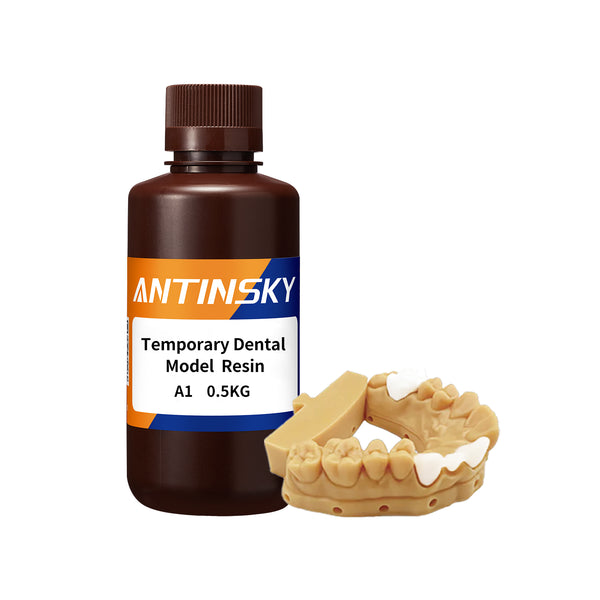
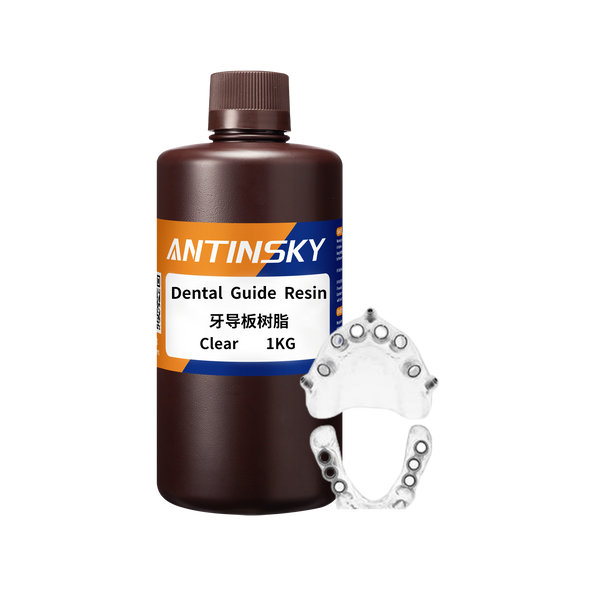
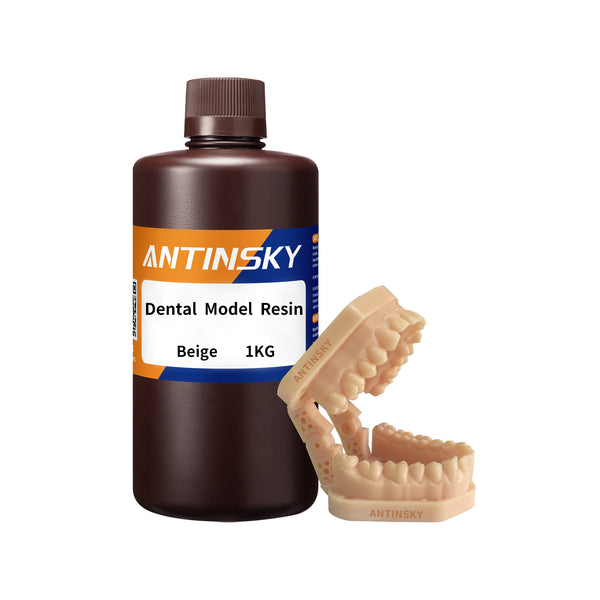
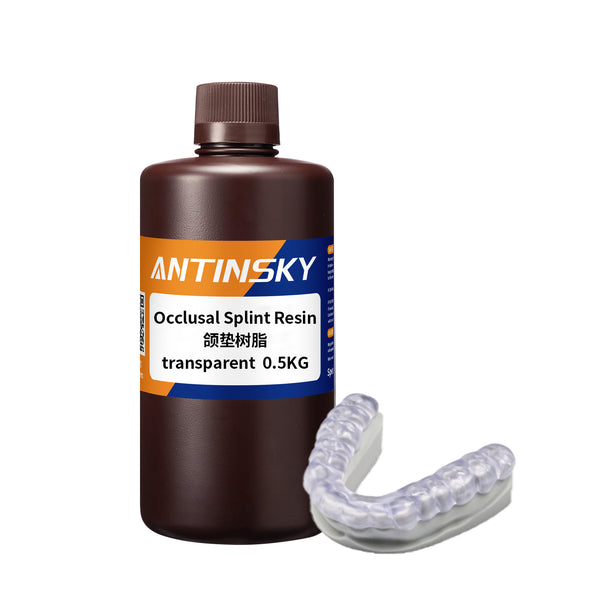
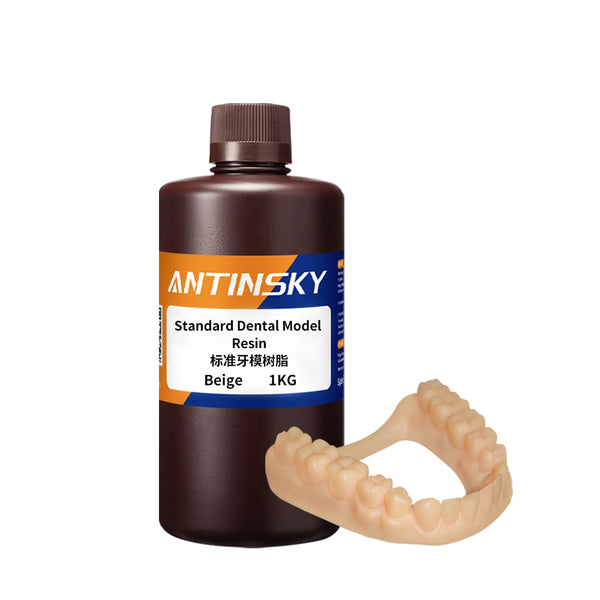
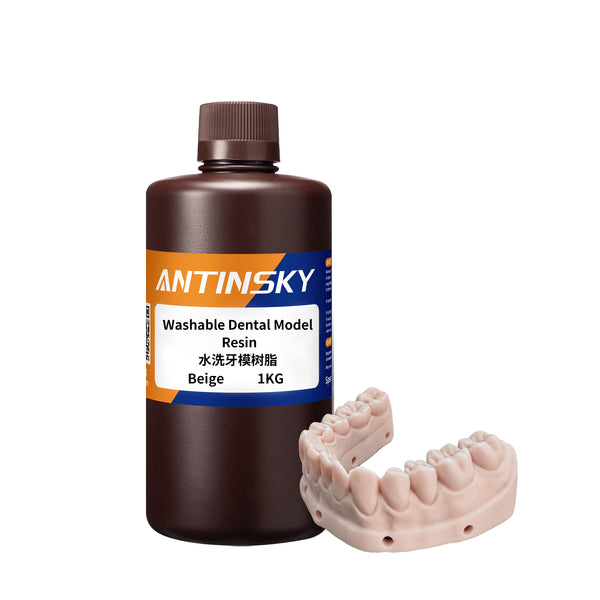
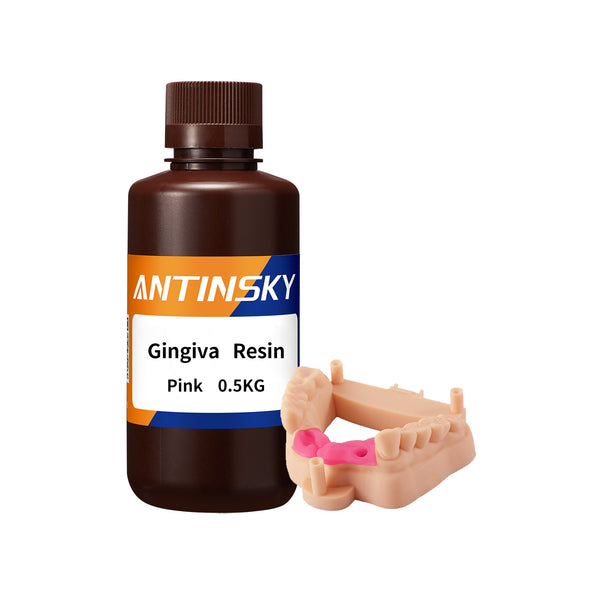
| Dental models and guides | Biocompatible-class dental | Accuracy, validated workflow | Requires validated washer/cure units |
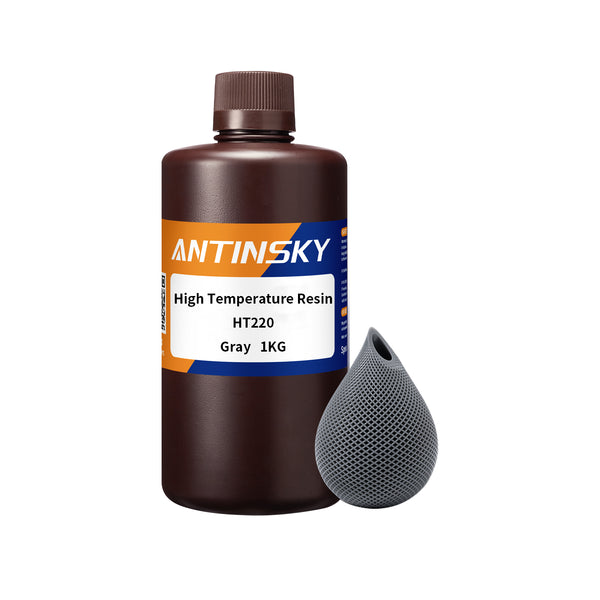
| High-temp fixtures | High-temperature resin | Heat deflection >150 °C | Post-cure is mandatory for properties |
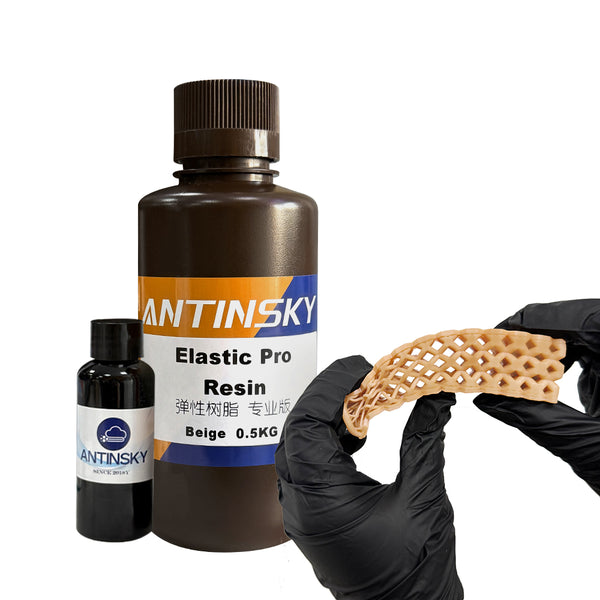
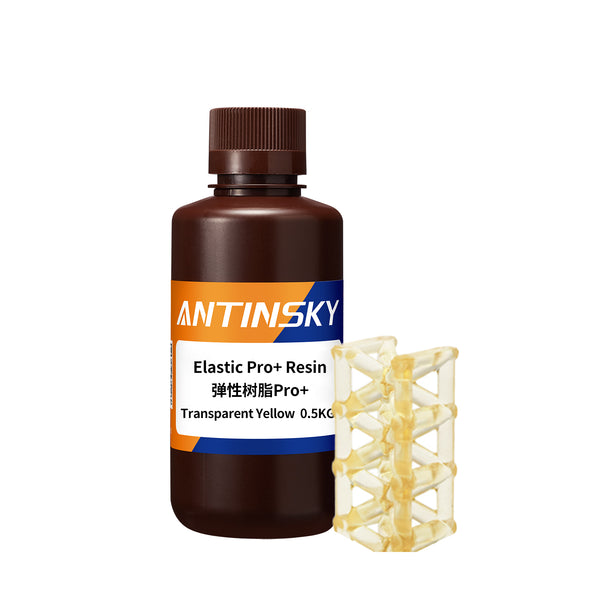
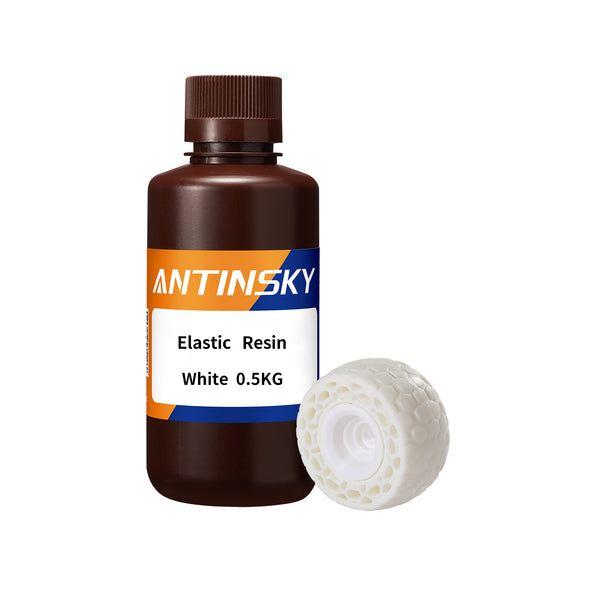
| Gaskets, grips | Elastic / flexible | Elongation | Hard to support; slow lift speeds |
| Beginner / classroom | Water-washable | No IPA handling | More brittle, absorbs water over time |
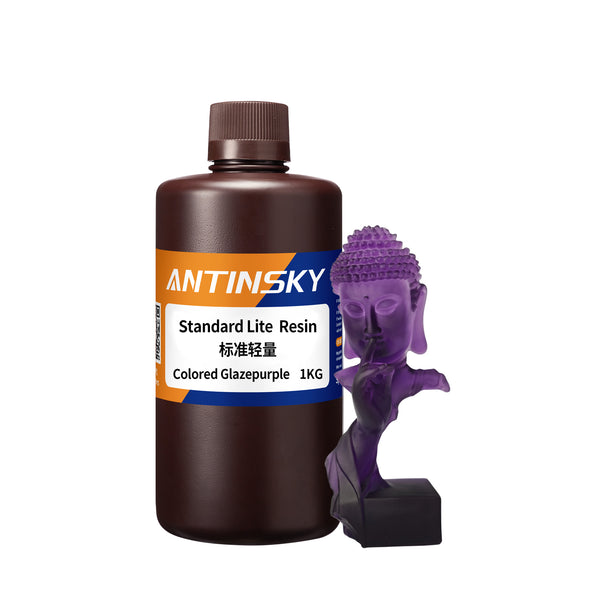
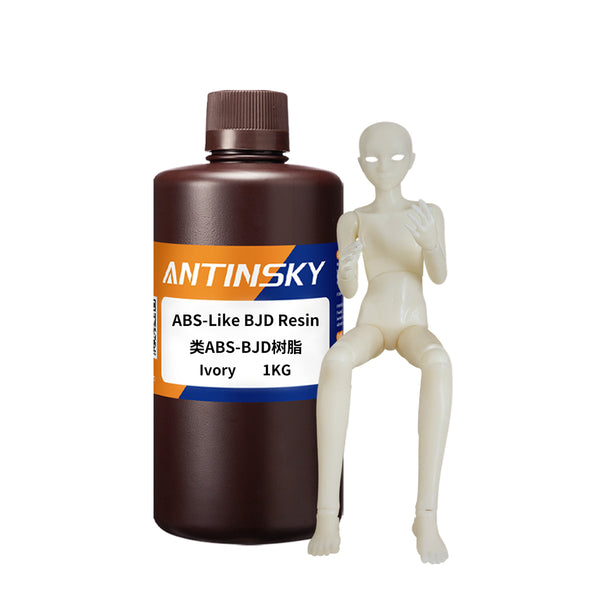
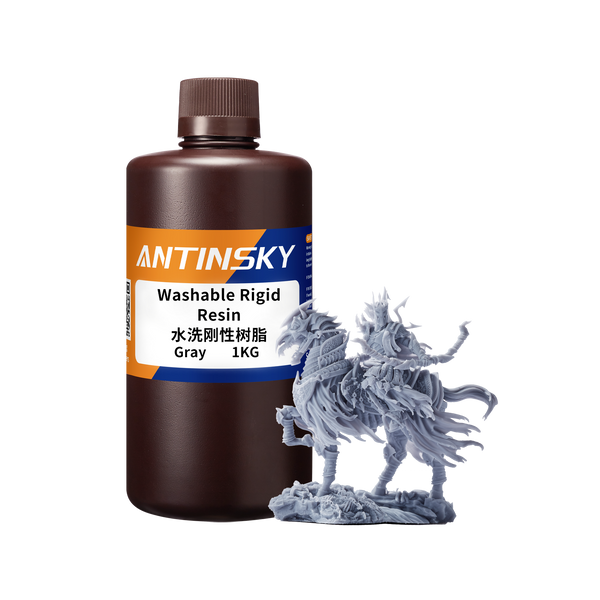
For a general-purpose shop, two resins cover most work: a standard resin or detail resin for visual parts, and an ABS-like resin for anything that gets handled. Adding a castable or high-temperature grade later is cheaper than trying to make one resin do everything.
7. Post-Processing Is Part of the Purchase Decision
Do not budget for the printer alone. A realistic resin setup includes:
- Wash station or two sealable jars — one dirty wash, one clean rinse
- Cure station with a turntable and a measured UV dose
- Nitrile gloves, safety glasses, ventilation — non-negotiable
- IPA or resin detergent at a realistic consumption rate
- Waste handling — never pour uncured resin or dirty IPA down a drain; cure the residue in sunlight and dispose of it as solid waste
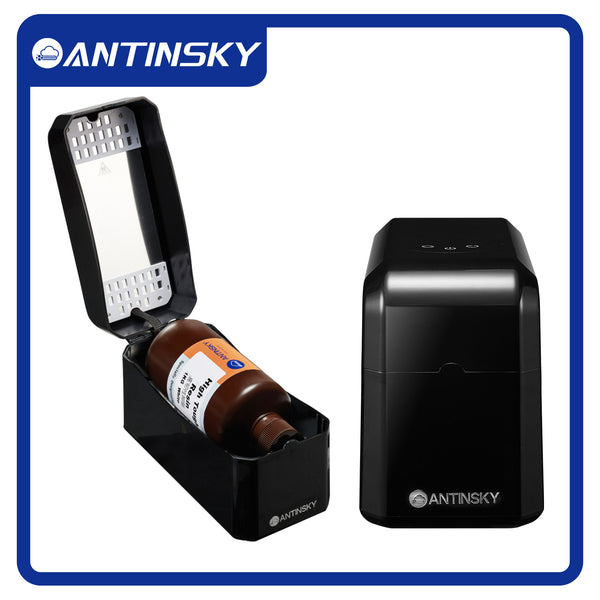
A dedicated unit such as the Antmega Cure UV curing machine removes the guesswork, because dose and rotation are repeatable instead of eyeballed in sunlight. A printer without a cure station produces parts that feel fine and are secretly under-cured, which means they creep, crack, and leach. Treat washer and curer as mandatory line items, not upgrades.
8. What to Actually Buy
| Tier | What you get | Who it suits |
|---|---|---|
| Entry (6–9", 4K–8K mono) | Good detail, small vat, manual leveling | First printer, miniatures, learning calibration |
| Mid (10", 12K mono) | ~20 µm pixels, better light engine, sometimes auto-leveling | Jewelry, dental models, small production runs |
| Pro (13", 16K mono) | Large plate with fine pixels, rigid Z, heated vat options | Dental labs, jewelry production, engineering prototypes |
At the entry tier, spend the saved money on a washer, a curer, spare film, and two vats. At the pro tier, spend it on temperature control and a spare LCD — panels are consumables and a spare keeps a deadline from becoming a crisis.
Frequently Asked Questions
Is a 16K resin printer actually better than 12K?
Only if the pixel size is genuinely smaller for the build area you need. A 16K panel stretched over a much larger plate can have a coarser pixel than a 12K panel on a smaller plate. Always compare microns, not the K number.
How long does an LCD panel last?
Typically 1,000–2,000 hours of exposure depending on brightness settings and resin. Use the screen saver / dimming feature if your printer has one, and keep a spare panel for production machines.
Why do my prints stick to the film instead of the plate?
Usually insufficient bottom exposure, a cold vat, a worn or greasy film, or too large a first-layer cross-section. Increase bottom exposure in small steps, warm the resin, clean the film with the correct solvent, and hollow large parts with drain holes.
Do I need a heated vat?
It helps a lot if your workspace drops below about 20 °C, because cold resin slows flow, raises viscosity, and demands longer rest times. If you print year-round in a cold room, a vat heater is one of the highest-value accessories you can buy.
Can I mix resins?
You can blend resins of the same chemistry family to tune toughness or color, but do not mix water-washable with solvent-washable resins, and never mix castable with structural resins. Re-calibrate exposure for any blend you create.
How often should I change the film?
When you see clouding, dimpling, or a visible scratch pattern in the print area, or when failure rates rise without another explanation. On a busy machine that can be every few hundred hours; on a hobby machine, months.
Is resin printing safe at home?
It is manageable with discipline: gloves, eye protection, ventilation, no eating or drinking in the work area, and proper waste curing. Uncured resin is a skin sensitizer, and repeated exposure without gloves is the most common way hobbyists develop a reaction.
What single accessory improves results most?
A proper cure station with a measured dose, followed by a second wash jar. Most "bad resin prints" are actually under-washed or under-cured prints.
Bottom Line
Buy for pixel size relative to your parts, a light engine with real uniformity, and a rigid Z axis. Then spend ninety minutes calibrating exposure properly, and re-check it whenever the resin or the room temperature changes. That combination — not the resolution badge on the box — is what separates a resin printer that earns its bench space from one that ends up on a shelf.