






























Most FDM printer purchases are decided by a spec table, and most buyers regret at least one line of that table. The machine with the biggest build volume turns out to be too slow for the parts you actually print. The cheapest high-speed machine turns out to have a hotend that cannot sustain the flow its marketing claims. The fully locked ecosystem prints beautifully until you want a 0.2 mm nozzle for detail work and discover you cannot buy one.
This guide is a buying framework rather than a list of models. It covers the five decisions that determine whether a printer fits your work — motion system, usable build volume, hotend flow, bed and surface, and ecosystem openness — and then gives concrete budget tiers and an upgrade order so you spend money where it changes results.
1. Start With Parts, Not Printers
Before comparing machines, write down the three parts you most want to print, with their real dimensions and the material they need. Then answer four questions:
- Largest single dimension — this sets your minimum build volume, with 10% headroom for brims and supports.
- Material — PLA and PETG run on anything; ABS, ASA, PC, and nylon need an enclosure and often a hotter hotend.
- Time budget — if a part must finish overnight, flow rate matters more than resolution.
- Quantity — one-offs favor flexibility; batches favor reliability and repeatability.
A printer that nails these four answers beats a printer that wins on paper. Everything below is about mapping those answers to hardware.
2. Motion System: The Decision That Shapes Everything Else
Three architectures dominate the consumer market, and each has a characteristic failure mode.
| Architecture | Strength | Weakness | Typical use |
|---|---|---|---|
| Bedslinger (moving bed, Y) | Cheap, simple, easy to service | Inertia limits speed and tall-part stability | Entry machines, 180–250 mm cubes |
| CoreXY (moving gantry) | Fast, rigid, scales to large volumes | More complex, belts must be tensioned correctly | Mid and high-end, 250–350 mm |
| Bedslinger large / hybrid | Big volume at low cost | Heavy bed = ringing at speed | Props, large one-piece prints |
| Delta | Tall, fast in XY, compact footprint | Non-Cartesian slicing quirks, hard to enclose | Tall vases, niche use |
The practical rule: under about 220 mm cubed, a bedslinger is fine and cheaper. Above 250 mm, CoreXY is worth the extra money because you are moving a light gantry instead of a heavy bed. If you plan to print fast — 200 mm/s and up — CoreXY with linear rails is the safer foundation, because speed amplifies every gram of moving mass.
3. Build Volume: The Number Is a Lie
Advertised volume is the theoretical maximum with zero clearance. Real usable volume is smaller:
- Brims and skirts consume 5–10 mm on each side.
- Purge towers and multi-color waste can eat 20–40% of the plate on multi-material prints.
- Bed mesh margins — many machines cannot probe the outer 10 mm reliably.
- Enclosure clearance — a part that fits the volume may still not fit with the door closed.
If you need a 250 mm part, buy 300 mm. If you need 300 mm, buy 350 mm. The cost difference is smaller than the cost of splitting a part into glued sections that then fail at the seam.
Do not over-buy area you will not use, though. A large plate that is always 30% empty still takes longer to heat, wastes more power, and sags more in the middle. Match the plate to the work.
4. Hotend and Extruder: Where Flow Rate Is Decided
High-speed printing is a flow problem, not a motion problem. Flow in mm³/s is roughly:
flow = layer height × extrusion width × speed
A 0.4 mm nozzle, 0.2 mm layers, at 250 mm/s demands 20 mm³/s. A standard V6-class hotend tops out near 12–15 mm³/s on PLA, so the printer will either slow down or under-extrude. This is why "500 mm/s" claims are meaningless without a flow figure.
| Hotend class | Realistic PLA flow | Notes |
|---|---|---|
| Standard V6-style | 10–15 mm³/s | Fine for 0.4 mm at moderate speeds |
| Volcano / long melt zone | 20–30 mm³/s | Needs higher temps and better cooling |
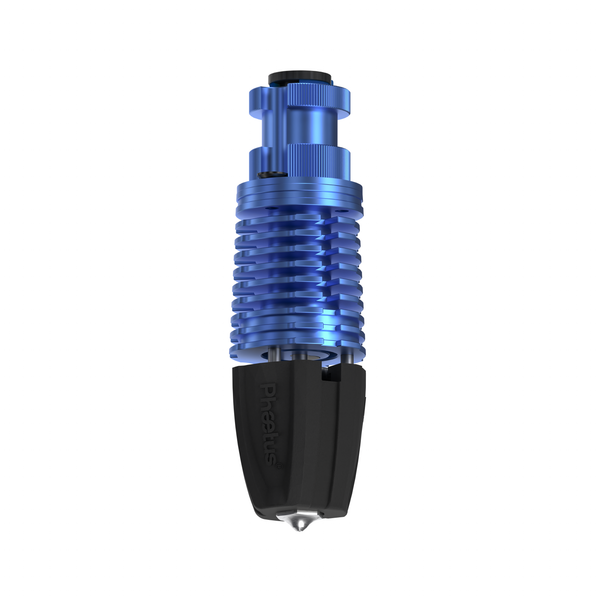
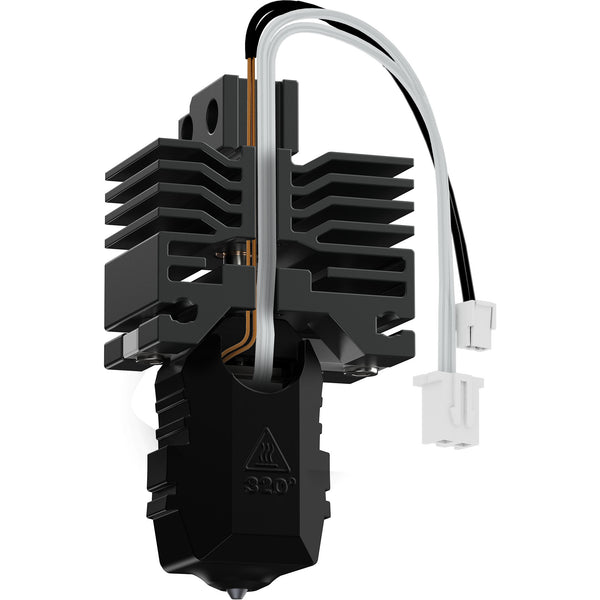
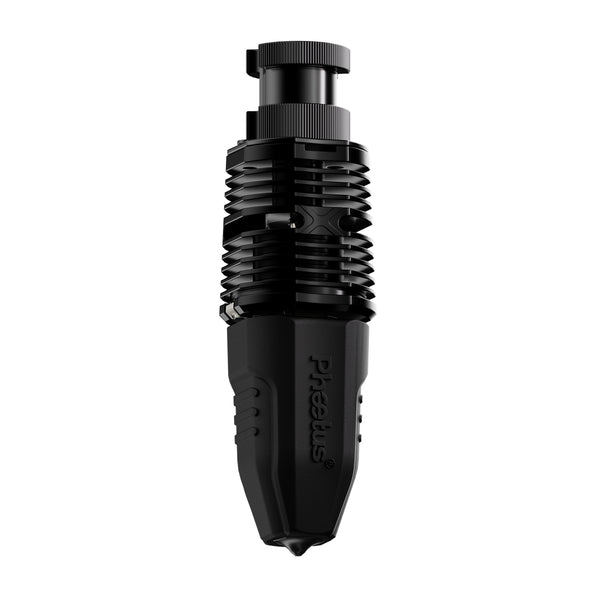
| High-flow (Rapido class) | 30–45 mm³/s | Pairs well with 0.6 mm nozzles |
| UHF / industrial | 50 mm³/s+ | Requires serious part cooling and rigid motion |
If you print functional parts at 0.6 mm width, a high-flow hotend like a Rapido-class hotend is the single most effective speed upgrade you can make — more effective than raising the speed slider, because the speed slider only helps if the melt zone can keep up.
On the extruder side, dual-gear direct drive wins for flexible materials and retraction control; a well-tuned Bowden is fine for PLA and PETG on a budget machine. Look for a filament path that is short, constrained, and easy to clear when a print fails mid-air.
5. Bed, Surface, and First Layer
The bed is where prints succeed or fail, and it is the cheapest thing to fix. Three surface families matter:
| Surface | Adhesion | Release when cool | Durability | Best for |
|---|---|---|---|---|
| Textured PEI | Excellent | Yes | High | PLA, PETG, ABS, most materials |
| Smooth PEI | Excellent | Yes | High | Glossy bottom faces, PETG with care |
| Cold plate / adhesive sheet | High when new | Yes | Medium (consumable) | PLA at low bed temps, warp-prone thin parts |
| Glass | Moderate | Sometimes | High | Flatness, dimensional accuracy |
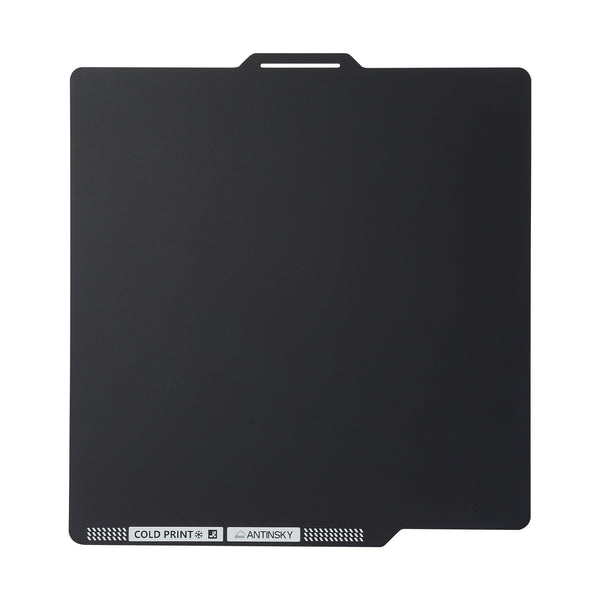
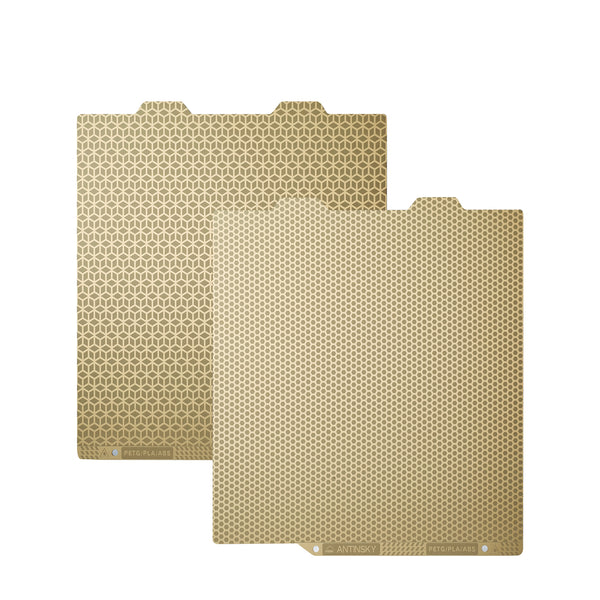
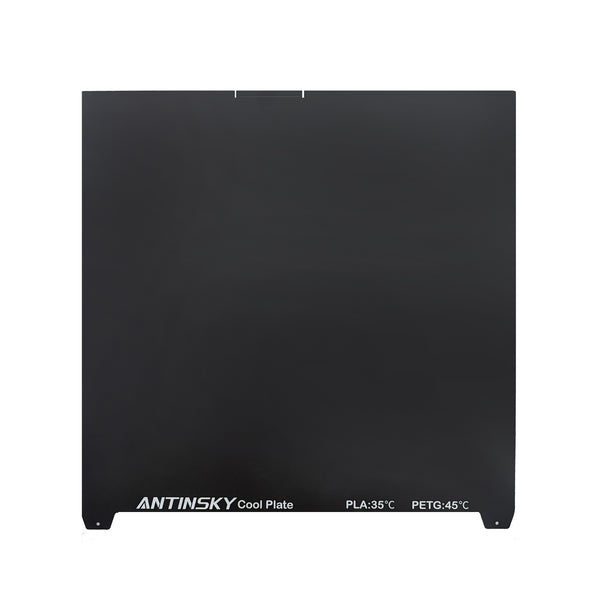
A removable, magnetic spring-steel sheet with PEI on one side is the best default in 2026: it flexes to release parts, it tolerates PETG if you avoid too much squish, and it is cheap to replace. A cold PEI build plate is a good complement for thin PLA parts that warp when the bed is hot.
Bed leveling matters more than bed material. Automatic mesh leveling with a real probe is worth paying for; "auto leveling" that only measures four corners is not the same thing. Check whether the machine probes a dense grid and whether it stores the mesh per-plate.
6. Enclosure and Material Range
Open-frame printers handle PLA, PETG, TPU, and (with care) PLA variants. Anything with significant shrinkage — ABS, ASA, PC, nylon, PP — wants still air at 40–60 °C.
| Material | Enclosure | Bed temp | Nozzle temp | Notes |
|---|---|---|---|---|
| PLA | Not needed | 55–65 °C | 200–220 °C | Enclosure can cause heat creep |
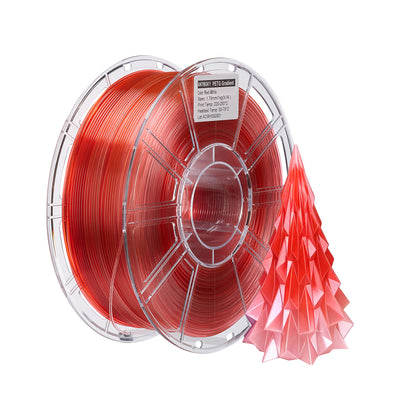
| PETG | Optional | 70–85 °C | 230–250 °C | Dry it; stringing is moisture-driven |
| ABS / ASA | Required | 95–110 °C | 245–265 °C | Needs filtration and ventilation |
| PC | Required + hot | 100–115 °C | 270–300 °C | All-metal hotend mandatory |
| Nylon / PA-CF | Required + dry | 80–100 °C | 260–290 °C | Hygroscopic; dry before every spool |
| TPU | Not needed | 40–60 °C | 220–240 °C | Direct drive strongly preferred |
If ABS or ASA is on your list, buy an enclosed machine rather than building an acrylic box around an open one. A proper enclosure gives you heated chamber air, a filtered exhaust path, and a door that does not vibrate — all three matter for warp-free parts.
7. Features Worth Paying For
- Automatic bed mesh with dense probing — the highest-value automation on any printer.
- Input shaping / vibration compensation — turns ringing into clean corners at speed. Software-based on most modern machines, and it genuinely works.
- Filament runout sensor — cheap insurance for long prints.
- Power-loss recovery — useful if your power is unreliable; unreliable if the firmware is buggy.
- Heated chamber — only worth it if you print engineering materials regularly.
- Camera and remote monitoring — convenience, not quality. Nice for long prints.
Features not worth paying a premium for: a touchscreen with animations, cloud-only slicing, and "AI failure detection" that has not been validated on your materials.
8. Ecosystem: Open vs Locked
A locked ecosystem gives you a curated experience: profiles that work, a first layer that just happens, and support that answers. The cost is choice — nozzles, hotends, firmware, and sometimes filament.
An open ecosystem lets you fit a 0.2 mm nozzle for detail, a 0.8 mm for fast drafts, a hardened nozzle for carbon-fiber filament, and any slicer you like. The cost is tuning time.
For a workshop or anyone printing functional parts in engineering materials, openness matters, because you will want to change the hotend and nozzle at some point. For a household that prints decorations and toys, a locked ecosystem is often the better experience. Be honest about which user you are.
9. Budget Tiers and What to Buy
| Tier | What you should expect | What to skip |
|---|---|---|
| Entry (~$200–350) | 220 mm bedslinger, auto mesh, decent hotend, PLA/PETG focus | Enclosure claims, high-speed marketing |
| Mid (~$400–700) | CoreXY or rigid bedslinger, input shaping, 250–300 mm, all-metal hotend | Multi-color add-ons you will rarely use |
| Enthusiast (~$700–1200) | Enclosed CoreXY, 300 mm+, high-flow hotend, engineering materials | Unnecessary dual extruders |
| Production (~$1500+) | Large format, heated chamber, hardened motion, serviceable parts | Consumer-grade machines pushed past their duty cycle |
At every tier, reserve 15% of the budget for the things that actually improve output: a filament dryer, spare nozzles, a decent set of calipers, and a second build plate. A $300 printer with a $60 dryer and dry filament prints better than a $500 printer with wet filament.
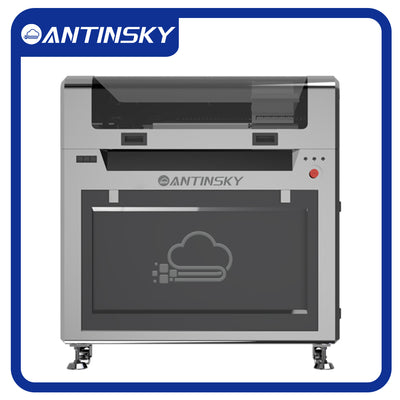
For large-format work specifically, a machine like the ANTBULL656 large-format FDM printer shows what the industrial end looks like — and why consumer machines with similar volumes cut corners on frame rigidity and chamber control.
10. Upgrade Order That Actually Pays Off
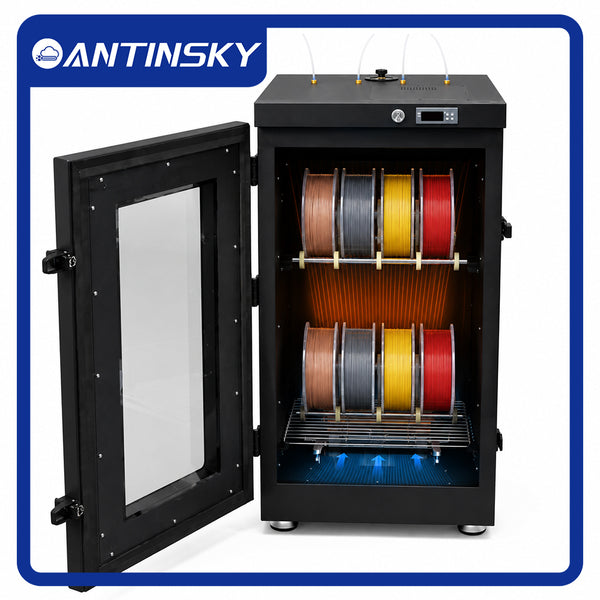
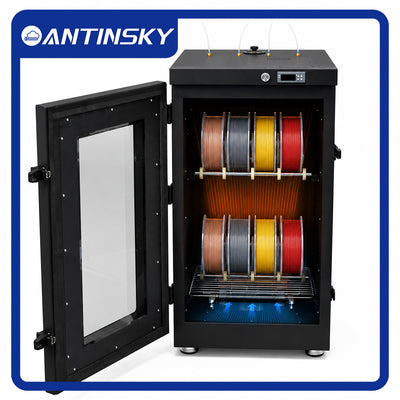
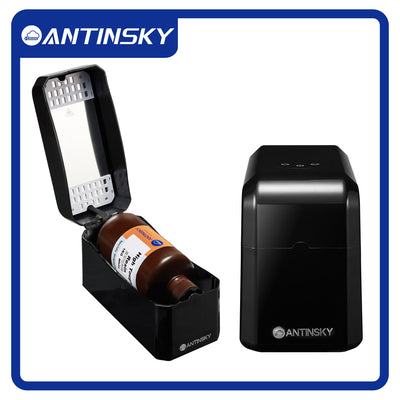
- Dry your filament. A dryer cabinet costs less than a spool of engineering filament and fixes more print defects than any hardware upgrade.
- Nozzle and hotend. Match the melt zone to your flow needs before chasing speed.
- Build plate. A fresh PEI sheet restores first-layer reliability instantly.
- Cooling. Better part cooling unlocks real speed on PLA and PETG without surface defects.
- Enclosure. Only after materials demand it — and only if you also handle ventilation.
A filament dryer cabinet at step one is the least glamorous purchase in 3D printing and the one that most reliably turns "why does PETG string" into a solved problem.
11. A Starter Setup That Works
If you are buying your first machine and want a setup that will not fight you:
- One enclosed or semi-enclosed CoreXY printer in the 250–300 mm class
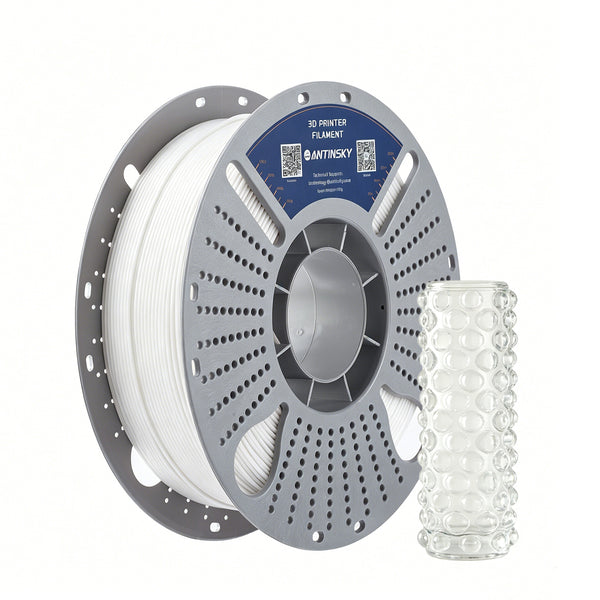
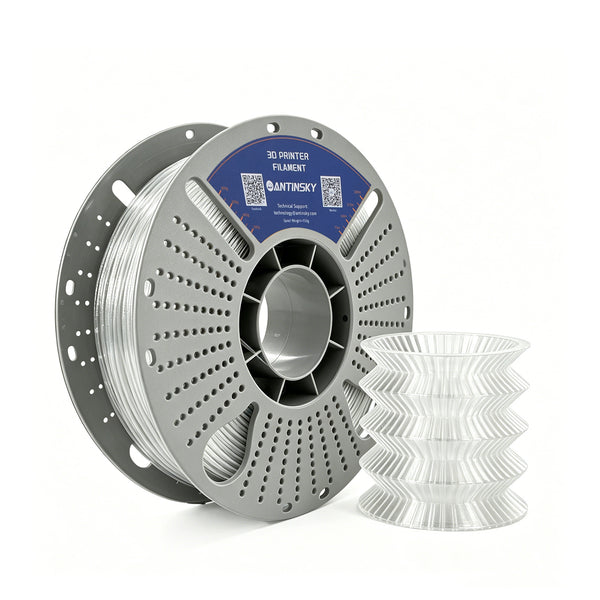
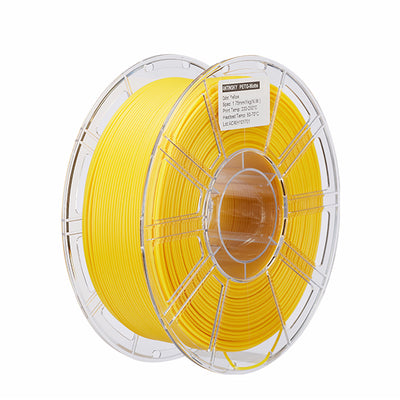
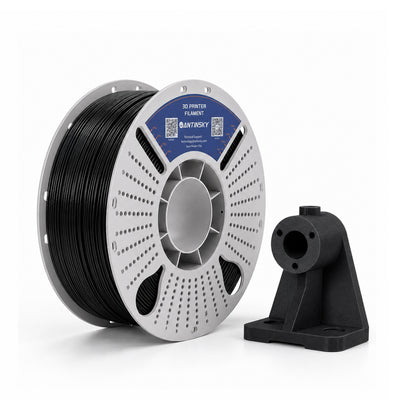
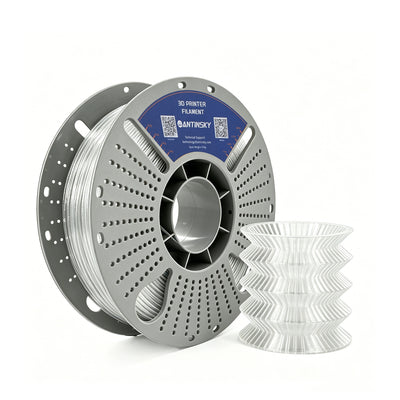
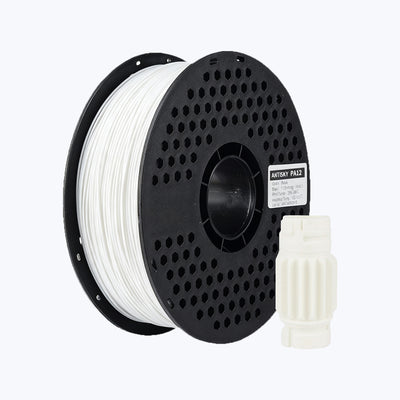
- PLA for learning, PETG for functional parts — start with PLA+ and PETG in neutral colors
- A dryer, a spare 0.4 mm and 0.6 mm nozzle, and calipers
- One spare build plate sheet
That combination covers the majority of real-world printing, and every upgrade after it is driven by a specific part you could not make — which is the right reason to spend money.
Frequently Asked Questions
Is a more expensive printer more accurate?
Not necessarily. Dimensional accuracy comes from a rigid frame, calibrated steps, and a well-tuned flow rate. A cheap rigid machine tuned properly beats an expensive flexible one. Spend on rigidity and hotend quality, then calibrate.
Do I need an enclosure for PETG?
No, but it helps in drafty rooms. PETG warps far less than ABS, and an enclosure mainly protects against air currents and dust. If your room is stable, skip it; if parts lift at the corners, a cardboard box will prove the point before you buy anything.
How much build volume do I actually need?
For most hobby and workshop work, 250 mm cubed covers nearly everything. Buy larger only if you have a specific part that needs it, because large plates cost time and power on every print.
Is 0.4 mm the best nozzle size?
It is the best default: good detail, reasonable speed, wide material compatibility. Add a 0.6 mm for functional parts and a 0.2 mm only if you print small detailed models regularly.
Do high-speed printers need special filament?
They benefit from it. High-flow printing needs filament with consistent diameter and good melt behavior; cheap filament with ±0.05 mm tolerance will show as surface artifacts at 250 mm/s. Buy quality filament before buying speed.
What is input shaping and do I need it?
It is firmware that cancels ringing by predicting frame vibration. If you print above roughly 120 mm/s, you want it. On modern machines it is automatic; on older ones it requires an accelerometer and a calibration routine.
Should I buy a multi-color printer?
Only if multi-color is central to your work. Purge waste, print time, and tuning effort are substantial. A single-material machine plus a paint-and-finish workflow is cheaper and often better looking.
When should I replace rather than upgrade a printer?
When the frame itself is the limitation — flexing gantry, non-flat extrusions, or a controller that cannot run modern firmware. Bolting parts onto a weak frame produces a machine that is expensive and still inaccurate.
Bottom Line
Decide from your parts: pick motion for the size and speed you need, buy 10–15% more volume than your largest part, make sure the hotend can sustain your flow, and get a bed that releases when cool. Then reserve part of the budget for drying and spares, because those decide whether the machine is used weekly or abandoned in a corner.