























Most beginners buy too much filament and too many materials. They order a five-spool variety pack, print two decent models, then spend the next three months fighting stringing, warping, and wet filament — convinced the printer is broken when the real problem is that they are learning on a material that punishes every mistake.
The fastest path from "my printer kind of works" to "my printer just works" is to standardize on one filament, learn it completely, and only then add a second. This guide tells you which filament to buy first, which to buy second, what each one is actually good for, and which popular choices will waste your first month.
What Beginners Should Optimize For
Not strength. Not temperature resistance. Not looks. The three things that decide whether you stay in the hobby:
- Success rate — does it stick to the bed and finish the print?
- Forgiveness — does it survive a slightly wrong temperature, a slightly wet spool, a slightly loose belt?
- Repeatability — will spool two behave like spool one?
A material that is 30% stronger but fails half the time is strictly worse for a beginner, because you learn nothing from a failed print except frustration.
The Short Answer
| Rank | Filament | Buy it when | Spools to start |
|---|---|---|---|
| 1 | PLA / PLA+ | Day one, always | 2 |
| 2 | PETG | You need parts that survive heat or outdoors-ish use | 1 |
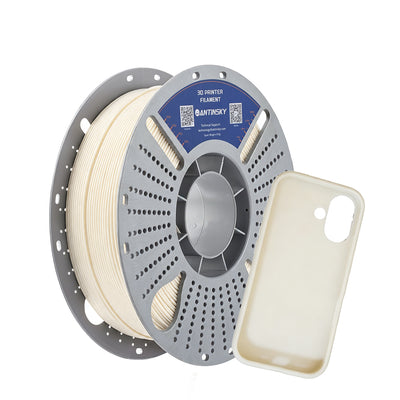
| 3 | TPU 95A | You need a gasket, grip, bumper, or phone case | 1 |
| 4 | ASA | Permanent outdoor or hot-car use, with an enclosure | 1 |
| Skip for now | ABS, Nylon, PC, CF-filled, wood-fill, glow | Later, one at a time | 0 |
1. PLA and PLA+ — The Correct First Filament
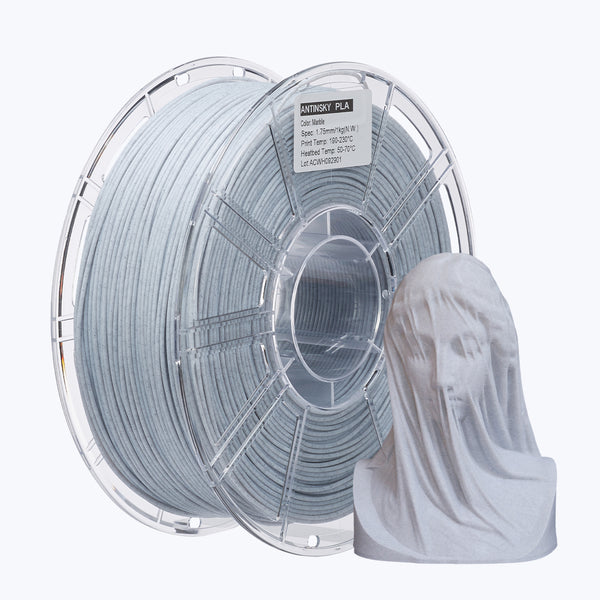
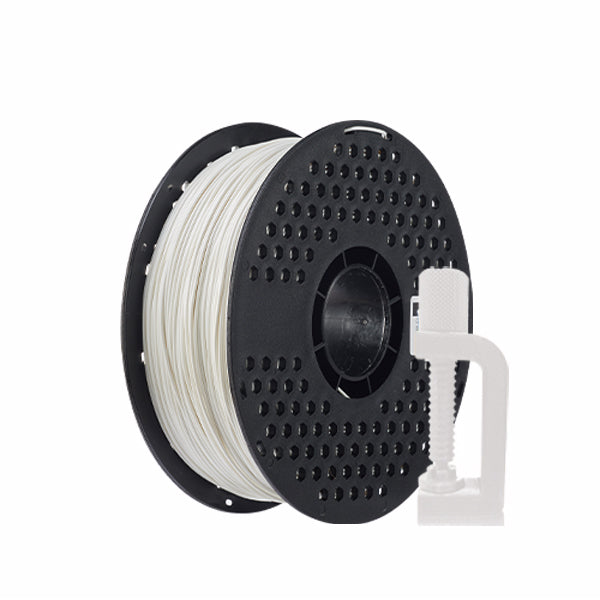
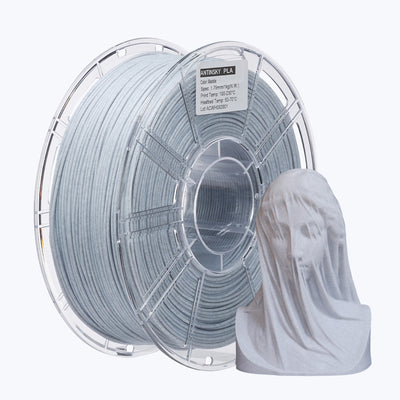
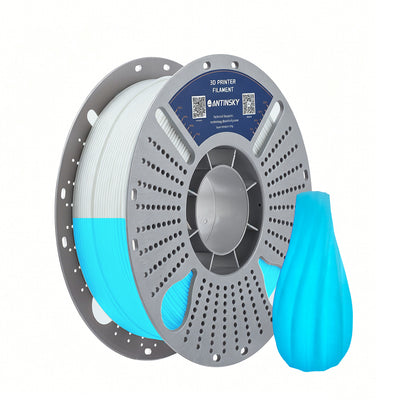
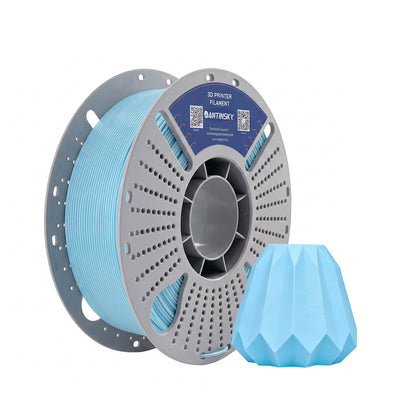
PLA prints at 195–215 °C with a bed at 55–60 °C, needs no enclosure, smells faintly sweet, and sticks to almost anything. It is stiff, dimensionally accurate, and holds fine detail well. For decorative models, prototypes, jigs that live indoors, and anything you want to look good on a shelf, PLA is genuinely the right material — not a beginner compromise.
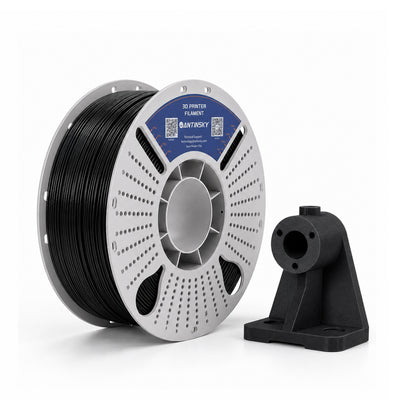
PLA+ (sometimes sold as PLA Pro or Tough PLA) is a modified PLA with improved layer adhesion and slightly higher impact resistance. It prints at nearly identical settings. For a first spool, PLA+ is worth the small premium: it is noticeably less brittle in thin walls and less likely to snap at the spool when the filament path is tight.
Where PLA fails: anywhere above roughly 55–60 °C. A PLA part left on a car dashboard on a summer day will sag. PLA also creeps under sustained load — a PLA shelf bracket holding weight for months will slowly deform. And it is brittle: drop a thin PLA enclosure and it cracks along layer lines.
Beginner settings that work on almost every printer:
| Setting | PLA / PLA+ |
|---|---|
| Nozzle temp | 205 °C (200–215 range) |
| Bed temp | 60 °C |
| Part cooling fan | 100% from layer 2 |
| Print speed | 60–120 mm/s |
| Retraction (direct drive) | 0.6–0.8 mm @ 35 mm/s |
| Retraction (Bowden) | 4–6 mm @ 45 mm/s |
| Enclosure | Not required — open is better |
If your first spool is PLA+ and your first twenty prints are calibration cubes, a Benchy, and a phone stand, you will learn more about slicing than you would in a month of switching materials.
2. PETG — The Second Spool
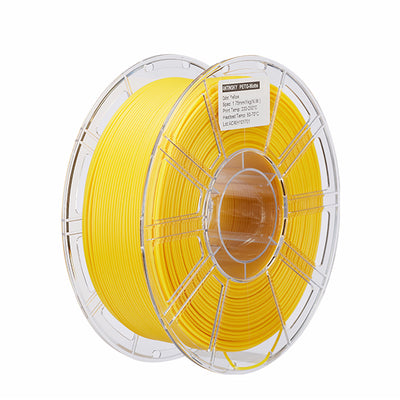
PETG is the pragmatic middle ground: tougher than PLA, more heat-resistant (usable to about 70–75 °C), mildly flexible so it absorbs impacts instead of cracking, and chemically resistant enough for outdoor and wet environments. It is also the material most likely to make a beginner quit, because it is sticky.
PETG bonds to itself extremely well — which is great for layer strength and terrible for stringing, blobs, and support removal. It also bonds to PEI and glass so aggressively that printing too close can tear chunks out of your build plate.
Rules that make PETG easy:
- Print slower than PLA: 40–60 mm/s for walls.
- Reduce part cooling to 30–50%, not 100%.
- Increase nozzle-to-bed gap slightly — first layer should be a rounded bead, not a squashed ribbon.
- Dry it. PETG absorbs moisture fast and wet PETG pops, foams, and strings.
- Retraction distance shorter than PLA; too much retraction causes clogs in PETG.
| Setting | PETG |
|---|---|
| Nozzle temp | 235–245 °C |
| Bed temp | 75–80 °C |
| Part cooling | 30–50% |
| Print speed | 40–60 mm/s walls |
| Enclosure | Optional; drafts are the enemy |
Use PETG for brackets, hooks, outdoor-ish parts, containers, mechanical prototypes, and anything that will get knocked around. It is the best single material for "I want this to be a real object that lasts".
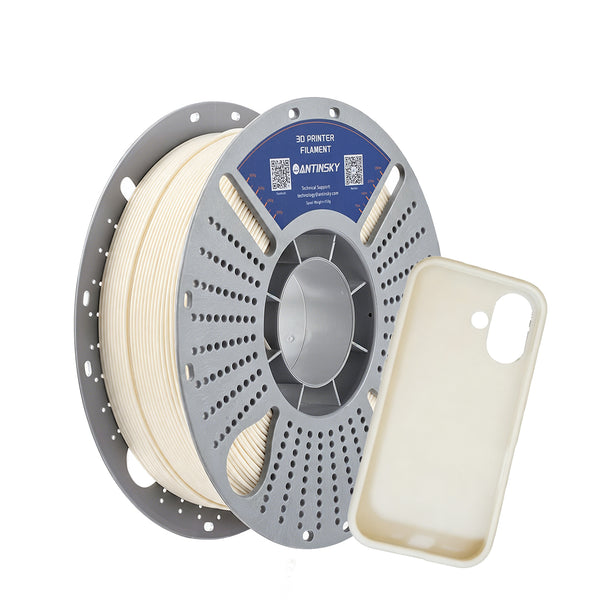
3. TPU 95A — The One Flexible Spool Worth Owning
TPU is a thermoplastic polyurethane: flexible, abrasion-resistant, and nearly impossible to break by hand. 95A is the sweet spot — soft enough to be genuinely flexible, stiff enough to feed through a normal direct-drive extruder without a custom setup.
It is also slow. TPU demands 20–35 mm/s, minimal retraction, and a short, constrained filament path. On a Bowden-tube printer it is a fight; on a direct-drive printer it is easy. If your printer is Bowden-only, buy TPU 95A HS (high-speed) or skip TPU until you upgrade.
| Setting | TPU 95A |
|---|---|
| Nozzle temp | 225–235 °C |
| Bed temp | 45–55 °C |
| Print speed | 20–35 mm/s |
| Retraction | 0.4–1.0 mm, slow (20 mm/s) |
| Flow | 100–110% |
| Cooling | 50–80% |
Good first TPU prints: gaskets, cable strain reliefs, feet, phone bumpers, drone landing pads, tool grips. Bad first TPU prints: anything tall and thin, anything with long unsupported bridges, anything expecting sharp corners.
4. ASA — Only When You Actually Need It
ASA is styrene-based like ABS, but UV-stabilized so it does not chalk and yellow in sunlight. It handles about 95–100 °C, takes impact better than PLA or PETG, and can be vapor-smoothed. It also shrinks, warps, and emits styrene fumes — so it needs an enclosure and ventilation.
Do not start here. Buy ASA when you have a specific outdoor bracket, an automotive interior part, or an enclosure panel that must survive summer heat. Then treat it as a project: enclosure, 100 °C+ bed, minimal cooling, brim or draft shield.
| Setting | ASA |
|---|---|
| Nozzle temp | 250–265 °C |
| Bed temp | 100–110 °C |
| Chamber temp | 45–55 °C (enclosure required) |
| Part cooling | 0–20% |
| Print speed | 40–60 mm/s |
Full Comparison Table
| PLA+ | PETG | TPU 95A | ASA | |
|---|---|---|---|---|
| Difficulty (1–5) | 1 | 3 | 4 | 5 |
| Nozzle temp | 205 °C | 240 °C | 230 °C | 260 °C |
| Bed temp | 60 °C | 80 °C | 50 °C | 105 °C |
| Enclosure | No | No | No | Yes |
| Max service temp | ~55 °C | ~75 °C | ~80 °C | ~95 °C |
| Impact resistance | Low | Medium | Very high | High |
| Flexibility | None | Slight | High | Slight |
| UV resistance | Poor | Good | Fair | Excellent |
| Moisture sensitivity | Low | High | High | Medium |
| Fumes | Very low | Low | Low | Moderate (styrene) |
| Best use | Models, prototypes, indoor fixtures | Functional parts, containers | Gaskets, grips, bumpers | Outdoor, automotive, hot |
The Thing Nobody Tells Beginners: Wet Filament
PLA absorbs a little moisture. PETG, TPU, and nylon absorb a lot. Wet filament produces steam inside the nozzle, which shows up as popping sounds, random blobs, weak layer adhesion, and a surface that looks like it has acne. Many "my PETG prints badly" threads are actually "my PETG is wet" threads.
Signs your filament needs drying:
- Audible popping or crackling while printing
- Random voids and pinholes in walls
- Excessive stringing that settings changes will not fix
- Parts that snap easily along layer lines despite good-looking extrusion
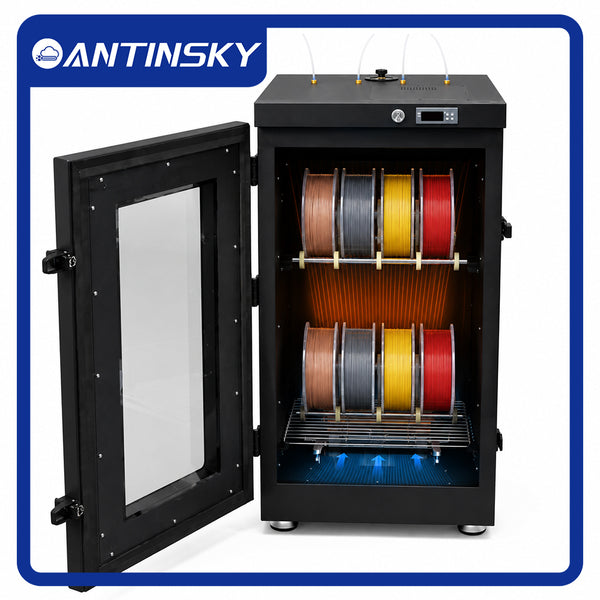
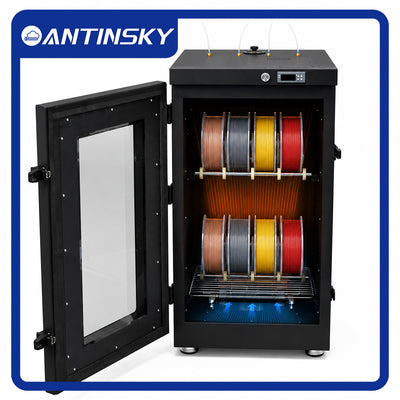
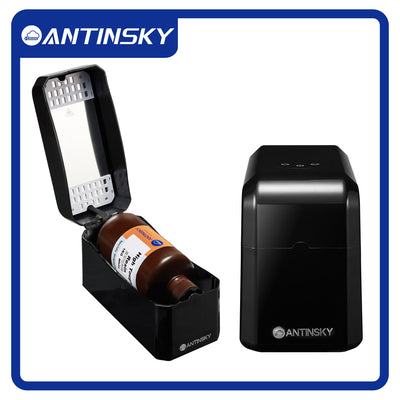
A dedicated filament dryer pays for itself quickly once you print PETG or TPU regularly. PLA can often be dried in a few hours at 45–50 °C; PETG at 65 °C for 4–6 hours; TPU at 50–60 °C for 6–8 hours. Store spools in sealed bags with desiccant between uses — drying a spool and then leaving it on an open shelf for a week undoes the work.
The 30-Minute Calibration That Beats Everything Else
Before you print ornaments, benchies, or anything you intend to keep, spend half an hour on three things. First, tram the bed and set the first layer by eye — a slightly squashed, gap-free bead with no ridges between lines. Second, print a temperature tower and pick the temperature where overhangs are clean and layer adhesion is strongest, not the one that looks shiniest. Third, print a single-wall flow test cube, measure the wall with calipers, and adjust flow so the measured wall matches the slicer's prediction.
Those three steps fix the majority of quality complaints that beginners otherwise try to solve with speed, retraction, and cooling tweaks. They also give you a baseline: once first layer, temperature, and flow are correct, any new problem is a real problem rather than a settings guess.
Five Beginner Mistakes Worth Avoiding
- Buying a variety pack. Six materials means six half-learned profiles. Buy two spools of one material instead.
- Chasing speed first. Print at 60 mm/s until your parts are consistently good. Speed is a tuning result, not a starting point.
- Changing three settings at once. Change one variable, print the same test model, compare. Otherwise you learn nothing.
- Ignoring the first layer. A perfect first layer fixes more failures than every other setting combined. Learn live Z-offset adjustment on day one.
- Buying CF-filled filament early. Carbon-fiber blends are abrasive and need hardened nozzles; they also hide bad tuning behind a matte texture.
A Practical First-Week Shopping List
| Item | Why | Priority |
|---|---|---|
| 2 × PLA+ 1 kg | Enough to learn without running out mid-project | Must |
| 1 × PETG 1 kg | First functional material | High |
| Digital calipers | Validates every dimensional claim you make | Must |
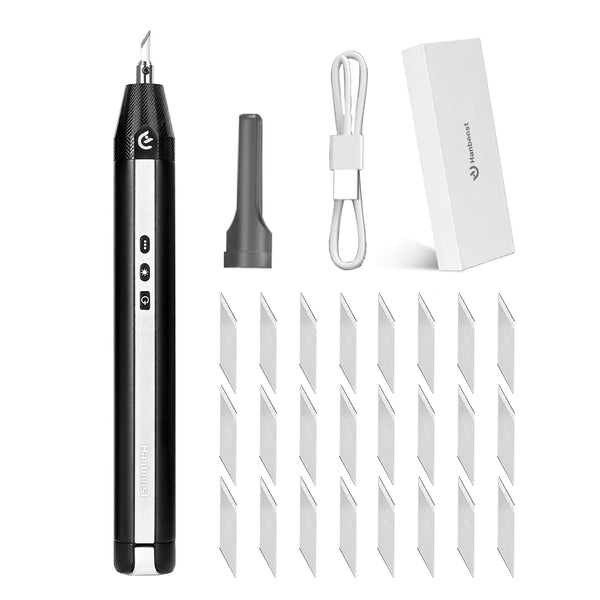
| Deburring tool / flush cutters | Cleanup decides perceived quality | Must |
| Isopropyl alcohol + lint-free cloth | Bed adhesion starts with a clean plate | Must |
| Filament dryer | Prevents the most common PETG/TPU failure | High |
| Sealed storage + desiccant | Keeps dried spools dry | High |
| 1 × TPU 95A | Unlocks gaskets and grips | Later |
| 1 × ASA | Outdoor only, with enclosure | Later |
How to Decide What to Print With
Ask three questions in order:
- Will it get hot? Above 60 °C → not PLA. Above 80 °C → ASA or engineering material.
- Will it get hit? Dropped, kicked, or flexed → PETG, TPU, or ASA over PLA.
- Does it need to stay pretty? Display model on a shelf → PLA+ wins on detail and finish, and it is the easiest to print well.
That ordering resolves about 90% of material choices correctly, and it keeps beginners on the material that will actually finish the print.
FAQ
Is PLA strong enough for real parts?
For indoor, room-temperature, lightly loaded parts, yes — especially PLA+, which has better layer adhesion than standard PLA. It is not suitable for sustained loads, hot environments, or impact.
Should I start with PLA or PETG?
PLA+. It is more forgiving on the first layer and less moisture-sensitive, so early failures are easier to diagnose. Move to PETG once your first layer and retraction are solid.
Do I need an enclosure to print PETG?
No, but you need to block drafts. An open printer in an air-conditioned room will show PETG warping and layer splitting that disappears once the part is shielded from airflow.
Why does my PETG stick too well to the build plate?
Nozzle too close and bed too hot. Raise Z-offset slightly, drop the bed to 70–75 °C, and let the plate cool fully before removing the part — PETG releases on its own as it cools.
Can I mix filament brands?
Yes, but re-tune temperature and flow. Diameter tolerance and pigment loading differ between brands, and a 0.03 mm diameter difference changes flow noticeably on long prints.
How long does a spool last?
A 1 kg spool is roughly 330–340 m of 1.75 mm filament, enough for about 30–60 small-to-medium prints depending on infill and walls.
Is cheap filament a false economy?
Often, yes. Inconsistent diameter and moisture content cause failed prints that cost more than the savings. Buy from a supplier that publishes tolerance — ±0.02 mm is a reasonable standard for reliable printing.
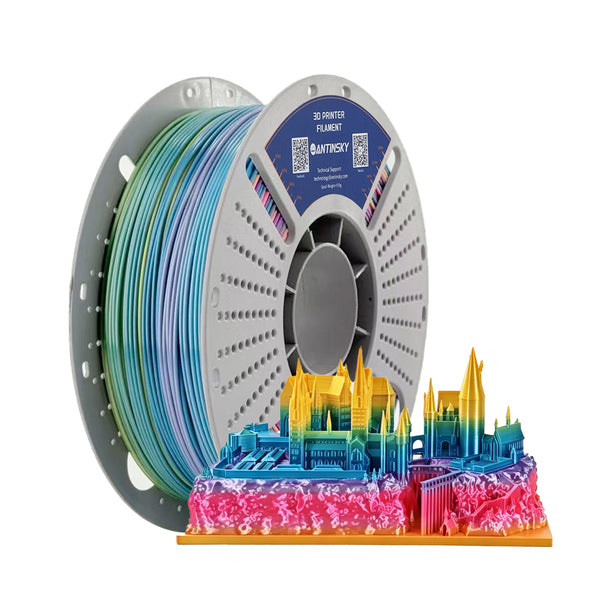
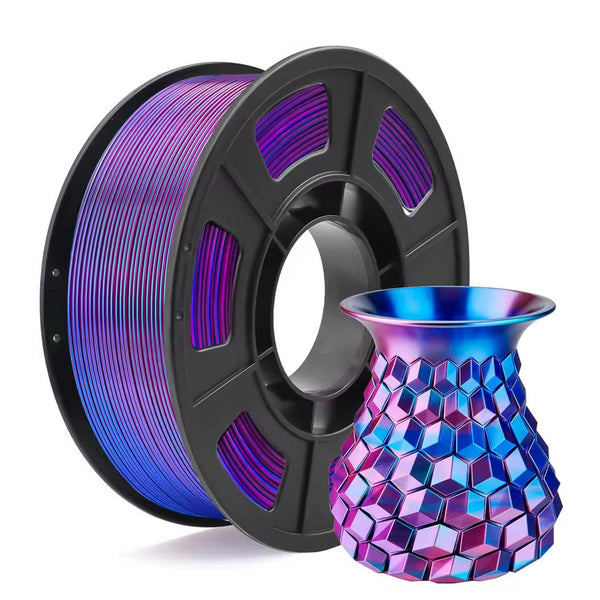
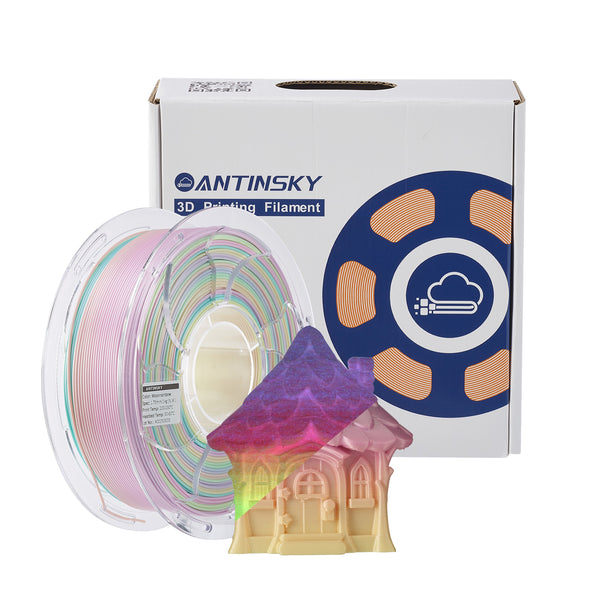
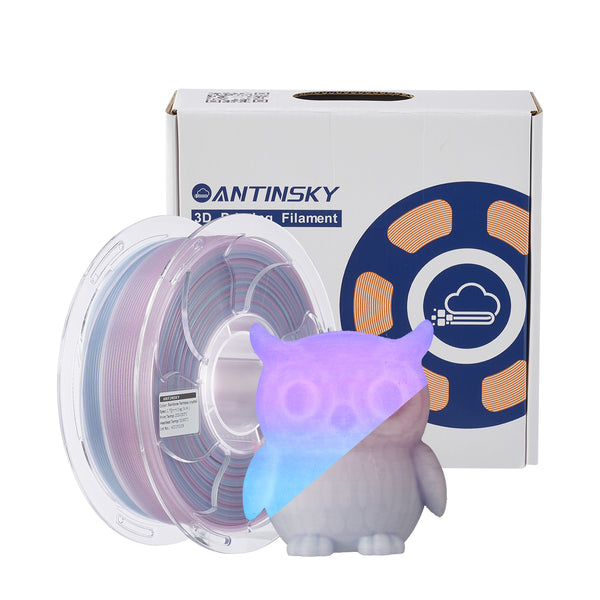
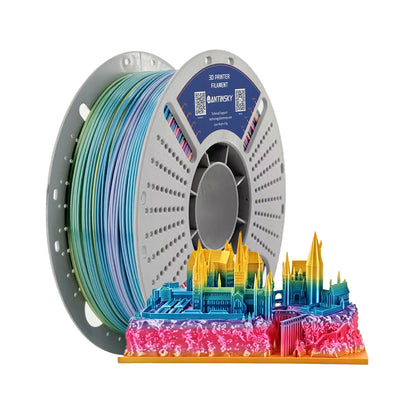
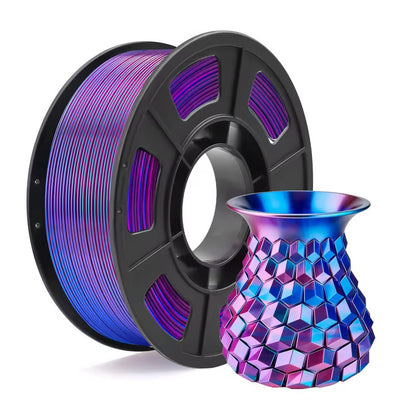
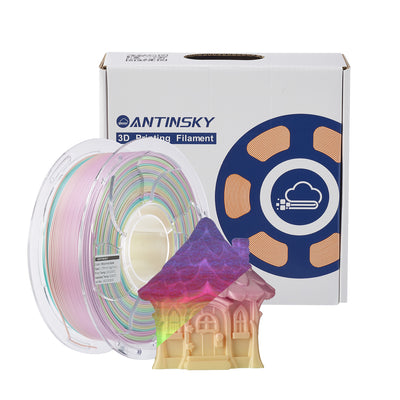
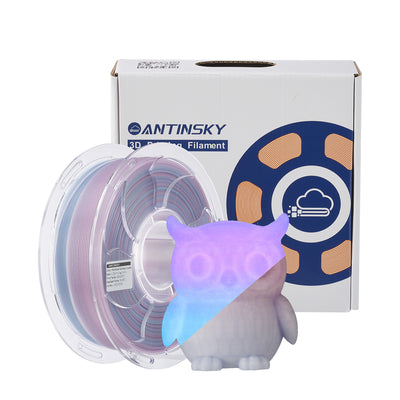
What about glow, silk, wood, and rainbow filament?
They are fun and perfectly printable, but treat them as decorative. Glow filament is abrasive, silk hides layer lines but has weaker layer adhesion, and wood-fill clogs small nozzles. Buy them after you can print plain PLA+ reliably.
The One-Sentence Version
Start with two spools of PLA+, print until your first layer and retraction are boringly reliable, then add PETG for functional parts, TPU 95A for flexible ones, and ASA only when something genuinely has to live outdoors — and dry everything that is not PLA.