


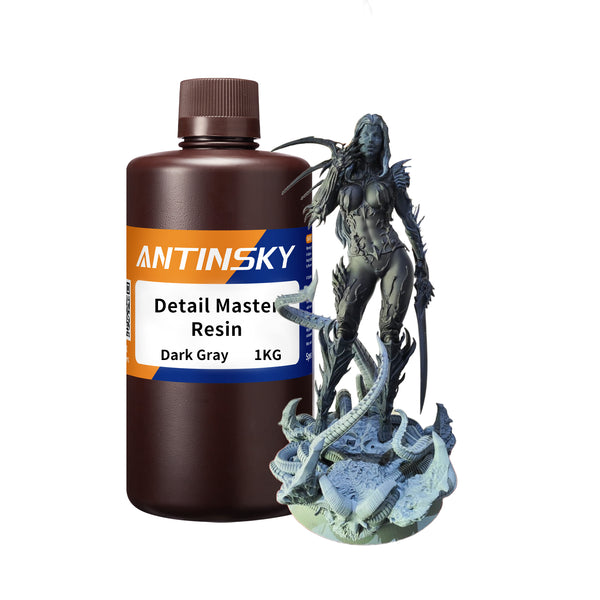



















Resin 3D printing (also called SLA, LCD, or DLP printing) produces the kind of detail that filament printers simply cannot match — miniatures with visible facial features, jewelry patterns thinner than a hair, dental models with sub-millimeter accuracy. But it also comes with a workflow that is completely different from FDM: liquid resin, alcohol baths, UV curing chambers, and safety rules you cannot ignore.
If you just bought your first resin printer and you are staring at a bottle of resin wondering where to start, this guide walks you through the entire process in the order you will actually perform it: choose resin → set exposure → orient and support → wash → cure → stay safe. Along the way we cover the mistakes that ruin most first prints, plus a troubleshooting table for when things go wrong.
What Is Resin 3D Printing, Exactly?
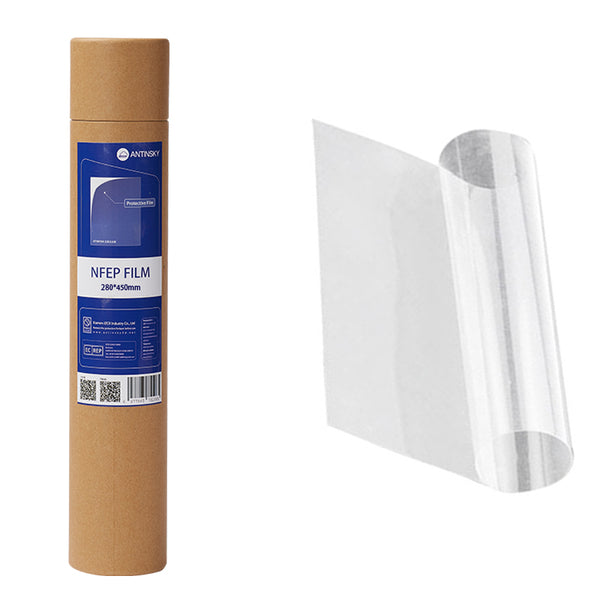
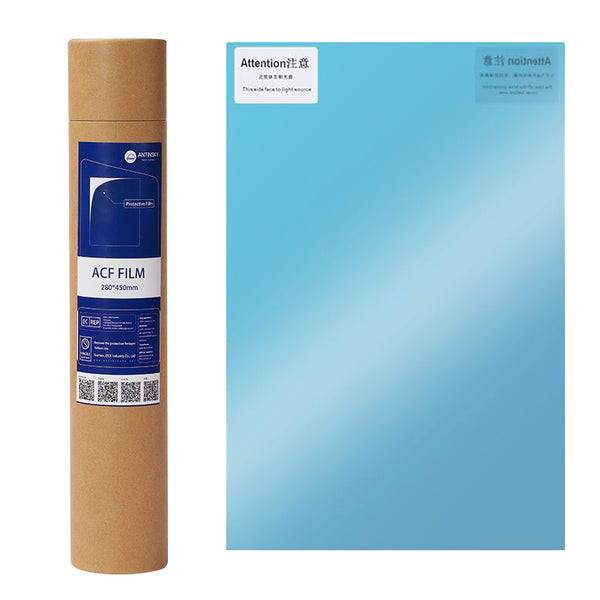
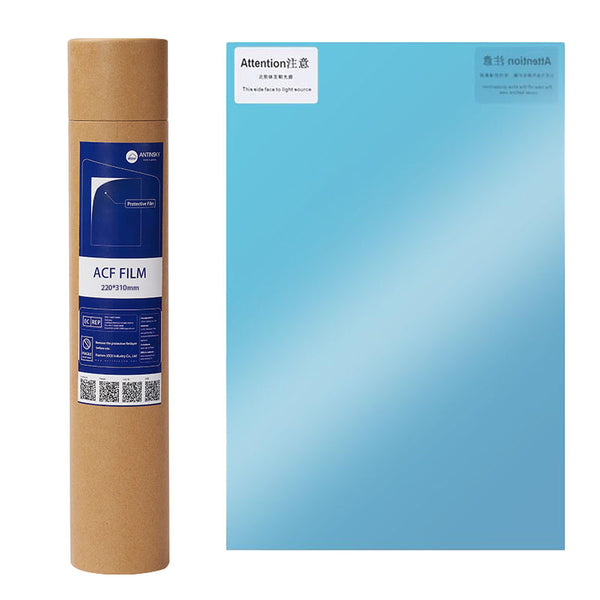
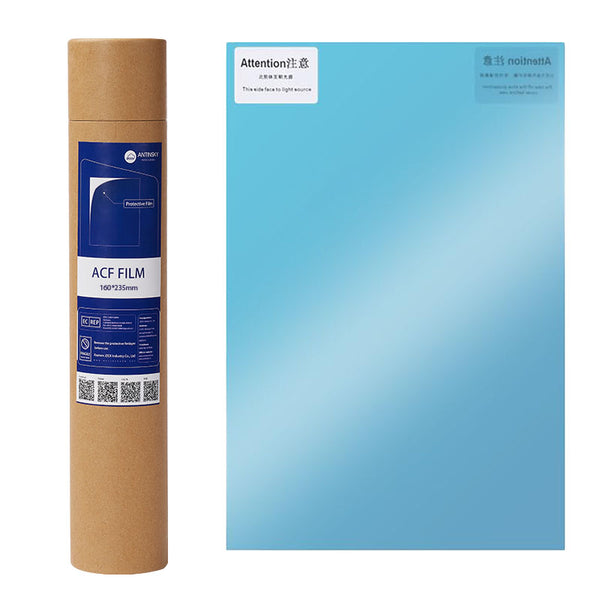
Resin printers use a light source to cure liquid photopolymer resin layer by layer. A build plate lifts out of a vat of liquid resin, and each layer is cured through a transparent film (FEP, nFEP, or ACF) at the bottom of the tank.
| Technology | Light source | Typical layer height | Notes |
|---|---|---|---|
| LCD / MSLA | LCD mask + UV LED array | 0.02–0.10 mm | Most common consumer type; whole layer cured at once |
| SLA (laser) | Laser spot | 0.025–0.10 mm | Very sharp, slower, more common in industrial |
| DLP | Projector | 0.025–0.10 mm | Similar to LCD but using a projector chip |
The important practical difference from FDM: resin is cured by light, not by heat. That means exposure time, not nozzle temperature, is the variable you tune. Get it wrong and you get either mush (underexposed) or bloat and lost detail (overexposed).
Step 1: Pick the Right Resin for the Job
Resin is not one material. Choosing the wrong family is the most common reason a beginner's print "fails" even though the printer did everything right.
| Type | Best for | Trade-off |
|---|---|---|
| Standard resin | Miniatures, models, prototypes, general parts | Brittle under impact |
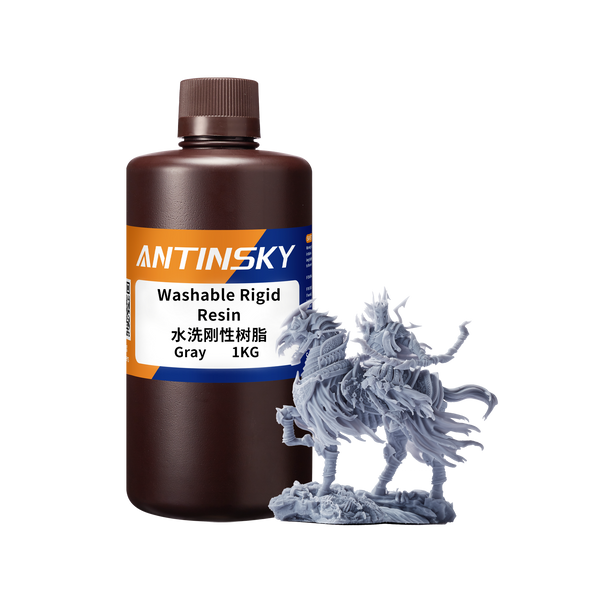
| Water-washable rigid | Anywhere you do not want IPA in the house | Slightly lower detail retention than standard |
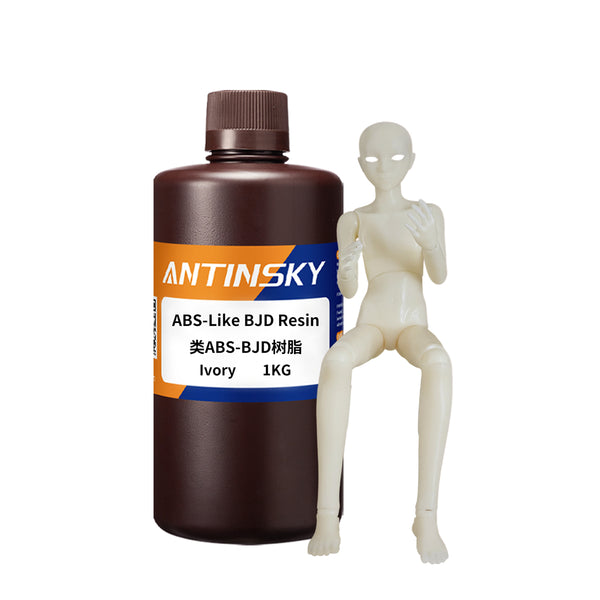
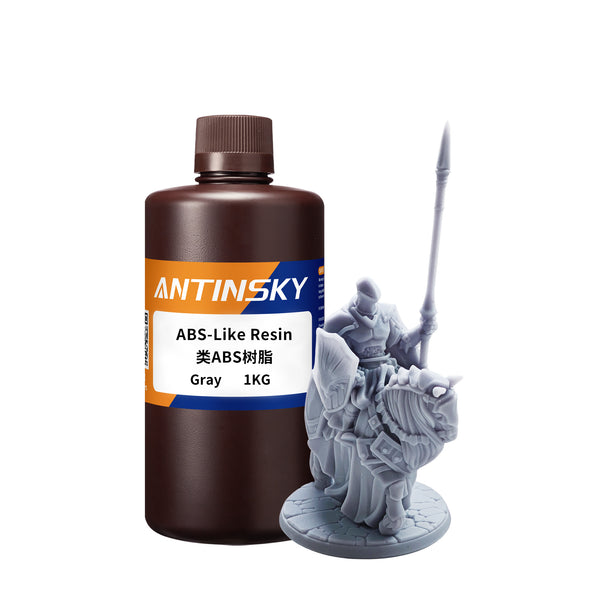
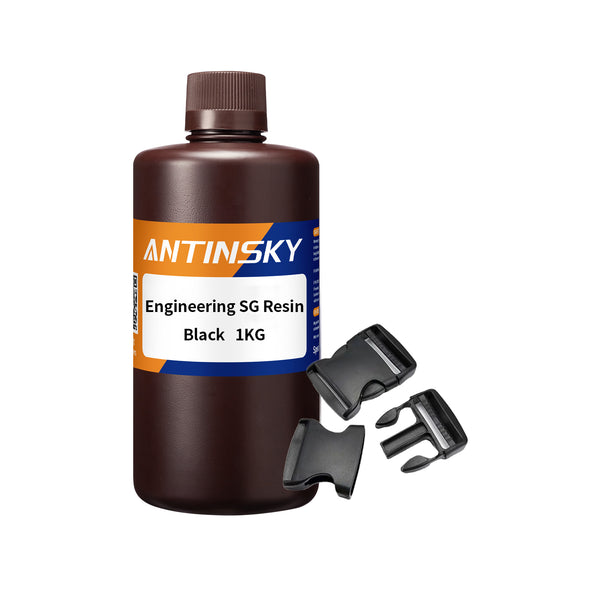
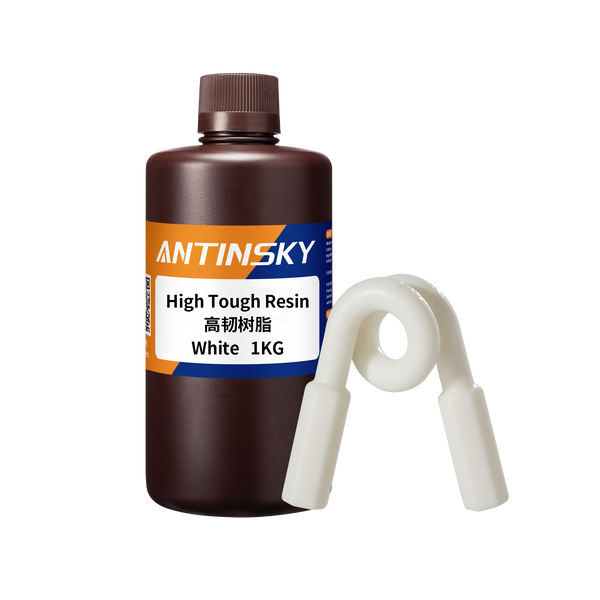
| ABS-like / tough | Functional parts, snap fits, parts that get dropped | More expensive, needs longer curing |
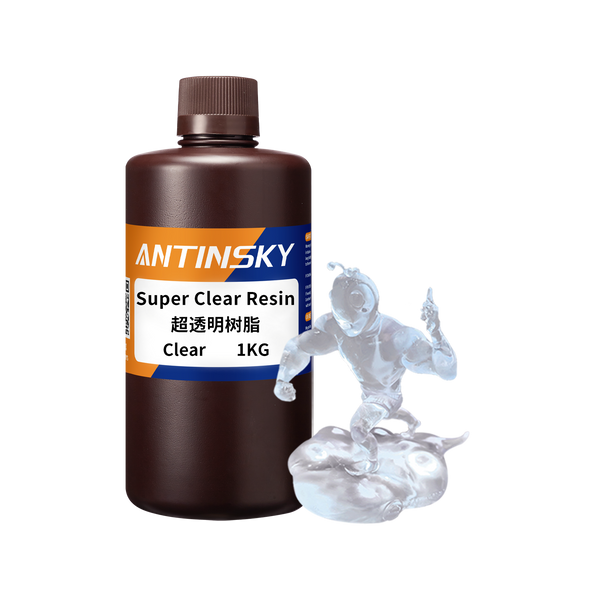
| Super clear | Lenses, light guides, transparent display parts | Very sensitive to yellowing during cure |
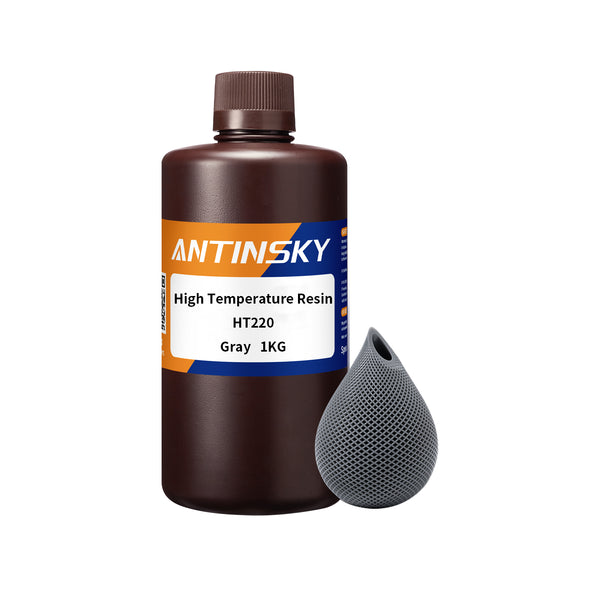
| High temperature | Molds, tooling, parts near heat sources | Requires post-cure heat treatment |
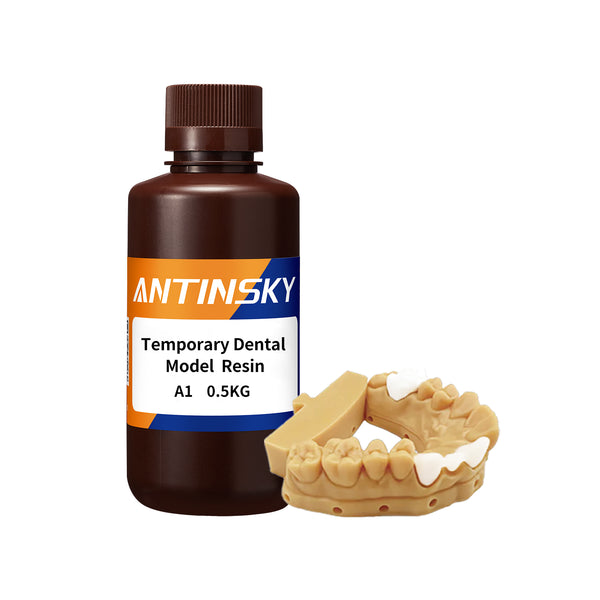
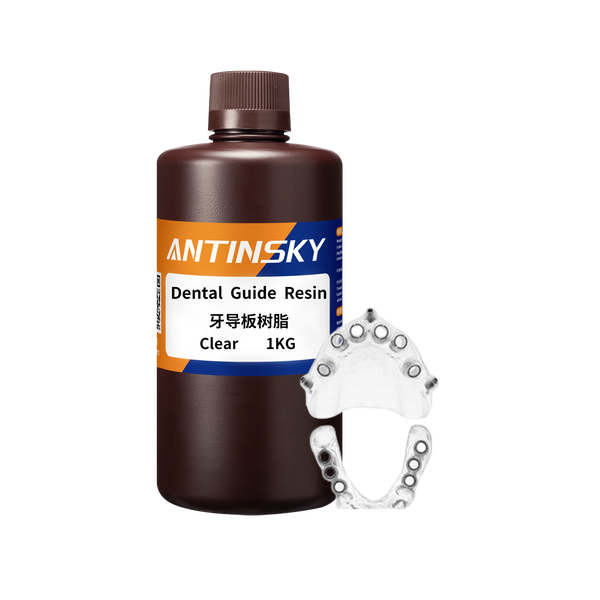
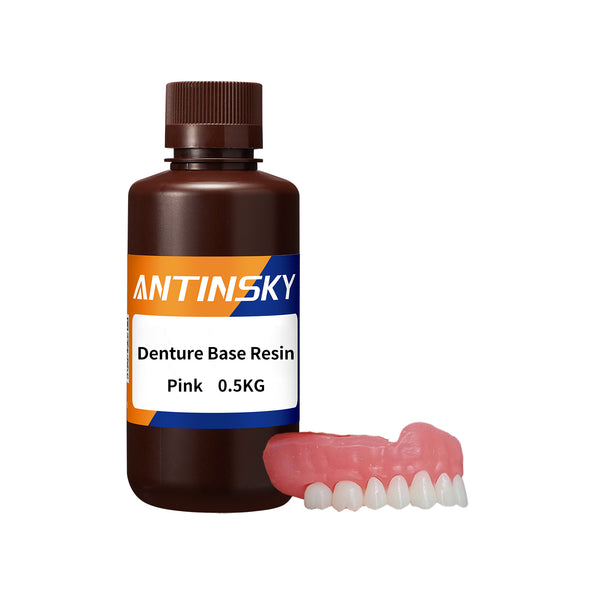
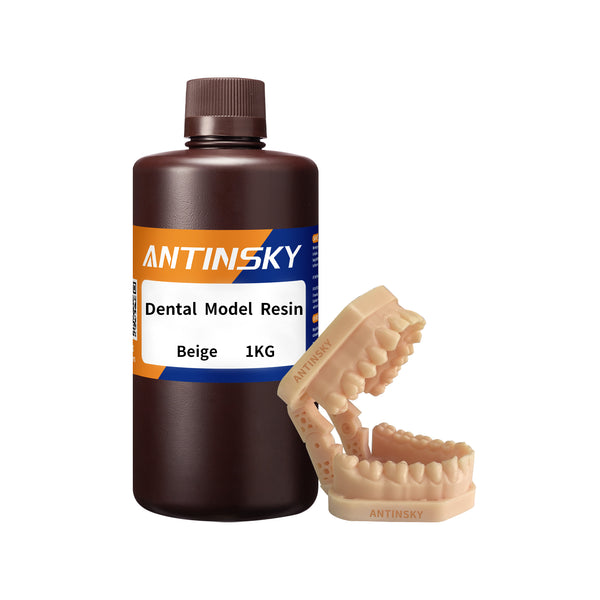
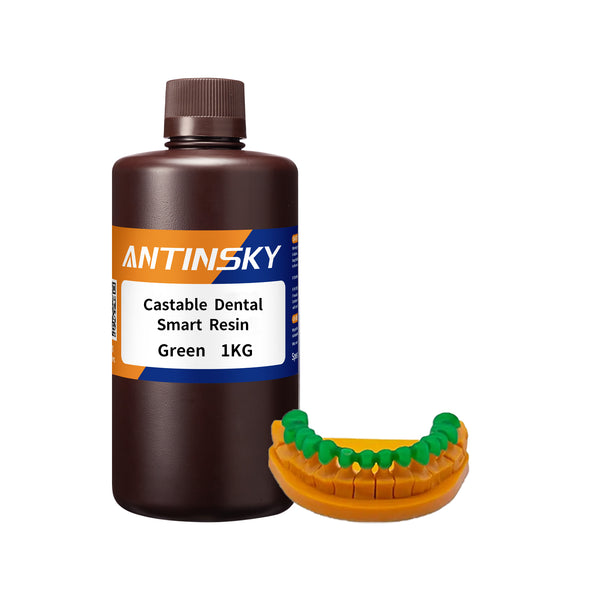
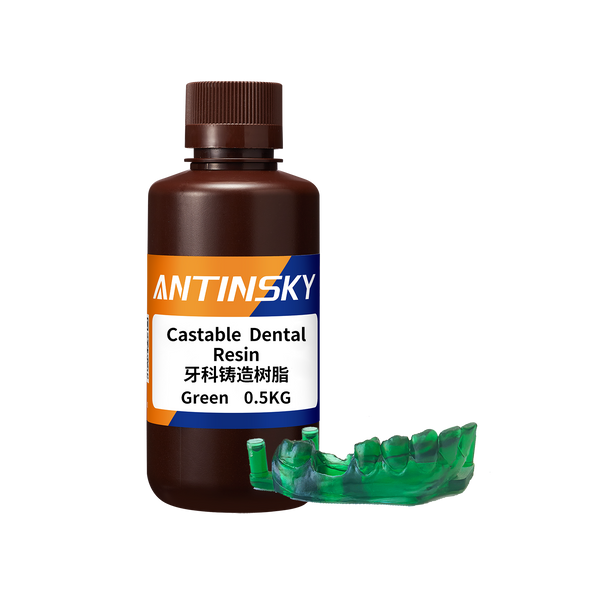
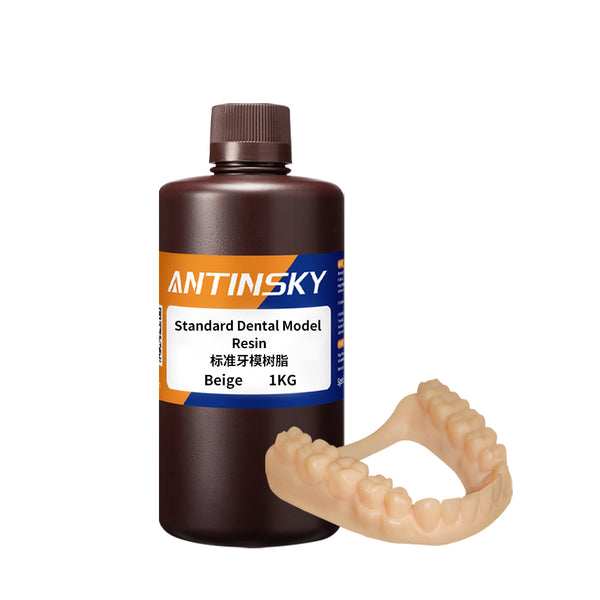
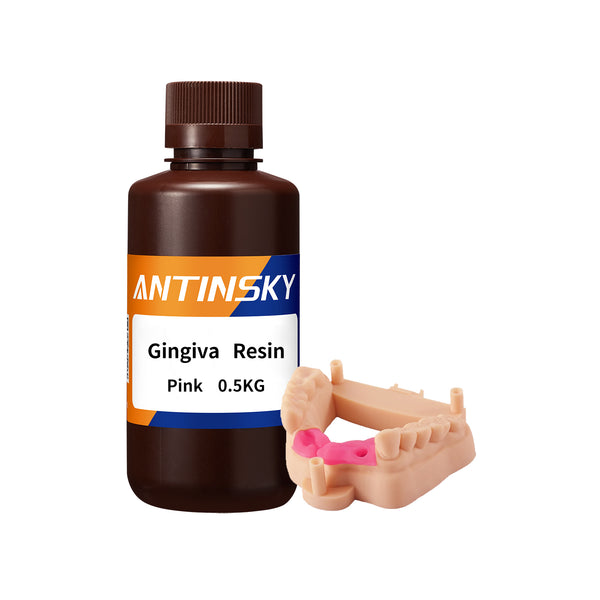
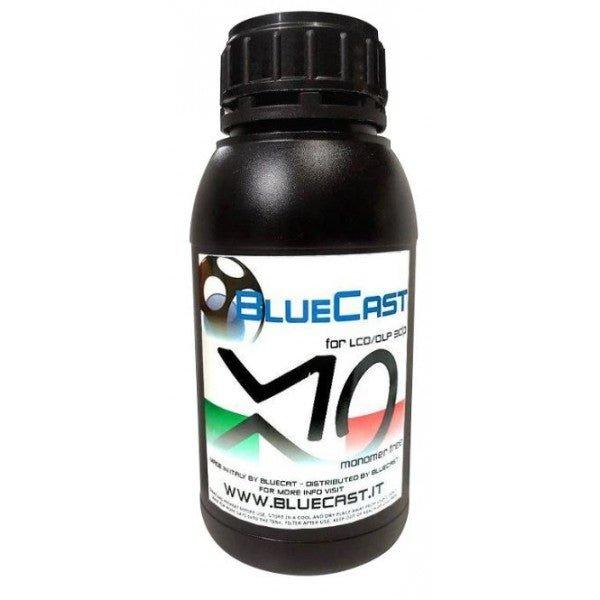
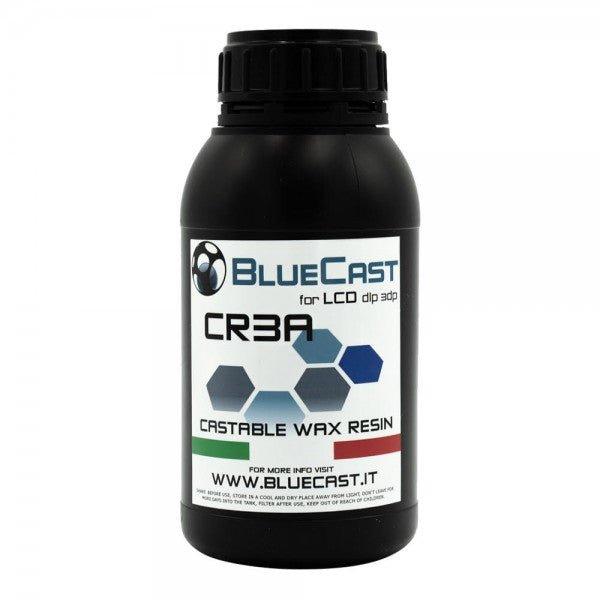
| Dental / castable | Dental models and guides, jewelry lost-wax casting | Narrow exposure window, expensive |
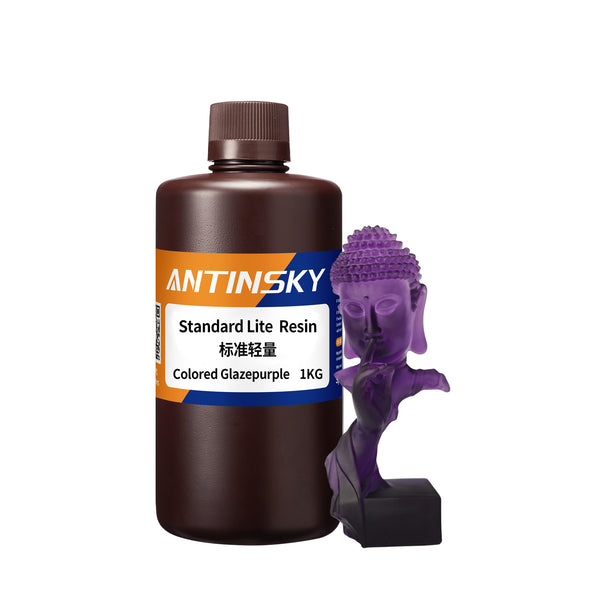
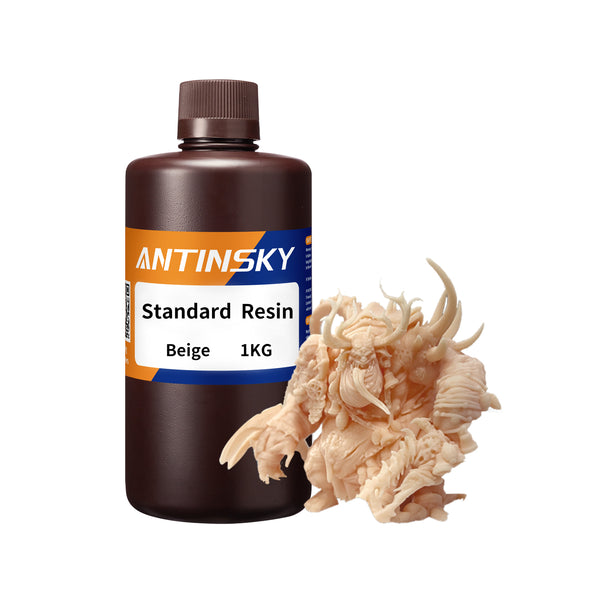
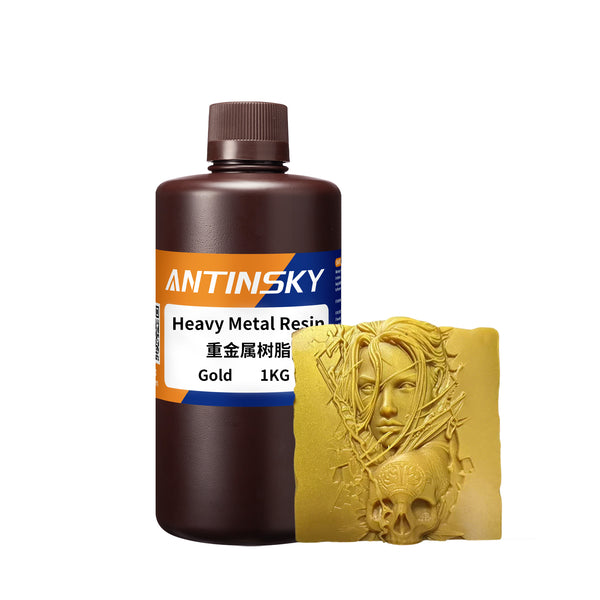
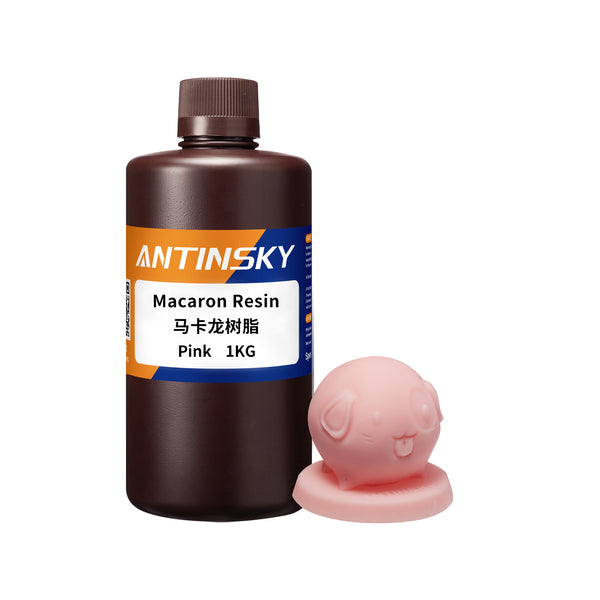
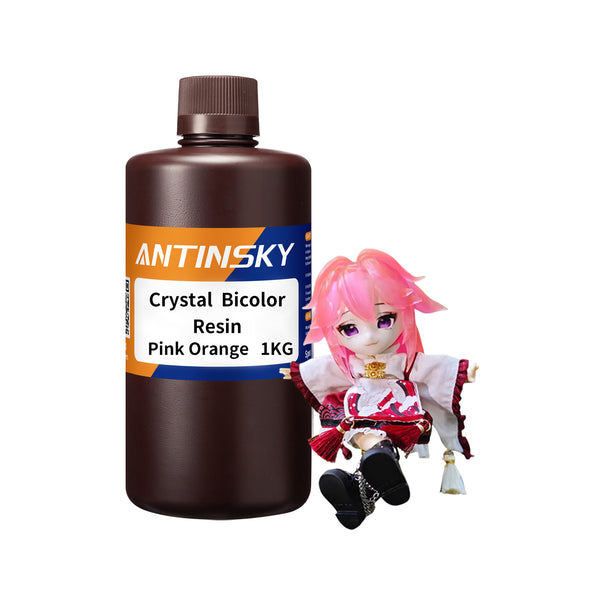
For a first bottle, a general-purpose standard resin is the right call — it is affordable, prints reliably in a wide exposure window, and behaves predictably while you learn. If you are mainly printing miniatures and display models, the ANTINSKY Standard Resin is a solid baseline. If you want to skip IPA entirely, the Washable Rigid 8K Resin cleans in water and is formulated for 8K-class mono screens.
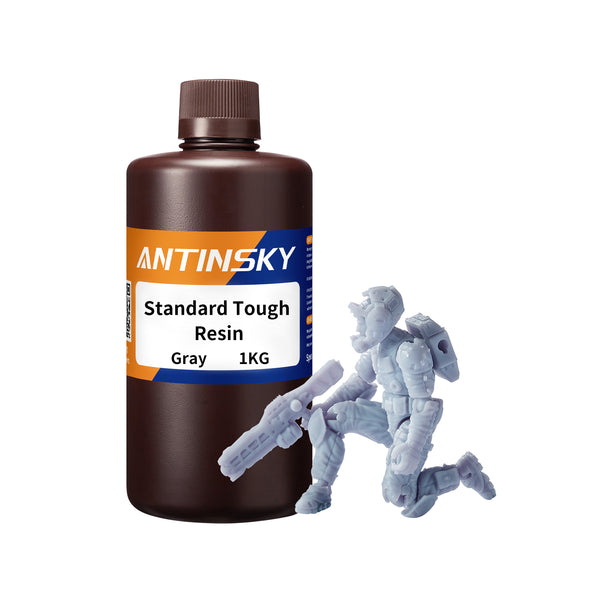
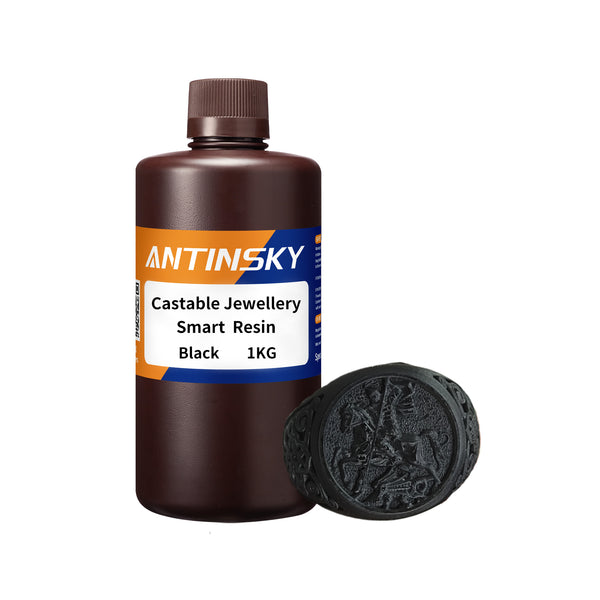
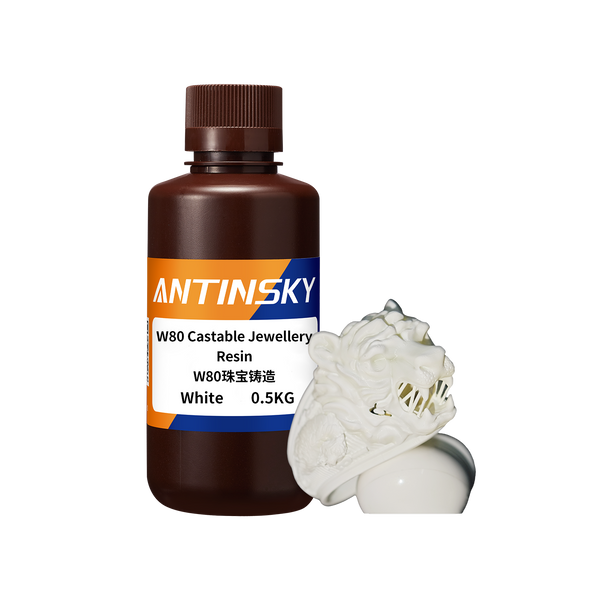
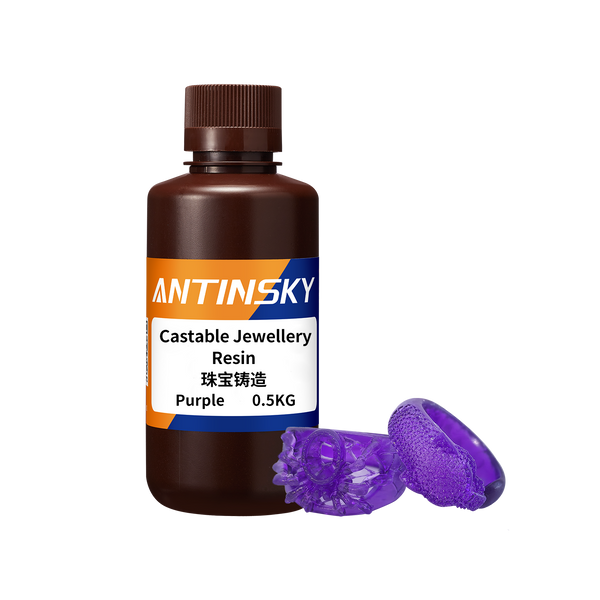
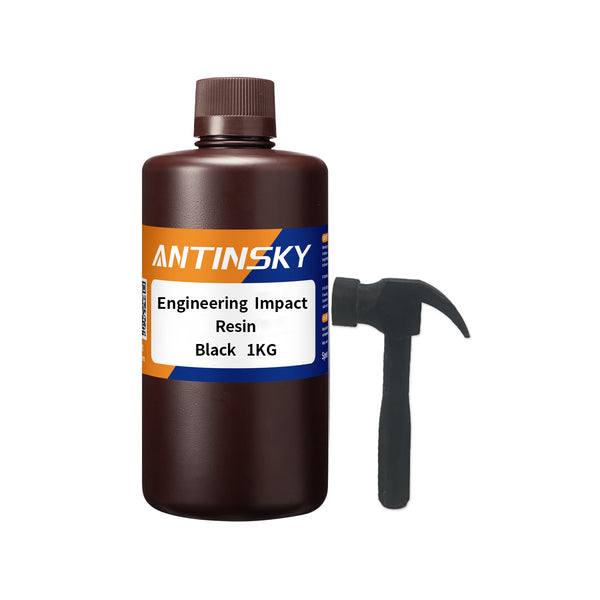
Printing functional parts that will be handled, dropped, or clipped together? Step up to a tough formulation such as Standard Tough Resin or Engineering Impact Resin. For jewelry work, use a dedicated casting resin — never a standard resin — because burnout behavior is a materials property you cannot improvise; see Castable Jewellery Smart Resin.
Step 2: Exposure Settings — the Only Settings That Matter
Three numbers control 90% of your print quality:
- Layer height — start at 0.05 mm. Thinner (0.02–0.03 mm) gives more detail but takes much longer and increases the risk of print failure from suction forces.
- Normal exposure time — how long each layer is cured.
- Bottom exposure time — a much longer cure for the first 4–8 layers so the print sticks to the build plate.
Exposure time depends on your screen type, not just the resin:
| Screen type | Typical normal exposure @ 0.05 mm | Typical bottom exposure |
|---|---|---|
| Monochrome (mono) LCD | 1.5 – 3.0 s | 20 – 35 s |
| RGB LCD (older) | 6 – 12 s | 50 – 80 s |
Ignore any "recommended" number that contradicts your own exposure test. Always run an exposure test print first (XP Finder, Ameralabs Town, or the resin maker's own test file) and pick the setting where the smallest details are sharp and the columns are not fused. The exposure time printed on a resin bottle is a starting point, not a guarantee — screen age, temperature, and FEP condition all shift the correct value.
Two environment factors matter more than beginners expect:
- Temperature: resin prints best between roughly 20–25 °C. Cold resin is thicker and takes longer to cure consistently. In a cold room, warm the vat a few degrees or extend exposure slightly.
- Leveling: an unleveled build plate produces a wedge-shaped first layer and prints that fail on one side only.
Step 3: Orientation and Supports
How you angle a model changes the forces on every layer. Suction force is what kills prints: as the plate lifts, a large flat cross-section pulls against the FEP film.
- Angle the model 15–45° so each layer has a small cross-section.
- Keep supports off visible surfaces — support marks are permanent on cured resin.
- Add heavy supports first (the model's weight hangs from them), then light supports for overhangs.
- Do not build flat on the plate unless the part is meant to sit flat — it makes removal hard and can crack the print.
- For hollow models, add drain holes: uncured resin trapped inside will eventually crack the part as it off-gasses.
Step 4: Washing — Remove Every Trace of Liquid Resin
Washing stops the reaction and removes uncured resin from surfaces and details. Skip it and the surface stays tacky, detail fills in, and the part cures with a greasy film.
| Method | Steps | Practical notes |
|---|---|---|
| IPA wash (standard) | Two baths: dirty IPA first (~2–3 min), clean IPA second (~1–2 min); agitate or use a wash station | Most effective and fastest; IPA is flammable and must not go down the drain |
| Water-washable resin | Wash in water, same two-bath logic | No IPA handling, but waste water must still be UV-cured and filtered before disposal |
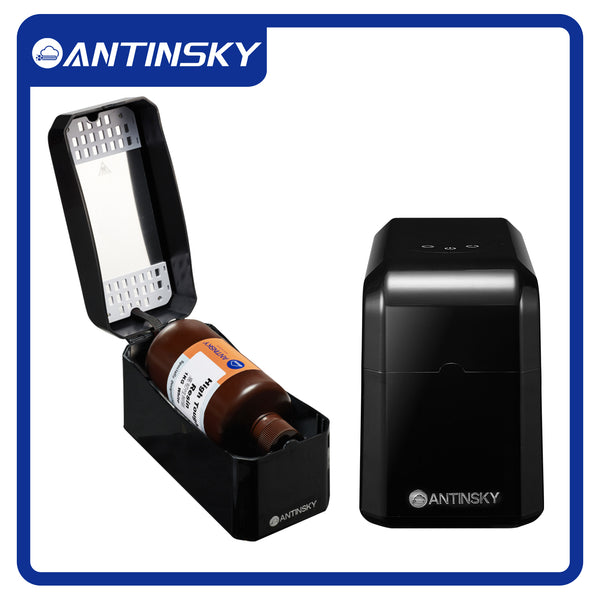
Rinse cavities, support contact points, and the inside of hollow parts. When the surface feels smooth and no longer slick, washing is done. A purpose-built cleaning station makes this far more consistent than a jar and a toothbrush; the ANTINSKY Resin Deterge is a cleaning concentrate designed for this step and is gentler on parts than pure solvent.
Step 5: Curing — The Step Beginners Rush
Freshly washed resin is not fully polymerized. It cures in a UV chamber at 405 nm, usually 2–6 minutes depending on part size and wall thickness.
- Do not over-cure clear parts. Transparency degrades and parts yellow with excess UV.
- Submerge clear parts in water during curing to block oxygen inhibition and reduce yellowing — this is the single biggest trick for clear resin.
- Rotate or flip parts so all sides get UV, or build a curing station with a rotating platform.
- Thick or solid parts need more time than thin miniatures, but cure in increments and check rather than blasting for 15 minutes.
A rotating UV chamber such as the Antmega Cure removes the guesswork: uniform light distribution is what makes curing repeatable, especially for tall or oddly shaped parts.
Step 6: Safety — Non-Negotiable Rules
Liquid resin is a skin sensitizer. Repeated exposure can trigger an allergy that never fully goes away, and uncured resin is the form that causes it.
- Nitrile gloves always — not latex, not bare hands. Change them when contaminated.
- Ventilation or an enclosure with carbon filtration. Resin fumes are an irritant even when not strongly odorous.
- Eye protection when handling liquid resin, and use a tray liner to contain spills.
- Never pour resin, IPA, or wash water down a drain. Cure liquid waste into a solid with UV light, then dispose of it as solid waste according to local rules.
- Keep resin away from sunlight and heat, capped, at room temperature. Polymerization in the bottle ruins it.
Troubleshooting: What Went Wrong and Why
| Symptom | Most likely cause | Fix |
|---|---|---|
| Print sticks to the FEP, not the plate | Bottom exposure too low or plate unleveled | Increase bottom exposure 10–20 s; re-level |
| Details filled in / soft edges | Over-exposed | Reduce normal exposure in 0.2–0.5 s steps |
| Supports break mid-print | Underexposed or supports too thin | Increase exposure slightly; thicken support tips |
| Layer lines very visible | Large flat cross-sections / suction | Re-angle the model; add drain holes and supports |
| Surface stays tacky after wash | Wash bath saturated or washing too short | Refresh IPA; increase wash time |
| Cracked part days later | Uncured resin trapped in a hollow | Add drain holes; wash and cure the inside properly |
| Clear parts look cloudy | Over-cure or curing in air | Cure submerged in water, shorter intervals |
FAQ
How long does a resin print take?
Time scales with layer count, not model volume. At 0.05 mm, a 30 mm tall miniature is roughly 600 layers; with ~2 s exposure plus lift and retract time, expect 2–4 hours. Taller prints at 0.02 mm layer height can easily exceed 10 hours.
Can I mix two different resins in the vat?
Mixing brands or chemistries is unpredictable — exposure windows differ and the result may cure unevenly. Mix only when the manufacturer states the resins are compatible, and re-run an exposure test if you do.
Do I need IPA if I buy water-washable resin?
No. Water-washable resins clean in water, which is why they are popular in homes and offices without solvent handling. The waste water still needs curing and filtering before disposal.
Why does clear resin turn yellow?
Excess UV exposure plus oxygen during curing degrades the polymer and shifts it yellow. Cure clear parts submerged in water, in short intervals, and stop as soon as the surface is no longer tacky.
How do I know my exposure time is correct?
Run a test print and look at the smallest features. If negative-space holes are blocked and small pins merged, you are over-exposed. If features are missing or soft, you are under-exposed. The correct setting is the one where fine detail is sharp and separated.
Is resin printing dangerous indoors?
With nitrile gloves, eye protection, and either ventilation or a filtered enclosure, it is manageable in a home workshop. The main risks are skin sensitization from repeated liquid contact and inhalation of resin/IPA vapor. Never work with resin in a bedroom or a room without air exchange.
Start Printing
Resin printing rewards patience in the first week. Nail down three things — correct exposure, decent orientation, and complete washing — and the vast majority of "failed prints" simply stop happening. Everything else is refinement.
Ready to begin? Browse the full ANTINSKY resin range — from general-purpose Standard Lite Resin for everyday miniatures to Super Clear Resin, High Temperature Resin, and dental-grade formulations. Not sure which one fits your project? Our team is happy to point you to the right material before you buy.