




















Buying a resin printer is the easy part. The step that separates clean, sharp, dimensionally accurate prints from sticky, warped, or cracked ones is post-processing — and the step that keeps you safe while doing it is understanding resin chemistry. This guide walks through the complete resin workflow from the moment a print lifts off the build plate to the moment a finished part is ready to use, and it covers the safety rules around IPA, gloves, ventilation, and liquid waste that most beginners learn the hard way.
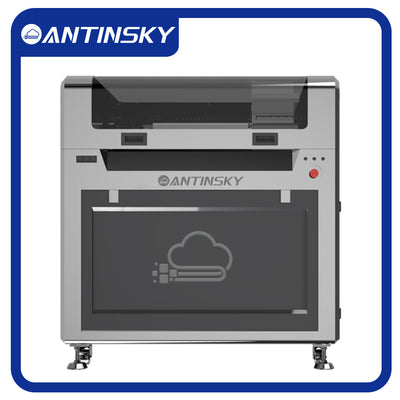
If you print with LCD/MSLA machines like the ANTINSKY Ergate-01 PRO 16K, the resin you choose also changes how forgiving the process is. Washable resins, standard resins, and engineering resins each demand slightly different wash and cure routines, so we will cover all three.
The Short Answer: The Five-Step Resin Workflow
- Drain and detach — let excess resin drip back into the vat, then remove the part from the build plate.
- Wash — dissolve uncured resin from surfaces and internal channels using IPA or water, depending on resin type.
- Remove supports — cut supports while the part is still slightly soft, before curing hardens them.
- Cure — post-cure under UV to reach final mechanical strength and surface hardness.
- Finish and dispose — sand, paint, and then handle the contaminated IPA and waste responsibly.
Skip or rush any step and the failure mode is predictable: cloudy prints, sticky surfaces, brittle parts, or skin irritation from handling uncured resin.
Step 1 — Draining and Detaching the Print
When the print finishes, do not yank it off the plate and carry it across the room. Uncured resin is a liquid irritant and it drips. Hold the plate over the vat for 30–60 seconds so most of the liquid resin drains back where it belongs, then use a plastic or silicone scraper to lift the part. A metal scraper will gouge the build plate surface and can chip the model.
Keep a shallow tray lined with paper towel under the part while you move it to the wash station. This catches drips and stops resin from curing onto your workbench where it is far harder to remove than from a dedicated tray. If resin has already cured on a surface, IPA and patience work better than scraping.
Step 2 — Washing: IPA vs Water-Washable
Washing removes the layer of uncured resin that clings to every surface. Leave it and it will cure into a sticky, dimensionally bloated skin that ruins fine detail and bonds supports permanently to the model.
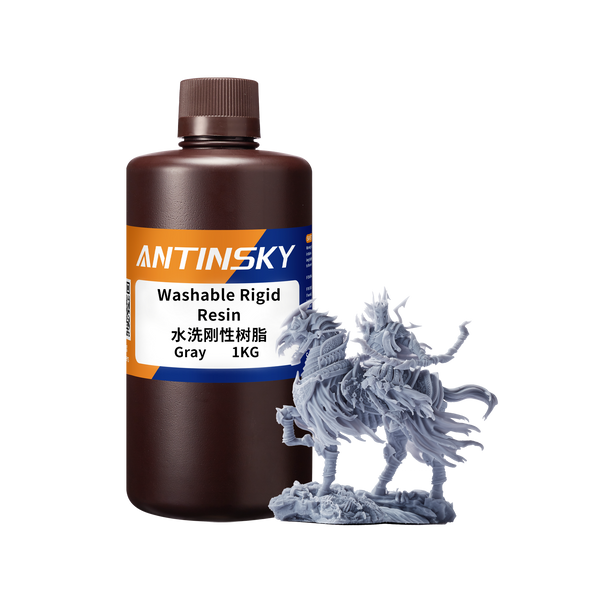
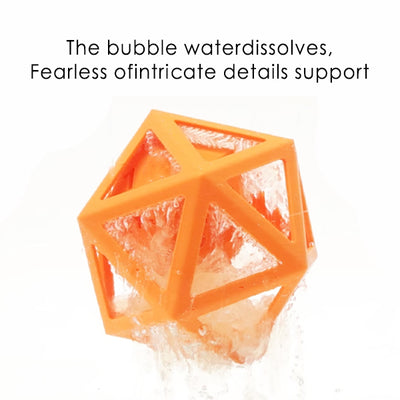
There are two families of resin and they require different wash media. Standard and engineering resins are washed in isopropyl alcohol (IPA), typically 90% or higher. Water-washable resins such as the ANTINSKY Washable Rigid 8K Resin are washed in warm tap water, which is safer, cheaper, and produces no flammable IPA waste.
| Wash Method | Best For | Wash Time | Notes |
|---|---|---|---|
| Two-bucket IPA (dirty then clean) | Standard, castable, engineering resins | 3 min + 2 min | Keeps the second bath clean so parts finish spotless |
| Single IPA bath with agitation | Simple models, occasional printing | 4–5 min | Cheap but the bath gets dirty fast |
| Ultrasonic + IPA | Intricate geometry, hollow parts | 2–3 min | Reaches internal channels and tiny features |
| Warm water (30–40 °C) | Water-washable resin only | 3–5 min | Never use water on standard resin |
Two short washes always beat one long wash. A first "dirty" bath removes the bulk of the resin; a second "clean" bath finishes the job. If you only keep one bath, replace it as soon as it turns milky, because washing a part in resin-saturated IPA just redistributes the mess.
Hollow parts and prints with drain holes need attention here. Shake the part and flush water or IPA through the internal cavity, then let it drain completely before curing. Trapped liquid inside a hollow print will cure into a blob and can crack the shell as it expands.
Step 3 — Removing Supports
Remove supports after washing but before curing. Washed-but-uncured resin is slightly soft and supports snap off with flush cutters at the touch points, leaving small marks you can sand away. Cure the part first and the same supports are brittle and glassy — removing them takes chunks of the model with them.
Work from the bottom of the print upward and support the part with your free hand so a sudden release does not drop it. For delicate miniatures, warm the part slightly with a hair dryer; a little heat makes uncured resin more forgiving and reduces the chance of snapping thin features.
Step 4 — Curing Under UV
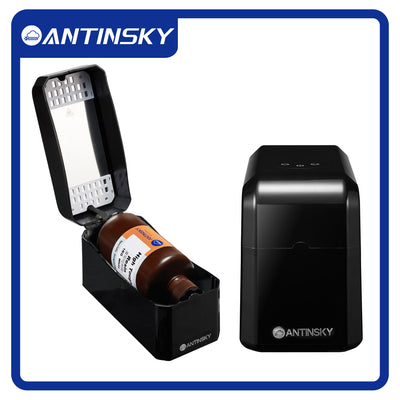
Washing alone does not give resin its final properties. Post-curing under UV light completes the polymerization, and this is where the part gains its hardness, strength, and chemical resistance. A dedicated curing station such as the ANTINSKY Antmega Cure UV Resin Curing Machine gives even exposure and a rotating platform so every face of the part receives light.
| Resin Type | Typical Cure Time | Temperature Notes |
|---|---|---|
| Standard rigid resin | 2–5 min | Room temperature is fine |
| Water-washable resin | 2–4 min | Dry completely before curing |
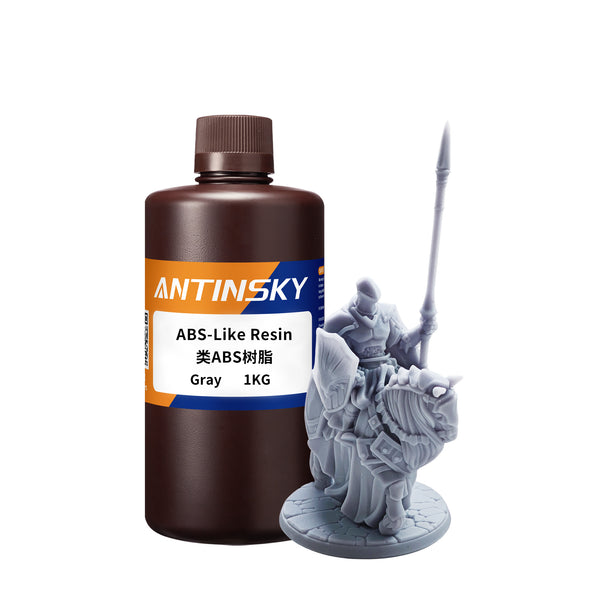
| Tough / ABS-like resin | 4–8 min | Longer cure improves impact strength |
| Clear / transparent resin | 2–3 min per side | Flip the part to avoid yellowing |
| Engineering / high-temp resin | Follow resin datasheet | Often needs elevated temperature |
Over-curing makes prints brittle and yellow; under-curing leaves them tacky and weak. Rotate complex parts and check every few minutes. Clear parts are the most sensitive — cure them in short bursts and flip them so both faces get even UV, or they turn amber.
Step 5 — Finishing
After curing, wet-sand with 400- to 2000-grit paper to remove support marks and layer lines, working up through the grits. For a glass-like result on clear prints, sand progressively then polish with a plastic compound. Priming and painting standard resin is straightforward; use a filler primer first so paint does not pool in the layer texture.
Safety: Gloves, Ventilation, and Skin Contact
Liquid photopolymer resin is a skin and eye irritant, and repeated exposure can cause sensitization — an allergic reaction that makes future contact worse. Treat every drop as hazardous.
| Hazard | Risk | Protection |
|---|---|---|
| Liquid resin on skin | Irritation, sensitization | Nitrile gloves, long sleeves |
| Resin vapors | Headache, respiratory irritation | Ventilation, open window, extraction fan |
| IPA splashes | Eye and skin irritation, flammable | Safety glasses, no open flames |
| UV light from cure station | Eye damage | Never look at the lamp; use enclosures |
| Airborne resin dust from sanding | Lung irritation | Wet sanding, dust mask |
Nitrile gloves — not latex — are the standard. Latex offers poor chemical resistance and can itself trigger reactions. Change gloves whenever they are contaminated; a smeared, resin-covered glove spreads resin everywhere you touch. Work near an open window or with an extraction fan, especially when printing continuously in a small room. Keep uncured resin and used IPA away from heat and open flame, since IPA is highly flammable.
Waste Disposal: What to Do With Leftover Resin and IPA
This is the part most guides skip, and it is where beginners generate the most avoidable mess.
- Never pour resin or contaminated IPA down the drain. It is hazardous waste and it will set hard in pipes.
- Cure liquid waste before disposal. Pour dirty IPA or leftover resin into a clear container, leave it in sunlight or under a UV lamp until it solidifies into a cured plastic puck, then dispose of it as hard plastic waste according to local rules.
- Store used IPA in a sealed, labeled container. Let solids settle, decant the clearer liquid for reuse, and cure the sludge.
- Handle failed prints and support rafts the same way — they are cured plastic and can go in general waste once fully cured.
- Clean spills immediately with paper towel, then cure the towel before binning it.
Your vat is not a storage container. If you are not printing for a while, filter the resin back into its bottle through a mesh filter, using a funnel, and store it in the dark. Contaminated resin with cured bits in it causes failed prints and can scratch the release film.
The Consumables Worth Buying
A small set of accessories makes the whole workflow safer and faster:
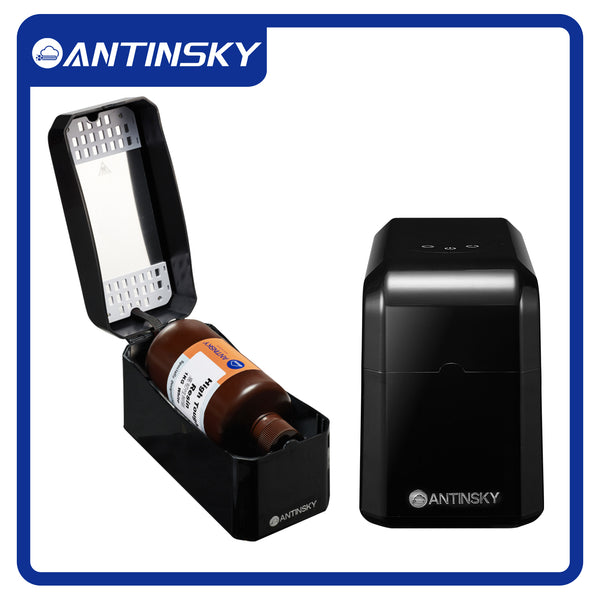
- ANTINSKY HeatMixer HM100 — warms and stirs resin to a consistent temperature for smoother, better adhesion first layers.
- ANTINSKY Resin Deterge — a cleaning agent for tools, vats, and work surfaces, keeping uncured resin from spreading.
- ANTINSKY Antmega Cure — even UV post-curing with a rotating platform.
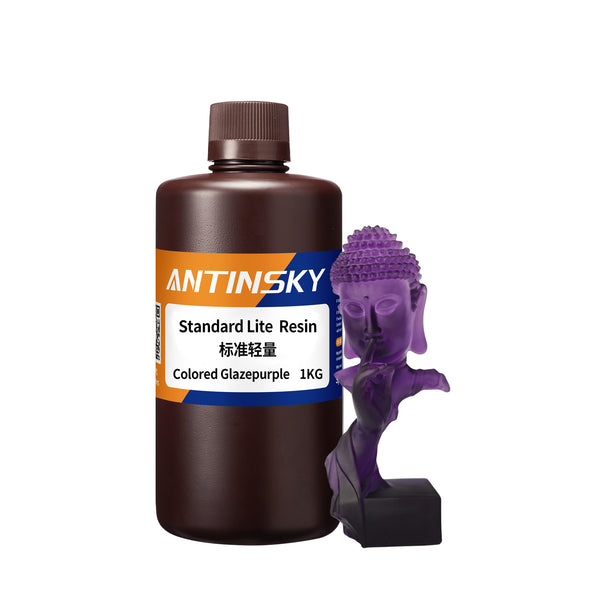
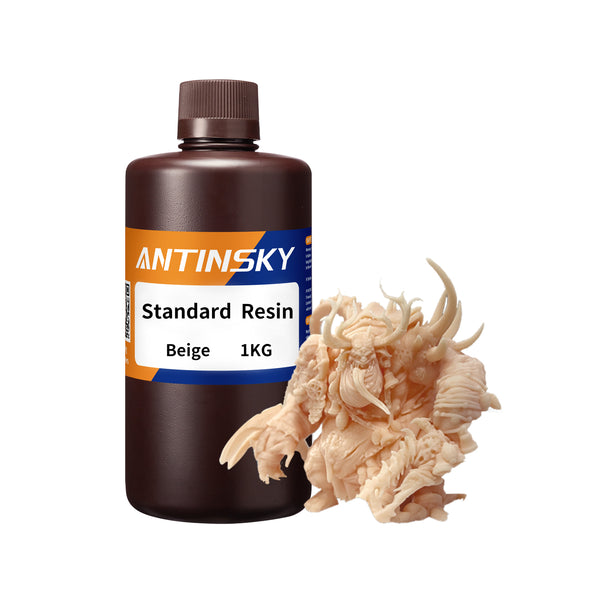
- ANTINSKY Standard Resin — the reliable general-purpose resin for everyday models and prototypes.
- ANTINSKY Washable Rigid 8K Resin — skip the IPA entirely with a water-washable, high-detail formulation.
Matching the Routine to the Resin
Not every resin tolerates the same wash-and-cure recipe. The three common families behave differently, and using the wrong routine is a quiet source of failures.
| Resin Family | Wash Medium | Typical Cure | Common Pitfall |
|---|---|---|---|
| Standard / rigid (e.g. Standard Resin) | IPA 91%+ | 2–5 min | Under-washing leaves a tacky skin |
| Water-washable (e.g. Washable Rigid 8K) | Warm water | 2–4 min | Washing in IPA swells the surface |
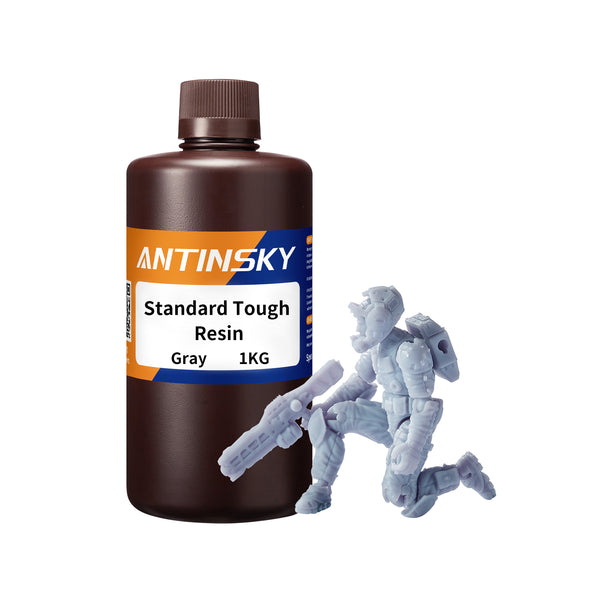
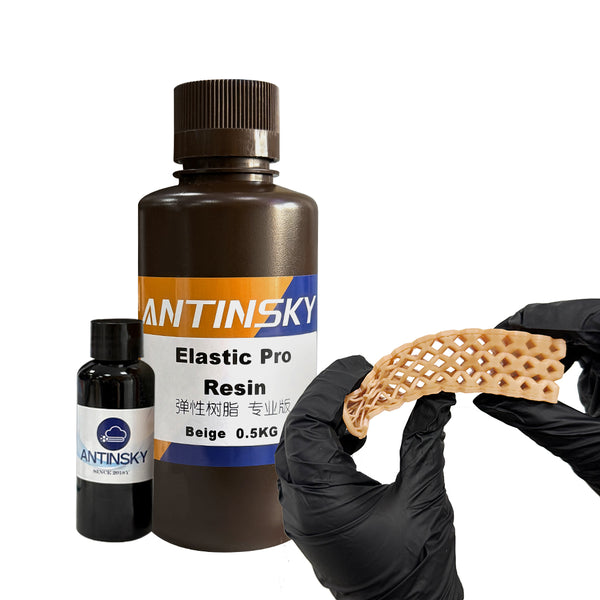
| Tough / engineering | IPA 91%+ | 4–10 min | Under-curing leaves parts soft and weak |
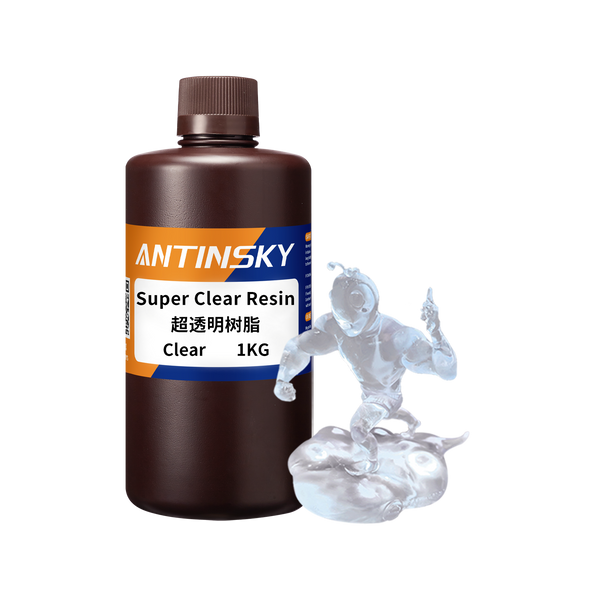
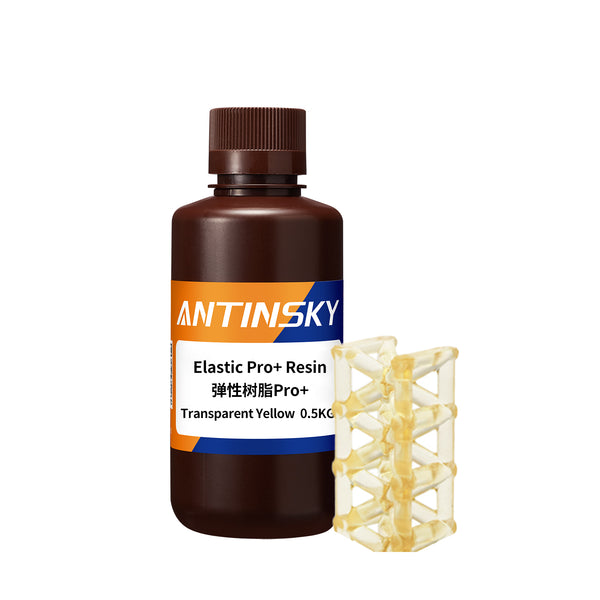
| Clear / transparent | IPA, gentle | Short bursts, flip | Over-curing turns the part amber |
Tough and engineering resins need longer cure times because their polymer networks keep developing strength under UV. If a functional part feels rubbery after a normal cure cycle, give it several more minutes and re-check — but never so long that thin features start to embrittle. Clear resins are the opposite problem: they yellow quickly, so short repeated cycles with a flip between them preserve clarity.
Troubleshooting Common Post-Processing Defects
| Symptom | Likely Cause | Fix |
|---|---|---|
| Sticky surface after washing | Dirty wash bath or too-short wash | Wash again in clean IPA or water |
| White, chalky residue | Resin re-deposited from saturated IPA | Replace the bath, use two-stage washing |
| Warped or cracked hollow parts | Trapped liquid expanding during cure | Add drain holes, flush and drain fully |
| Brittle, shattered support points | Cured before supports were removed | Remove supports while the part is uncured |
| Yellowed clear parts | Over-curing | Shorten cycles, flip the part between passes |
| Soft functional parts | Under-curing | Extend cure time and verify against the datasheet |
Most of these defects trace back to one habit: treating steps as optional. Washing, support removal, and curing each protect the next stage, so the order matters as much as the timing.
Setting Up a Safe, Repeatable Station
A little planning removes most of the risk. Keep three zones separate: a print zone for the machine and vat, a wet zone for washing and dripping, and a dry zone for curing and finishing. Cover every surface in the wet zone with disposable liner or a silicone mat so resin never meets bare furniture. Label your IPA containers "dirty" and "clean" and never mix them. Keep a sealed waste bin for cured plastic and a labeled jar for liquid waste. Finally, store resin bottles upright, capped, and out of sunlight, since UV will cure a bottle left open near a window.
Once the station is organized, the workflow becomes a loop you can repeat without thinking — and that consistency is what produces reliable prints week after week.
Frequently Asked Questions
Can I use water to wash standard resin?
No. Standard and engineering resins are not water-soluble; washing them in water leaves an uncured film and contaminates the water with resin. Water washing is only for explicitly water-washable formulations.
How long should I cure a resin print?
Usually 2–5 minutes for standard resin, longer for tough or engineering grades. Because cure time depends on lamp power, part thickness, and color, always check the resin datasheet and start with short cycles, adding time if the surface stays tacky.
Why is my washed print still sticky?
Either the wash was too short, the IPA was already saturated with dissolved resin, or the part has trapped liquid inside hollow sections. Wash again in clean IPA or water and make sure drain holes are clear.
Is uncured resin dangerous after it is washed off?
Once fully cured, prints are safe to handle normally. Uncured resin — liquid, or on a partially cured print — is the hazardous form and requires gloves and ventilation.
Can I pour used IPA down the sink?
No. Cure it first. Pour it into a clear container, expose it to sunlight or UV until the resin solidifies, then dispose of the solid waste according to your local regulations.
Do I need a wash-and-cure station?
Not strictly, but a magnetic stirrer wash and an even UV cure station dramatically improve consistency. Improvised setups usually cause over-washing or uneven curing, which shows up as warped, brittle, or yellowed prints.
Bottom Line
Clean resin printing is a discipline, not a talent. Drain before you detach, wash in two short baths, remove supports while the part is soft, cure evenly, and treat every drop of liquid resin and every millilitre of IPA as hazardous waste. Do that and your prints come out sharper, stronger, and safer — and your workspace stays something you are happy to work in.
Start with a resin that matches your workflow: a forgiving standard resin for everyday parts, a water-washable resin if you want to skip IPA, and a reliable cure station so every print reaches full strength. Get the routine right once and it becomes automatic.