



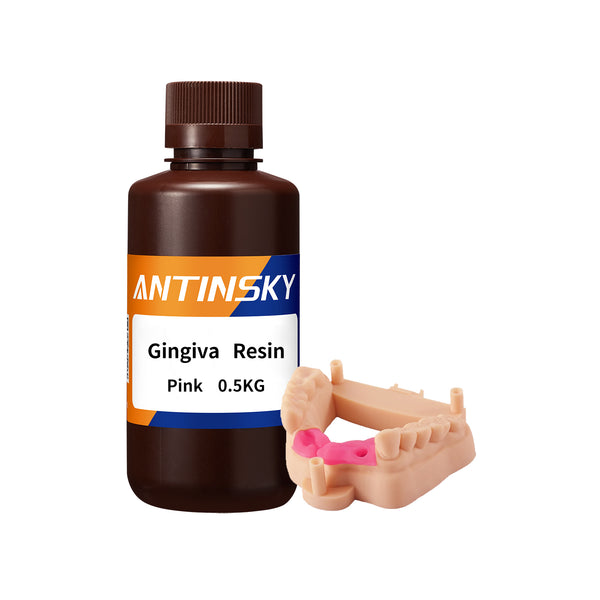



















Dental 3D printing has quietly become one of the most practical applications of resin technology in the world. What used to require a plaster lab, multiple impressions, and days of turnaround can now happen in a single appointment — from a chairside intraoral scan to a printed model, guide, splint, or temporary restoration in a matter of hours. The shift is driven by better materials: modern dental resins are formulated for dimensional accuracy, biocompatibility, and the mechanical demands of the mouth.
This guide walks through the entire landscape of dental resin 3D printing — the material categories, the printers and exposure settings that matter, the clinical workflow, and the safety and maintenance habits that keep results consistent. Whether you are a dentist adding a printer to the practice, a lab technician scaling output, or a dental student learning digital workflows, the goal is the same: predictable, repeatable parts.
Why Dental Practices Are Switching to Resin 3D Printing
The traditional dental workflow is a chain of handoffs. A clinician takes an impression, ships it to a lab, waits for a model, and then waits again for the final appliance. Every handoff adds time, cost, and the chance of distortion. Digital dentistry breaks that chain into a closed loop: scan, design, print, finish — all under one roof.
Resin (SLA/LCD/DLP) printing is the right technology for this because dental parts are small, highly detailed, and require smooth surfaces and tight tolerances. FDM printing cannot reliably reproduce the fine margins, occlusal detail, and transparent clarity that dental work demands. Resin printing reaches accuracy in the tens of microns on modern 8K/16K machines, which is exactly the range dental applications live in.
The practical benefits are consistent across every dental lab and clinic:
- Speed — Same-day models, guides, and temporaries instead of multi-day turnaround.
- Lower cost per unit — A printed model costs a fraction of a poured stone model.
- Digital storage — Scans replace physical impressions and shelf space.
- Reproducibility — Once a recipe works, it works every time.
- Customization — Every part is designed for one specific patient.
The Main Types of Dental Resin
Dental resin is not one material — it is a family. Choosing the wrong category is the single most common reason a printed dental part fails clinically. The table below summarizes the mainstream categories and what each is actually used for.
| Resin Category | Typical Application | Key Property |
|---|---|---|
| Model resin | Study models, working dies, aligner models | Dimensional stability, smooth surface |
| Guide / surgical resin | Implant guides, drill guides | Rigidity, clarity, ability to be sterilized |
| Splint / night guard resin | Occlusal splints, bite guards | Toughness, wear resistance, comfort |
| Denture base resin | Denture bases, frameworks | Impact strength, precise fit |
| Temporary resin | Provisional crowns, bridges | Aesthetics, polishability |
| Castable resin | Metal frameworks, pressable patterns | Clean burnout, zero ash residue |
A complete digital dental workflow often uses three or four of these categories in the same day. The sections below dig into each one.
Dental Model Resins
Models are the foundation of digital dentistry. An aligner model, a working die, or a study cast must be dimensionally stable, easy to finish, and accurate enough that every subsequent step inherits its precision. A model that shrinks or warps destroys the fit of everything made on top of it.
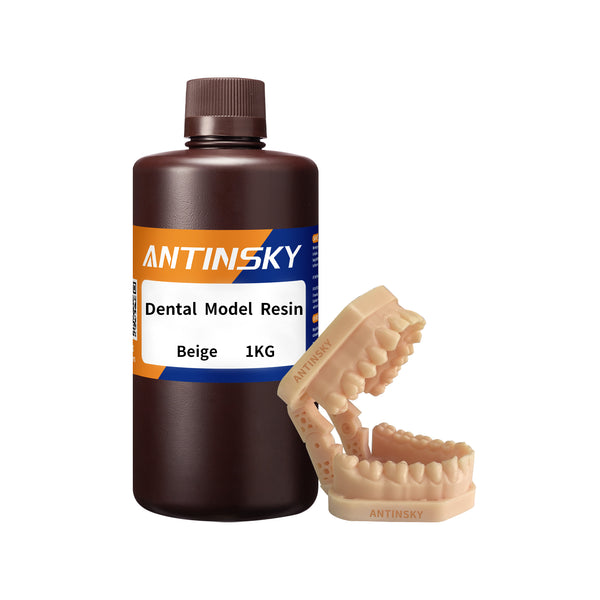
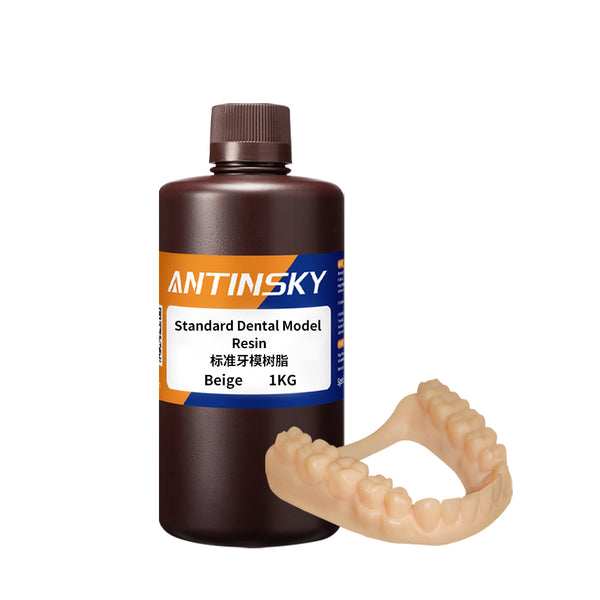
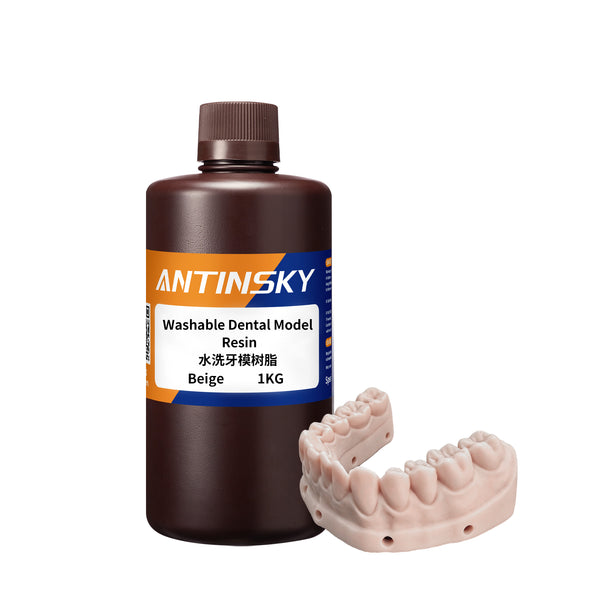
Modern model resins are filled or semi-filled formulations engineered for low polymerization shrinkage. They print with crisp edges, chamfer cleanly, and resist warping during post-curing because their shrinkage is balanced around a stable matrix. Beige and tooth-colored opacities are popular because they photograph well and look natural in patient-facing documentation.
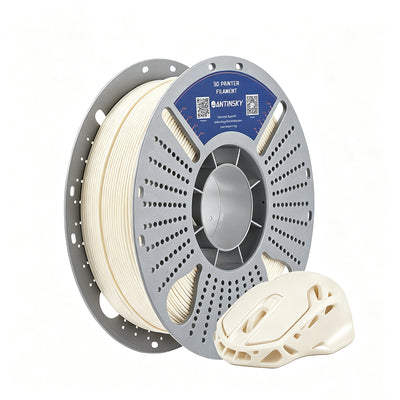
For a professional-grade option, the ANTINSKY Standard Dental Model Resin is formulated specifically for orthodontic and restorative model work — high accuracy, low shrinkage, and a friendly handling window that novice operators can learn quickly.
Splint, Guide & Occlusal Resins
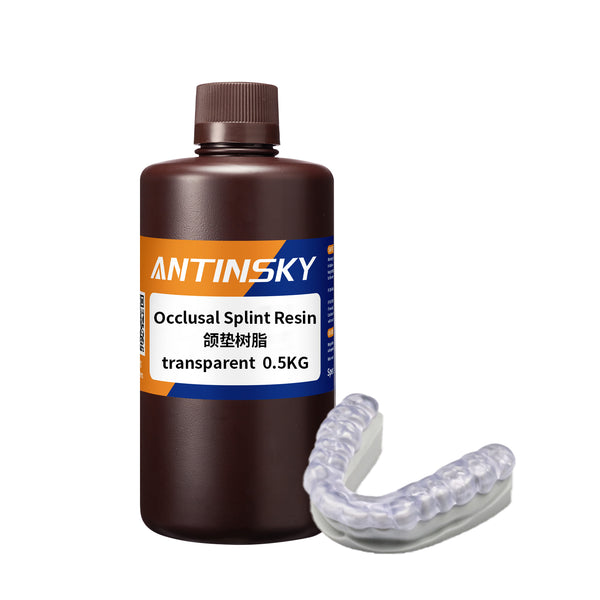
Splints and night guards live in a punishing mechanical environment. They are bitten thousands of times, flexed, and worn against enamel. This is where toughness and wear resistance become clinically critical — a brittle splint cracks, and a soft one deforms. Tough, wear-resistant formulations are the answer.
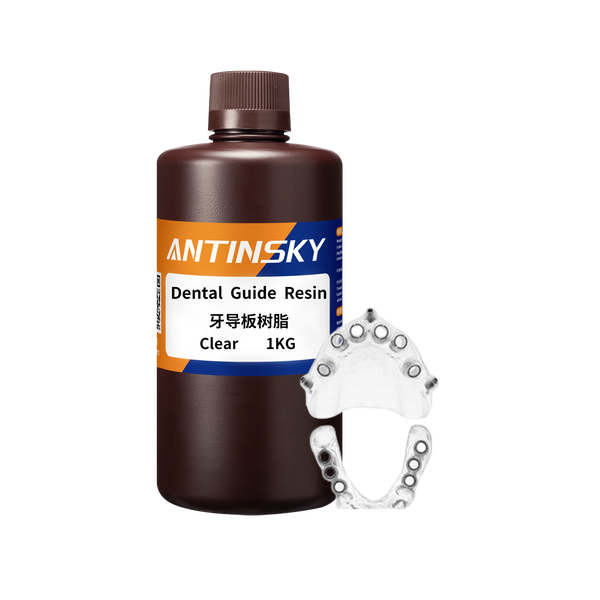
Surgical and implant guides have different needs. They must be rigid so the drill enters exactly where the plan says, and they are frequently transparent so the operator can see the osteotomy site through the resin. Guide resin is optimized for clarity, autoclave stability, and dimensional stiffness.
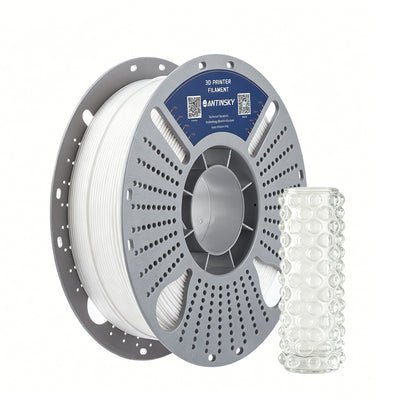
For splints, the ANTINSKY Occlusal Splint Resin delivers the balance of comfort and durability clinicians expect. For transparent implant and drill guides, the ANTINSKY Dental Guide Resin (Clear) is engineered for optical clarity and rigidity, so planning precision carries straight into the mouth.
Denture Base Resins
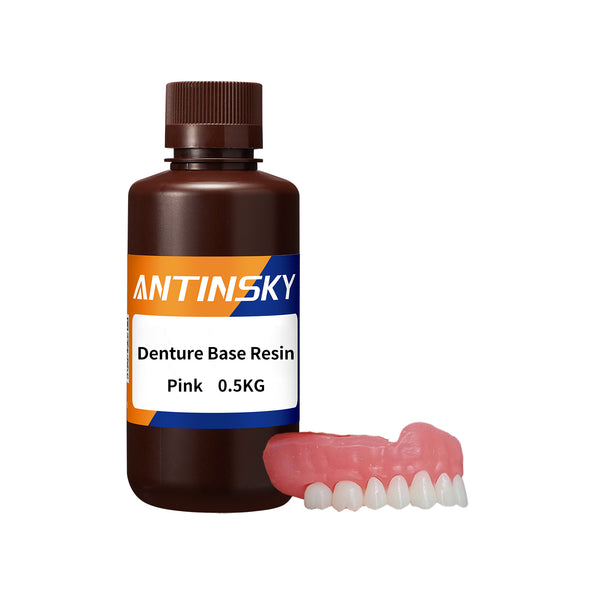
Denture bases are large, thin, and load-bearing. They must fit the ridge precisely, survive drops, and resist the fatigue of daily chewing and cleaning. Printed denture base resins are formulated for impact strength and low residual monomer, which matters for both patient comfort and regulatory compliance.
Because a denture base is a substantial volume of resin, print orientation and hollowing strategy have an outsized effect on success. Drainage holes, careful support placement on non-fitting surfaces, and adequate post-curing are non-negotiable. The ANTINSKY Denture Base Resin is a drop-in choice for this workflow, tuned for good fit and lasting strength.
Temporary & Castable Dental Resins
Temporary (provisional) restorations bridge the gap between preparation and final delivery. They need to look acceptable, polish to a natural sheen, and hold their shape for weeks. Temporary resin formulations balance aesthetics with enough flexural strength to survive that window.
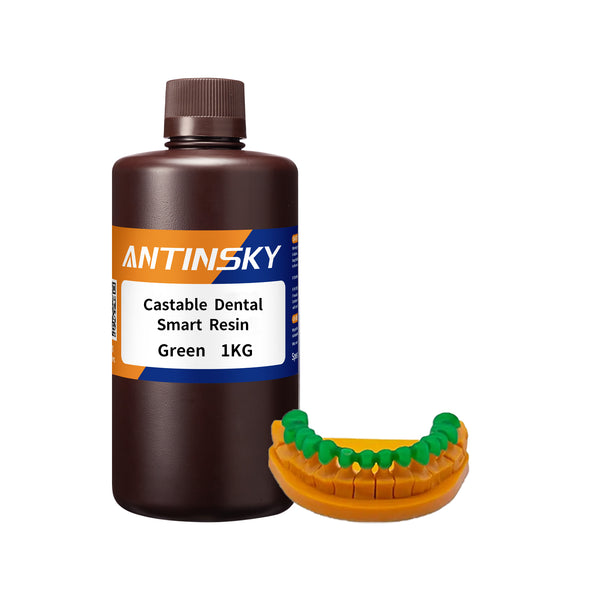
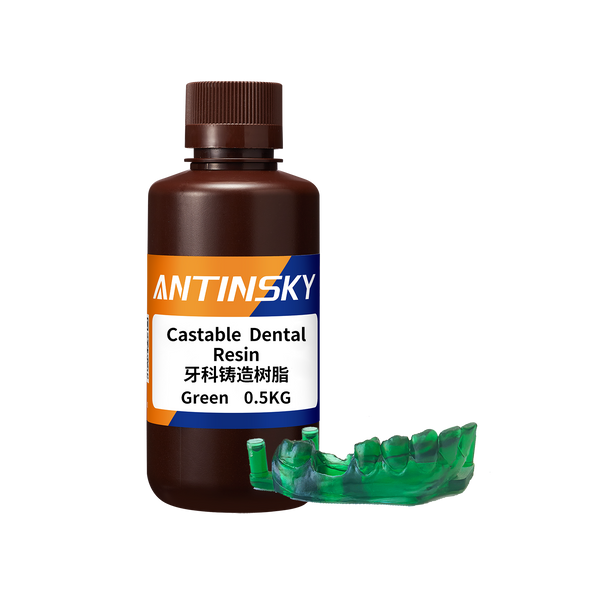
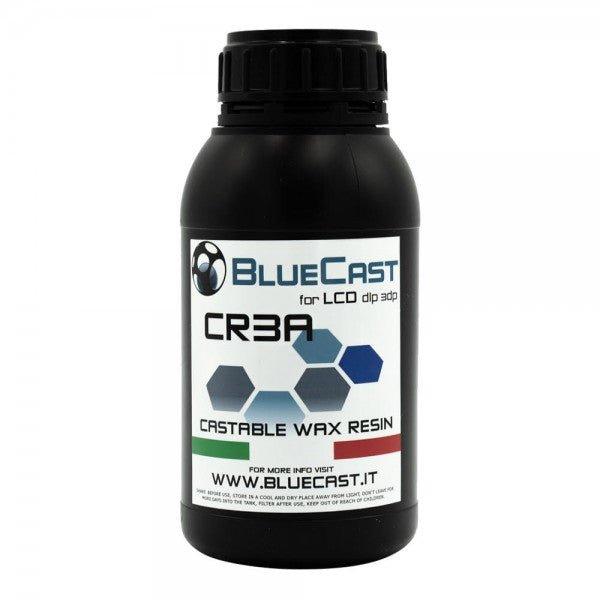
Castable resins are a different animal entirely. They are burned out and replaced by metal, so the only thing that matters is that the pattern disappears cleanly with minimal ash. Incomplete burnout leaves residue that ruins a casting. High-quality castable resin burns out cleanly at standard dental temperatures.
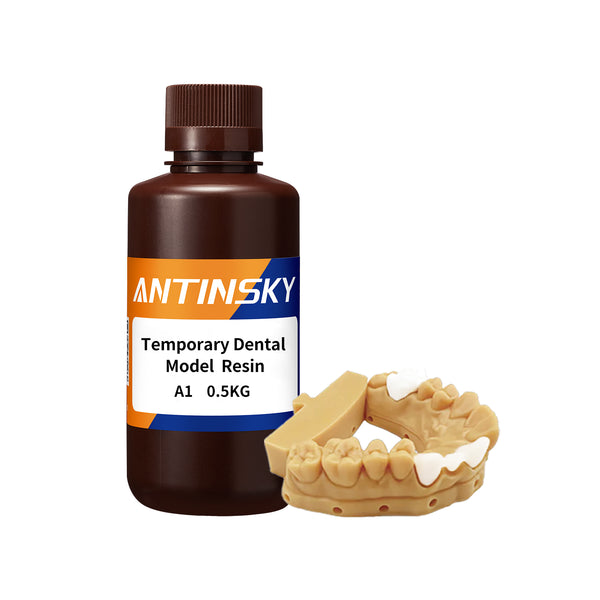
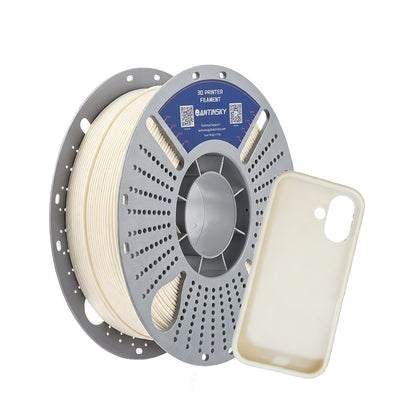
For temporaries, options such as the ANTINSKY Temporary Dental Model Resin give a workable, tooth-colored provisional with predictable finishing.
The Step-by-Step Dental Resin Workflow
Digital dental printing rewards discipline. The following sequence is the standard workflow used by high-volume labs.
- Scan. Capture the patient with an intraoral scanner. Verify margins and occlusion digitally before leaving the chair — rescanning later is expensive.
- Design. Use CAD software to design the model, guide, splint, or restoration. Keep wall thickness uniform and respect the resin's minimum feature size.
- Nest and orient. Place parts at an angle (typically 15–35°) to reduce cross-section peel forces, and put supports on surfaces that will be finished or trimmed.
- Print. Use validated exposure settings for your specific resin and printer. Overexposure loses detail; underexposure leaves soft, sticky surfaces.
- Wash. Rinse in clean IPA (or the appropriate solvent) for 2–5 minutes. Dirty solvent redeposits resin; change it frequently.
- Post-cure. Cure under proper wavelength and time. For dental work, a dedicated curing unit beats a DIY nail lamp every time.
- Finish and verify. Trim supports, polish, and check fit against the digital plan or patient.
Every step has a failure mode, and the most common ones cluster around washing and curing — not printing. Under-washing leaves uncured resin that irritates tissue; over-curing makes parts brittle. Treat wash and cure as clinical steps, not cleanup.
Exposure Settings & Printer Requirements
Dental resins demand accuracy, so printer choice matters. A 4K printer can handle study models; splints, guides, and denture work benefit from 8K/12K/16K resolution and a stable light source.
| Parameter | Typical Starting Range | Notes |
|---|---|---|
| Layer height | 0.03–0.05 mm | Thinner for guides and die models |
| Normal exposure | 1.5–2.5 s (mono LCD) | Depends on resin and light power |
| Bottom exposure | 20–35 s | Longer for build-plate adhesion |
| Bottom layers | 4–6 | More for tall, heavy builds |
| Anti-aliasing | On | Smoother margins |
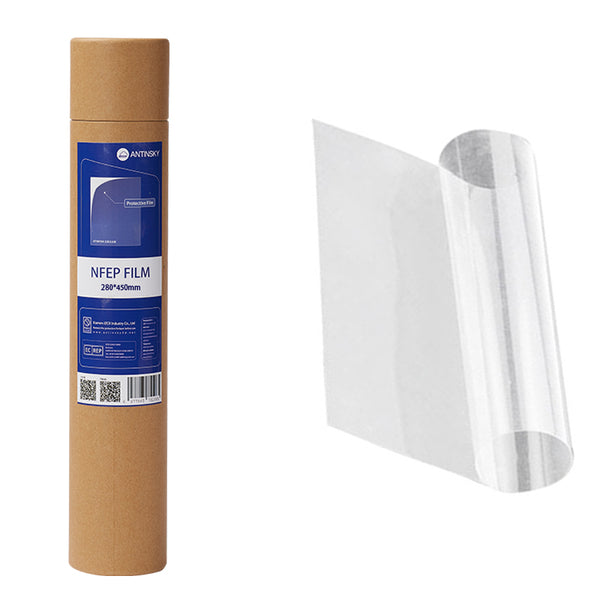
These are starting points, not gospel. Always run an exposure test per resin, and recalibrate after replacing the FEP/nFEP or the light source.
Post-Processing, Safety & Biocompatibility
Dental work touches the human body, so safety is not optional. Handle uncured resin with nitrile gloves, work in a ventilated space, and never let uncured resin contact skin. Wash solvent should be kept clean and disposed of properly, and curing must be complete before anything enters the mouth.
Biocompatibility is a materials-and-process question. Use resins intended for the specific clinical application, follow the manufacturer's post-processing protocol exactly, and understand that a well-cured, well-washed part behaves very differently from one produced quickly. Consistency in wash and cure is what separates a lab with predictable outcomes from one that constantly troubleshoots fit.
Maintaining Your Dental Resin Setup
Long-term reliability comes from maintenance. Keep the vat film clean and replace it when cloudy, store resin filtered and away from light, discard solvent once it stops rinsing effectively, and re-run an exposure test whenever you change consumables. These habits prevent the slow drift that turns a calibrated workflow into guesswork.
Frequently Asked Questions
Can I use any resin for dental models?
For non-clinical study models, general-purpose resins can work. For anything that enters the mouth or bears on tissue, use a resin intended for that application and follow its protocol. Model resins are not interchangeable with splint or denture resins.
How long does a printed dental splint last?
With correct design, toughness-tuned resin, and complete post-curing, printed splints hold up for months of daily wear. Premature cracking almost always traces back to under-curing or a formulation that is too brittle for the load.
Do I need a special printer for dental work?
You need accuracy, a stable light source, and reliable exposure control. Monochrome LCD printers at 8K/12K/16K cover most dental applications. Industrial DLP machines go further for high-volume labs.
How often should I change the wash solvent?
Change it before it becomes saturated — typically every 10–20 prints depending on part size. Saturated solvent leaves tacky residue and causes cloudy, sticky surfaces that never cure fully.
Is printed castable resin as good as wax?
High-quality castable resin burns out with very low ash and can match wax patterns for metal frameworks. Cheaper castable materials leave residue that spoils the casting, so quality matters here more than anywhere else.
What is the biggest cause of dental print failure?
Post-processing inconsistency — dirty wash solvent, insufficient curing, and imprecise support removal. Printing itself is usually reliable once exposure is dialed in.
Common Dental Print Failures and How to Fix Them
Even a well-tuned setup produces occasional failures. The table below maps the most common dental printing problems to their real root causes — which, in dental work, are usually in post-processing rather than the machine itself.
| Symptom | Likely Cause | Fix |
|---|---|---|
| Margins rounded or soft | Overexposure / high layer height | Lower exposure, use 0.03–0.05 mm layers |
| Sticky surface after curing | Under-washing | Replace dirty IPA, extend wash time |
| Part cracked after post-cure | Over-curing / brittle resin | Reduce cure time, select a tougher category |
| Model warped at base | Uneven supports / peel stress | Reorient, add supports, lower lift speed |
| Guide not transparent | Wrong resin or pigment separation | Use guide-clear resin, stir before use |
| Splint fits but feels soft | Incomplete polymerization | Extend post-cure under correct wavelength |
| Denture base distorted | Hollowing without drainage | Add drain holes, avoid trapped uncured resin |
The pattern is clear: most clinical complaints trace back to washing and curing. When a part behaves unexpectedly, inspect the wash and cure steps before you touch the printer profile. A single scoop of contaminated solvent can ruin an otherwise perfect batch.
Matching the Resin to the Application
It is tempting to standardize on one resin and print everything with it. That approach fails because dental applications pull in opposite directions. Models need stability, splints need toughness, guides need clarity, and castables need clean burnout. No single formulation does all four well.
A practical strategy is to stock a small, focused kit: one model resin for the bulk of everyday production, one splint resin that satisfies your toughness requirements, one guide resin if you place implants, and one castable resin if you do metalwork. Rotate stock so older bottles get used first, and always stir or shake filled resins before pouring — pigments and fillers settle.
Digital dentistry rewards a small, disciplined material library far more than a shelf full of half-used bottles. Standardize on validated recipes, document exposure settings per resin, and treat each new material as a small project: run an exposure test, print one control part, and only then move it into production.
Final Thoughts
Dental resin printing is a workflow, not a single product. Pick the right resin category for each application, dial in validated exposure settings, and treat washing and curing with the same rigor as the print. Do that, and digital dentistry becomes faster, cheaper, and more consistent than the analog process it replaces.
Explore the full range of dental and engineering resins at ANTINSKY to build a complete digital dental setup around proven materials.